 Show Posts Show Posts
|
|
Pages: [1] 2 3 ... 5
|
|
2
|
Arcade and Pinball Discussions / General Arcade and Video Game Discussions / Re: Ice Cold Beer 1/2 Scale Repro Scratch build
|
on: November 15, 2015, 03:09:37 am
|
Time for Audio. Took apart a old pc speaker set and kept the guts. 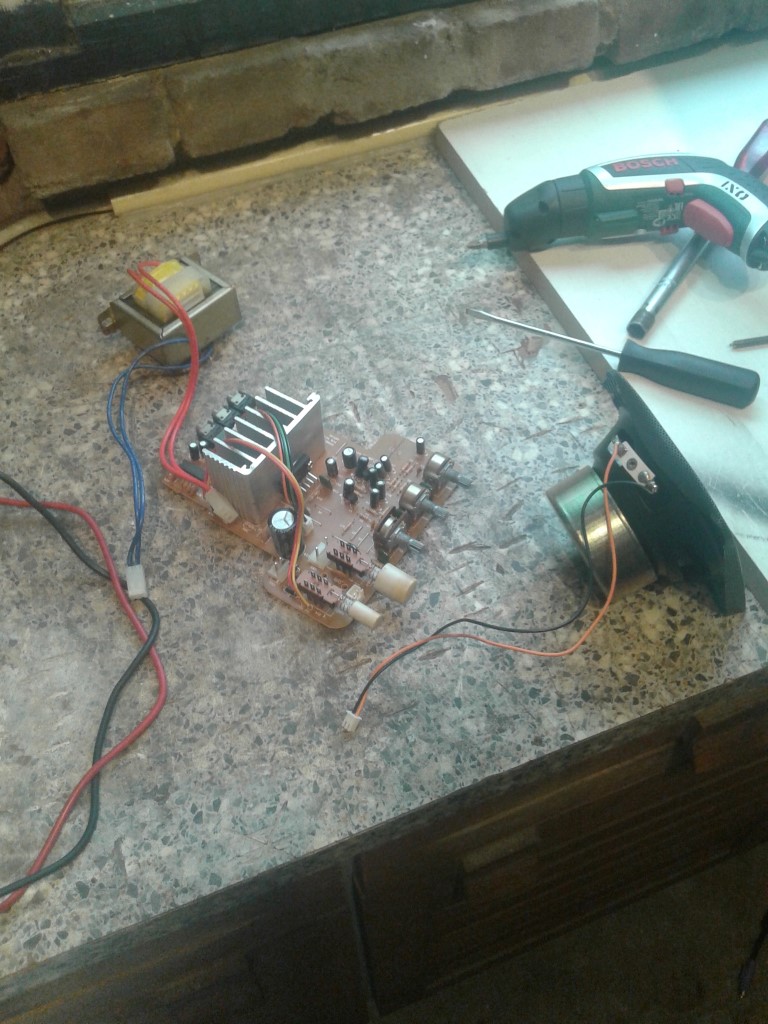 hammered the grill over the bare speaker. 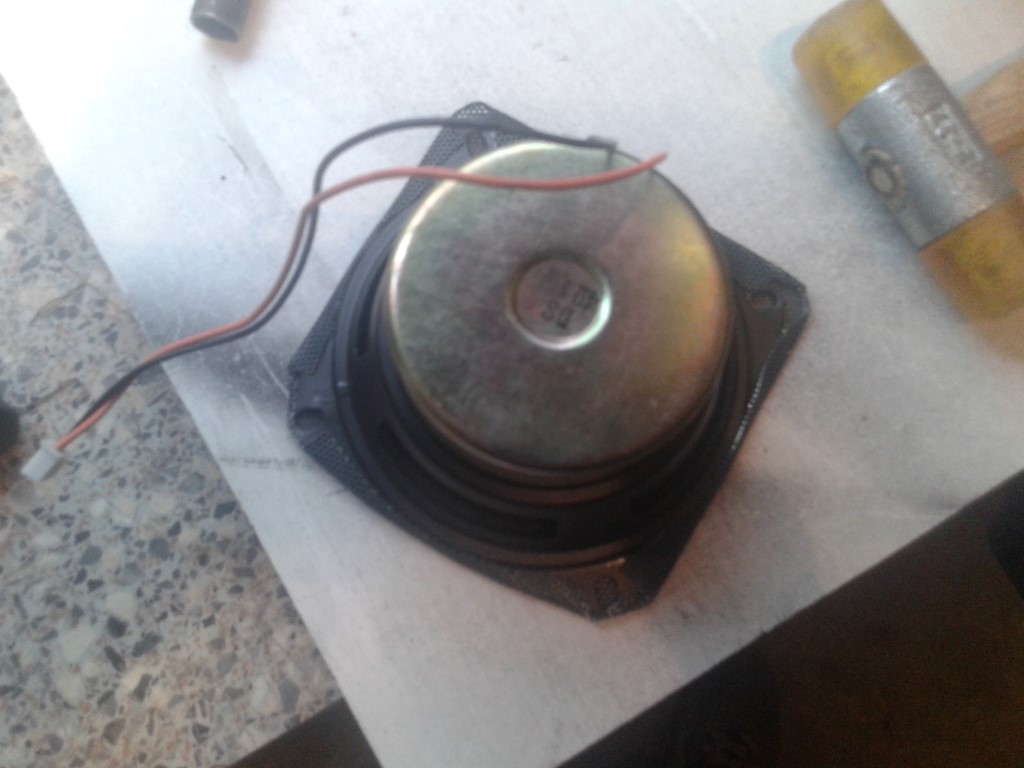 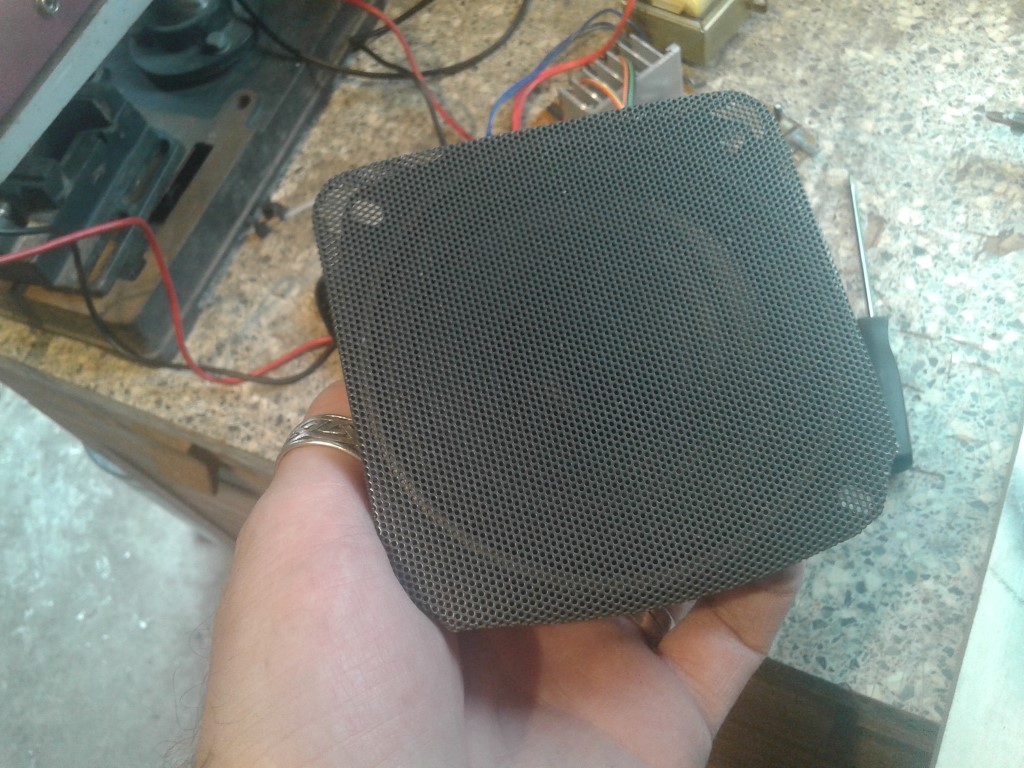 Speaker in place, grill looks good. 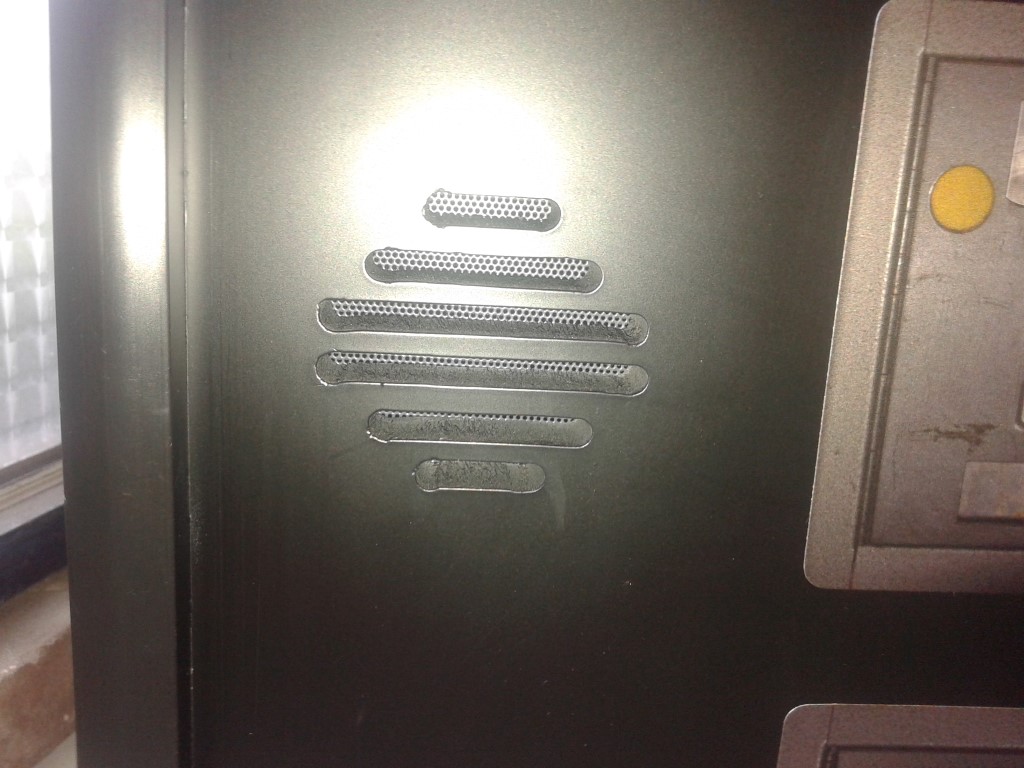 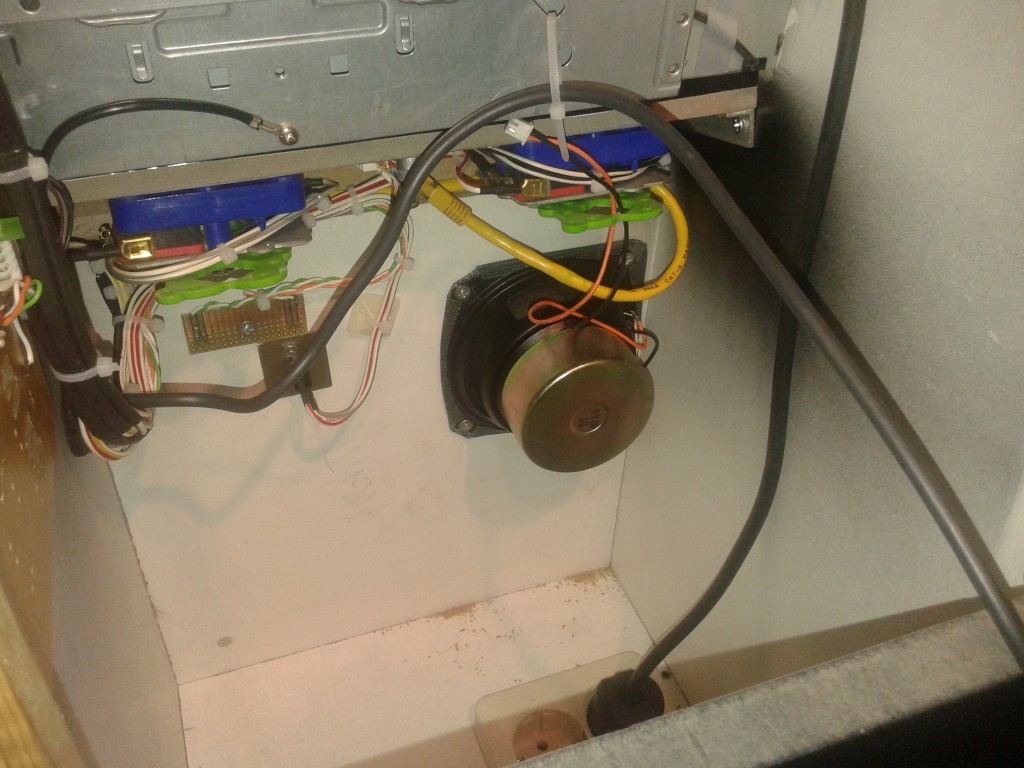 Made two supports out of L shaped aluminium for the PC power supply. 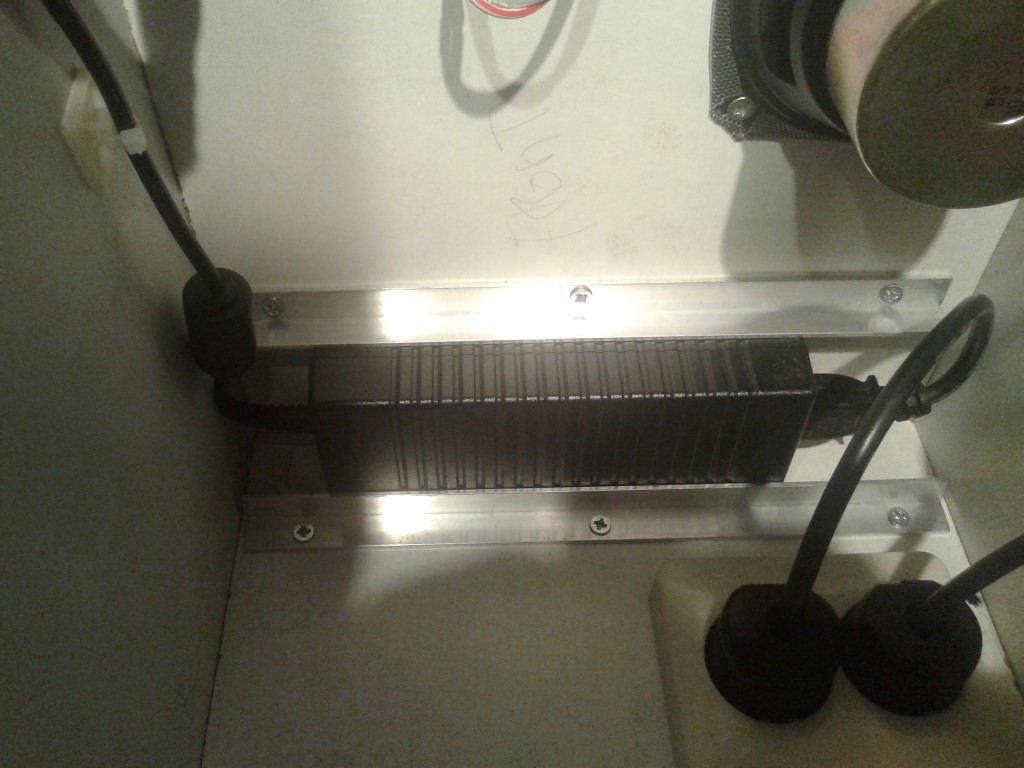 Mounted the amplifier to the side and the transformer to the bottom. 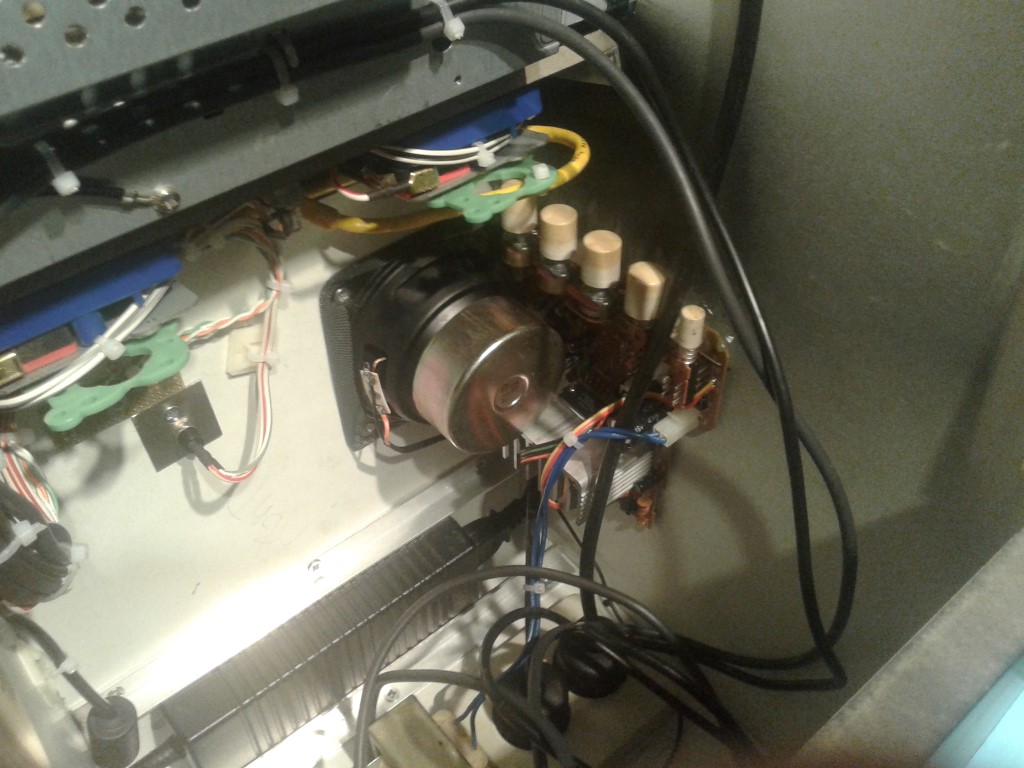 Installed the missing Air intake fangrill. 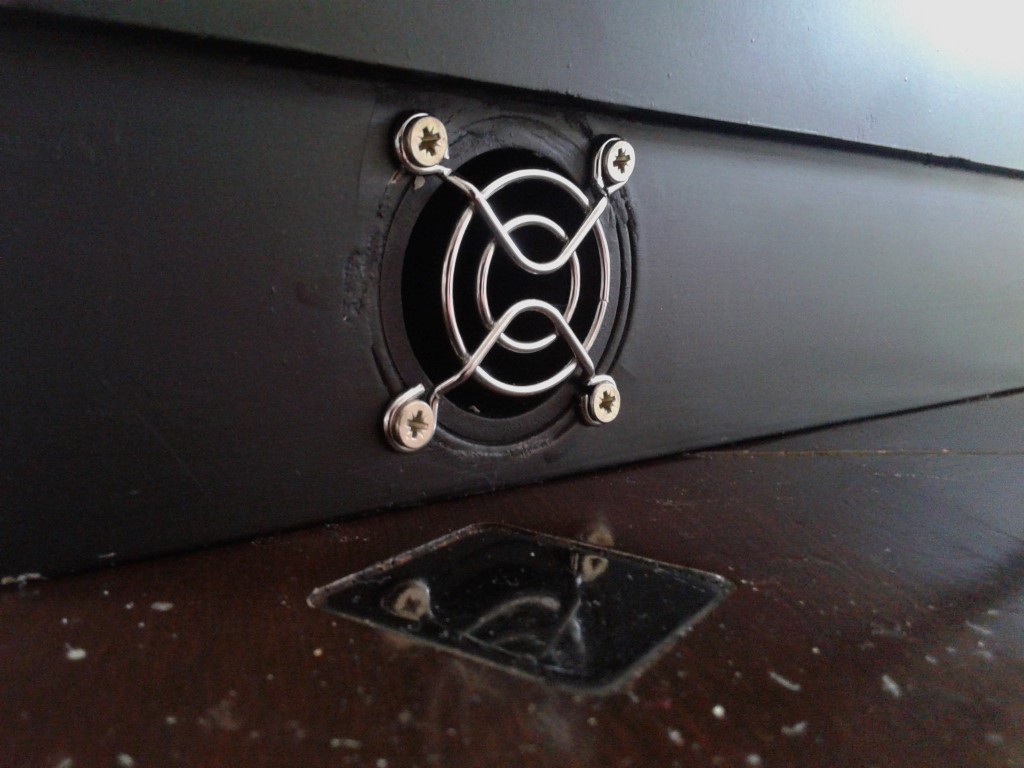 And this is how the back looks now.  To make the serial tag look more authentic, i used a piece of thin sheet metal. 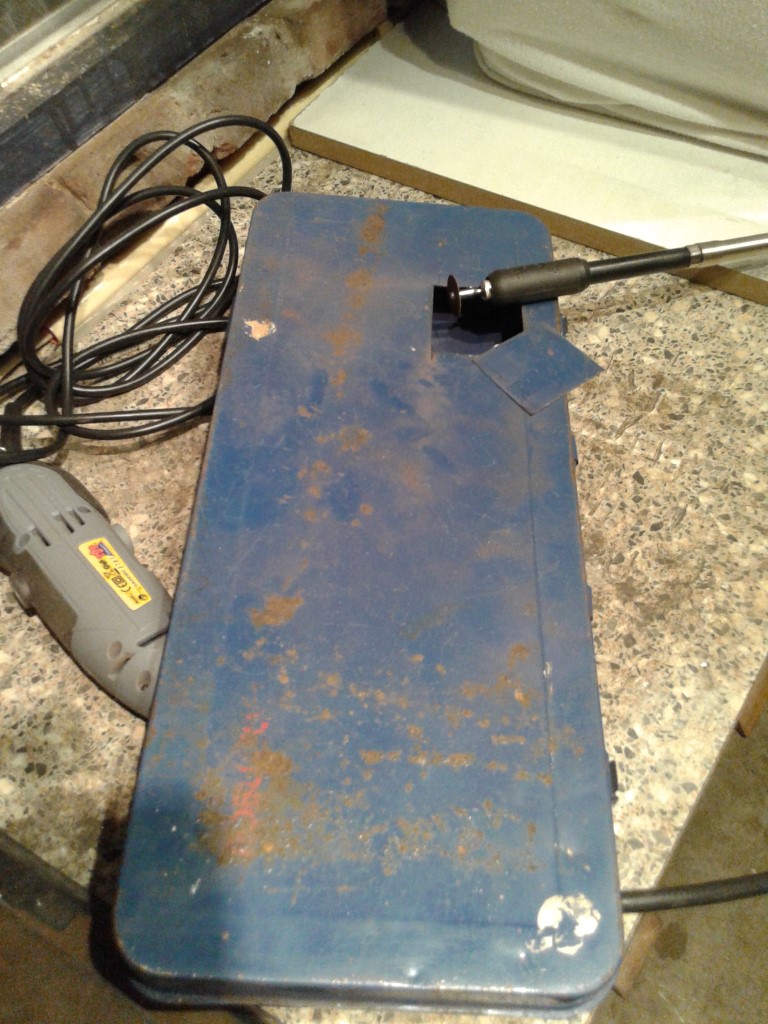 Drilled mini holes.. 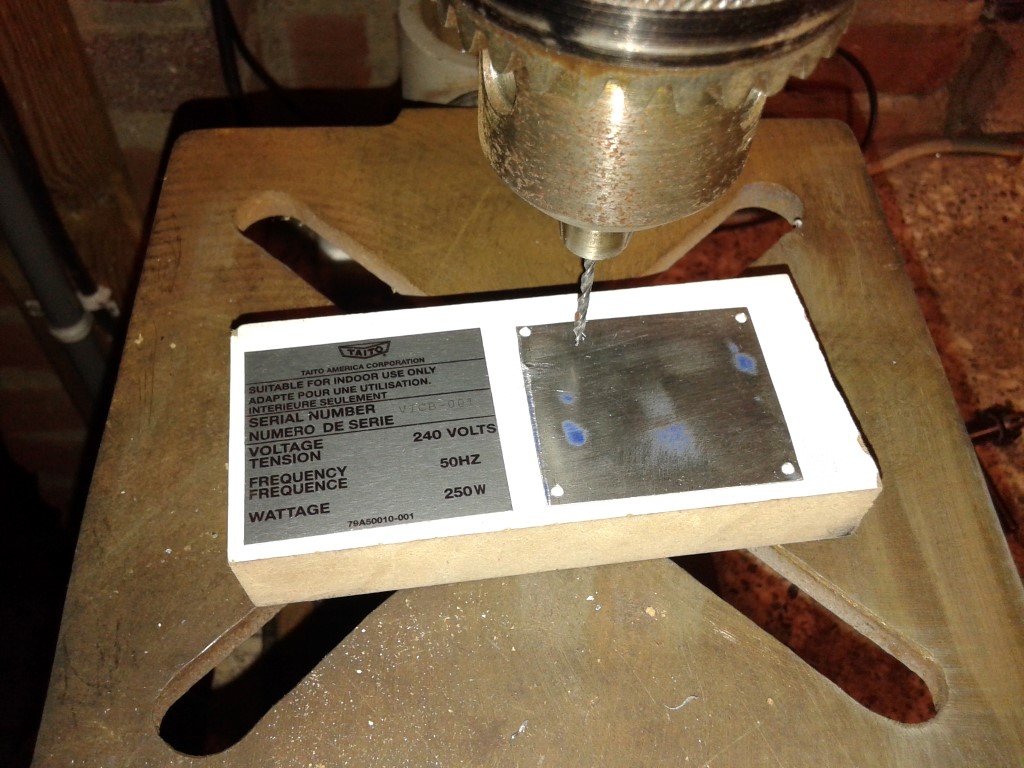 Used some mini nails to install it.   Just like the original.  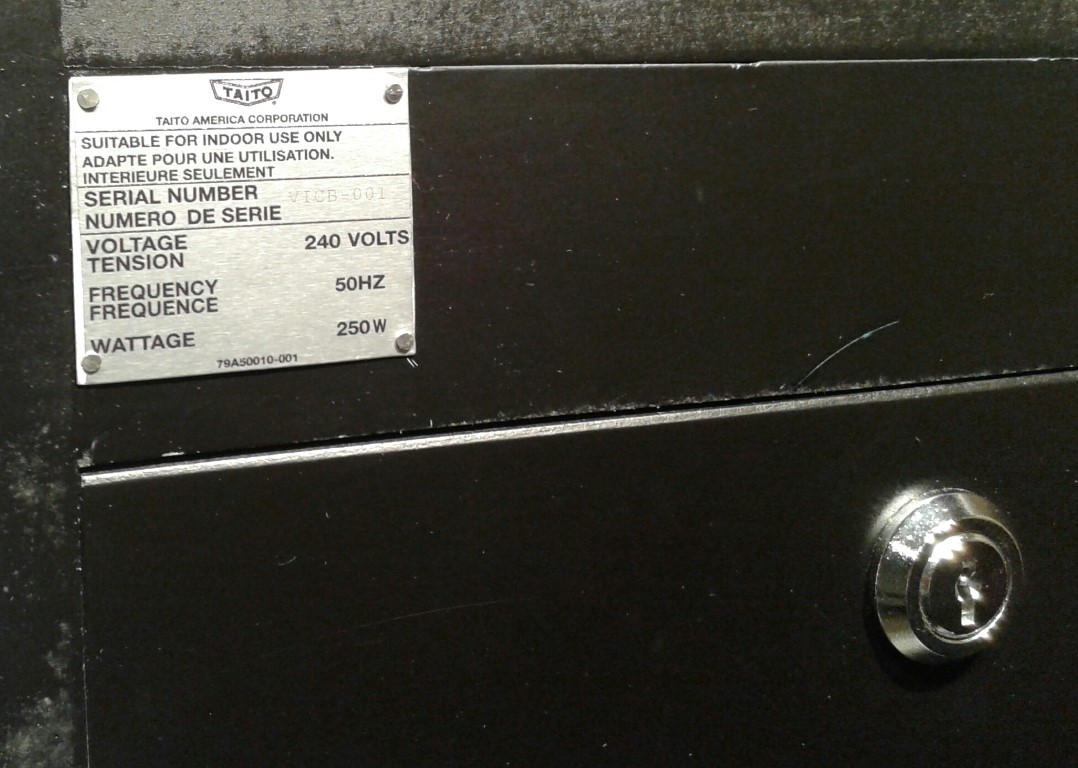 Took a look at a picture from the rear of the cabinet to see where the other decals need to be. 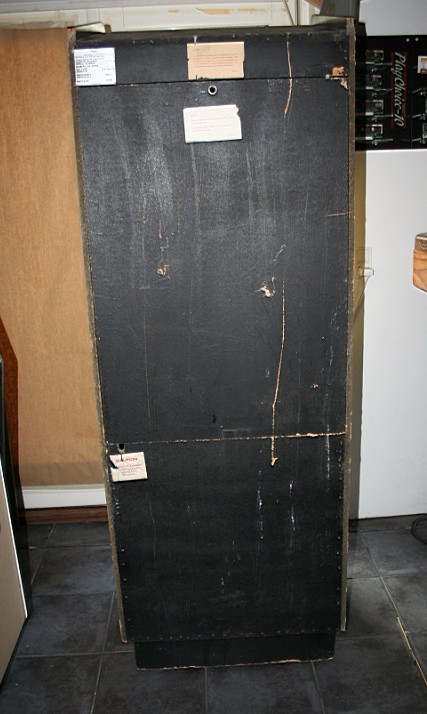 and installed my 1/2 scaled repro decals. 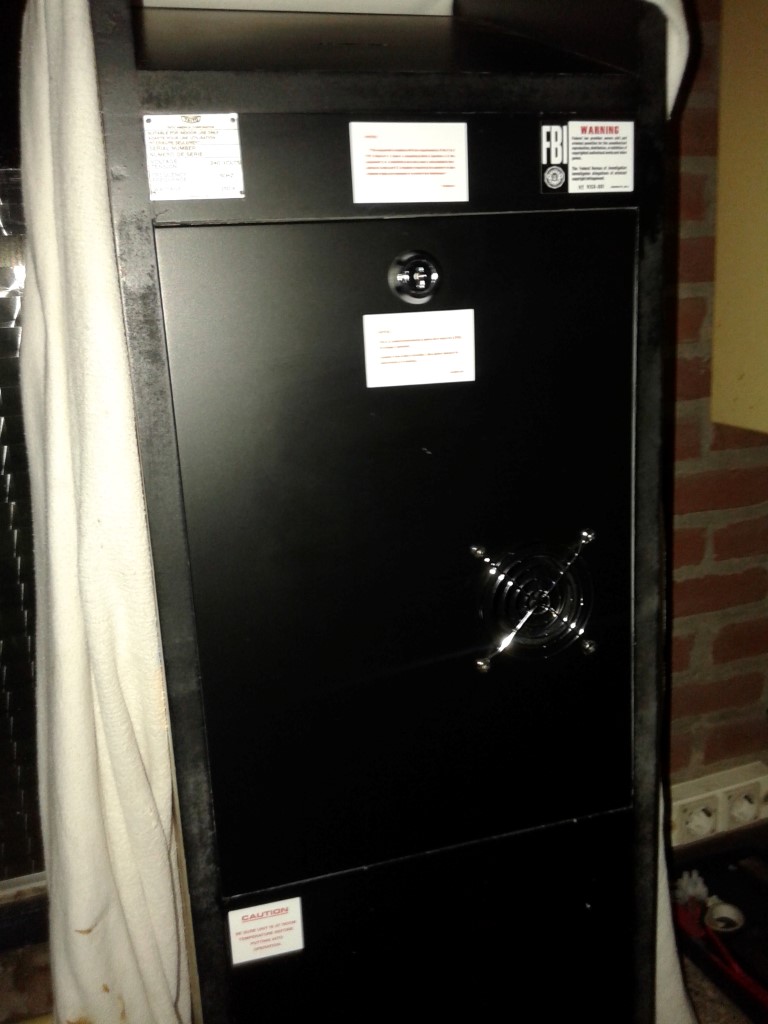 Here the unit is undergoing some stress testing before i take it to Eurocade. 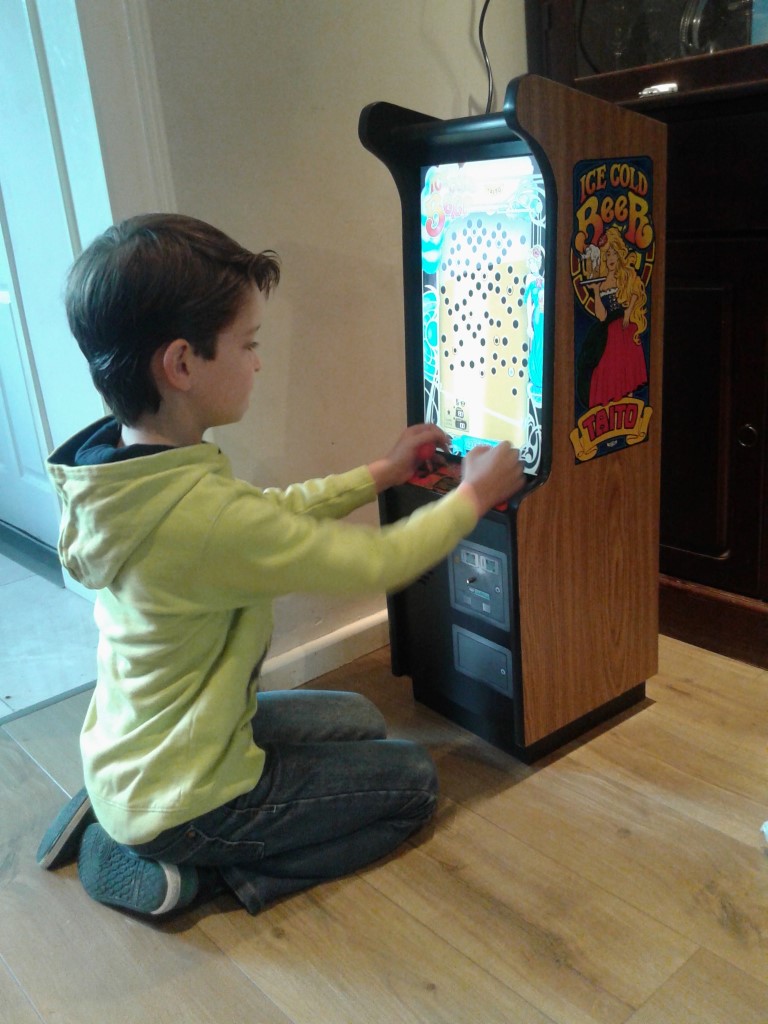 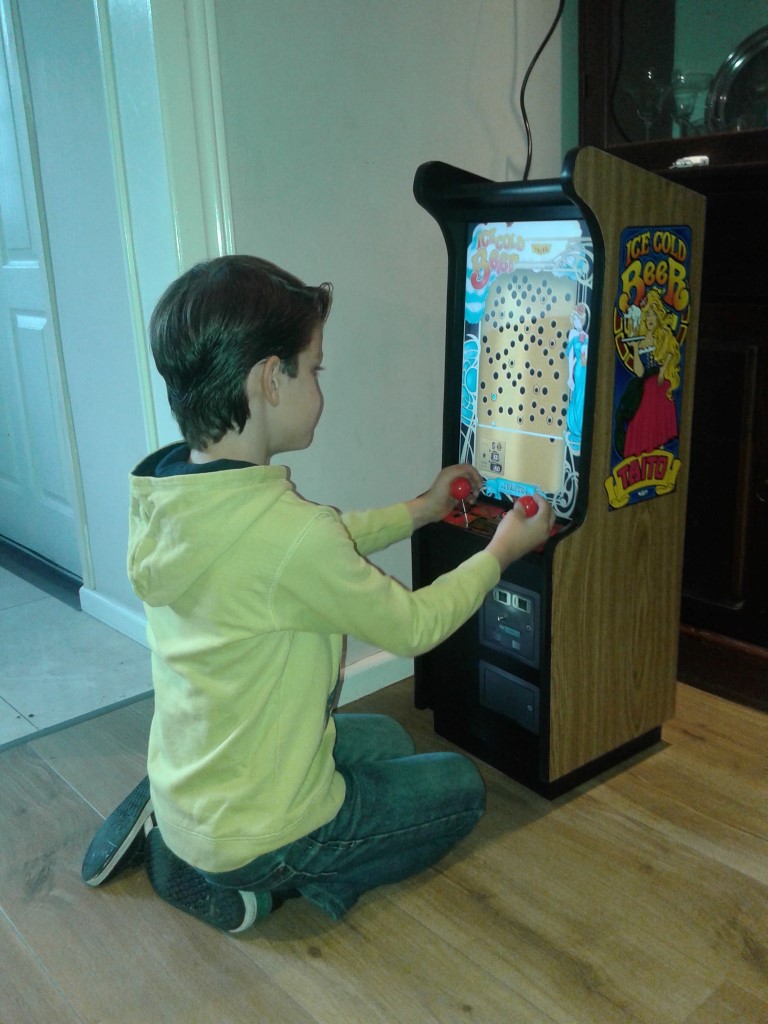 At Eurocade, Punkrockcaveman brought his original Ice Cold Beer. :spaceace: I could not resist to take pictures with both of them next to eachoter. 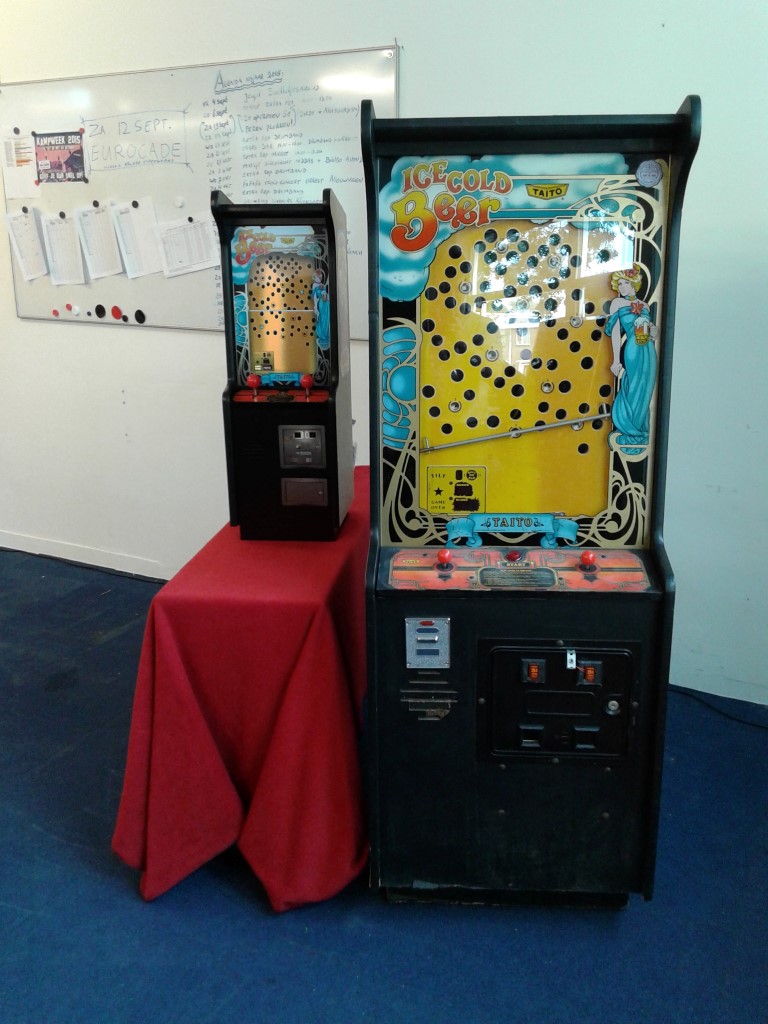 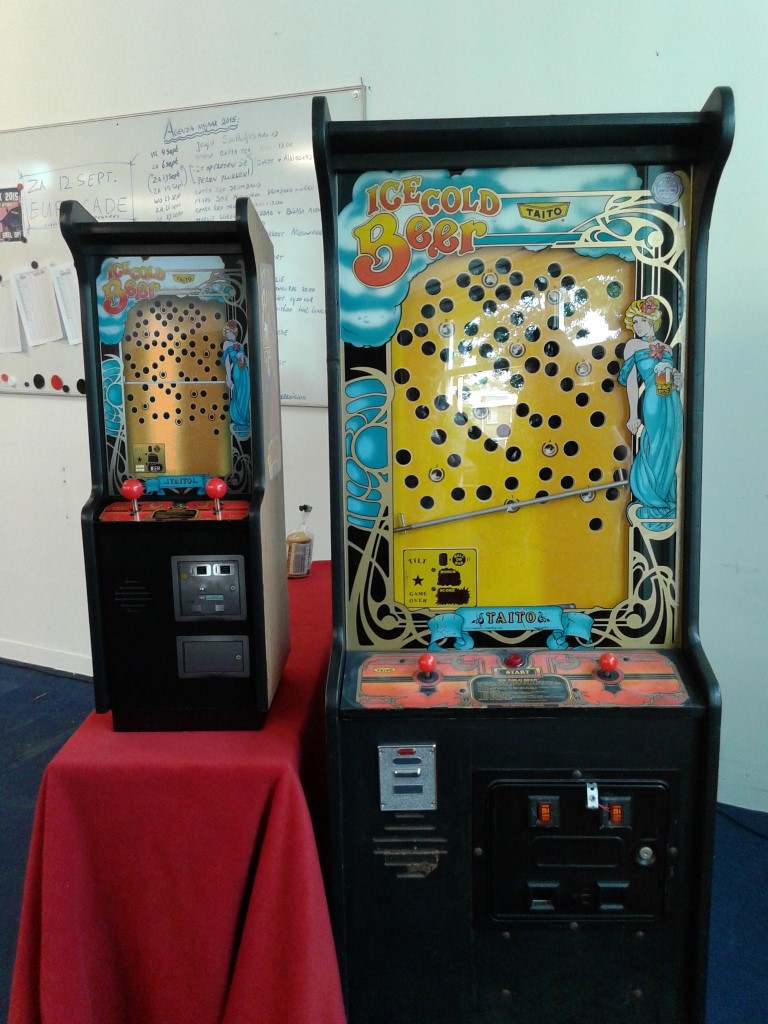 Last picture speaks for itself.   And to finish this report, here a little clip of the unit as it is now. 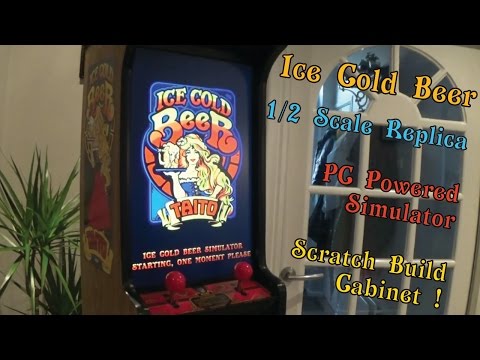  This project is done ! |
|
|
|
|
3
|
Arcade and Pinball Discussions / General Arcade and Video Game Discussions / Re: Ice Cold Beer 1/2 Scale Repro Scratch build
|
on: November 15, 2015, 03:08:38 am
|
After looking around for sideart, i could only find some crappy pictures online, so again i contacted Muerto if he could do me another favour. Again top notch work from Muerto with detailed measurements, Thanks buddy ! 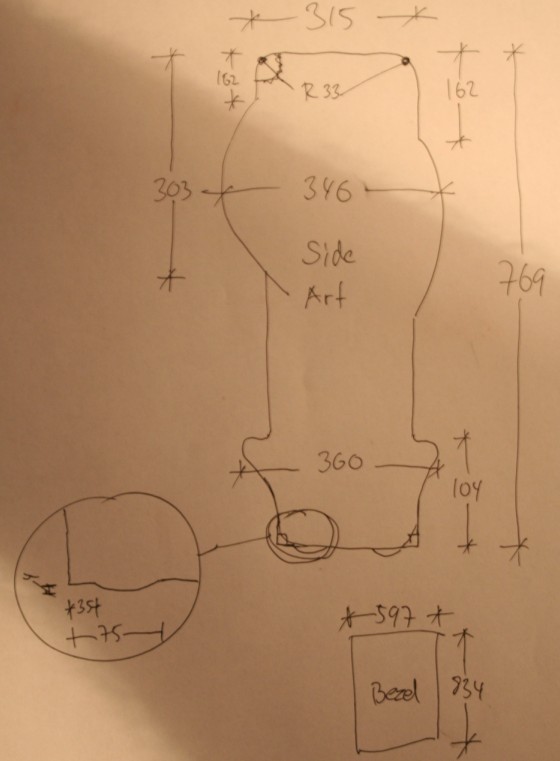 As the sources online where not sufficient, i asked Muerto to take some pictures of his Sideart, and vectored / constructed the files myself. 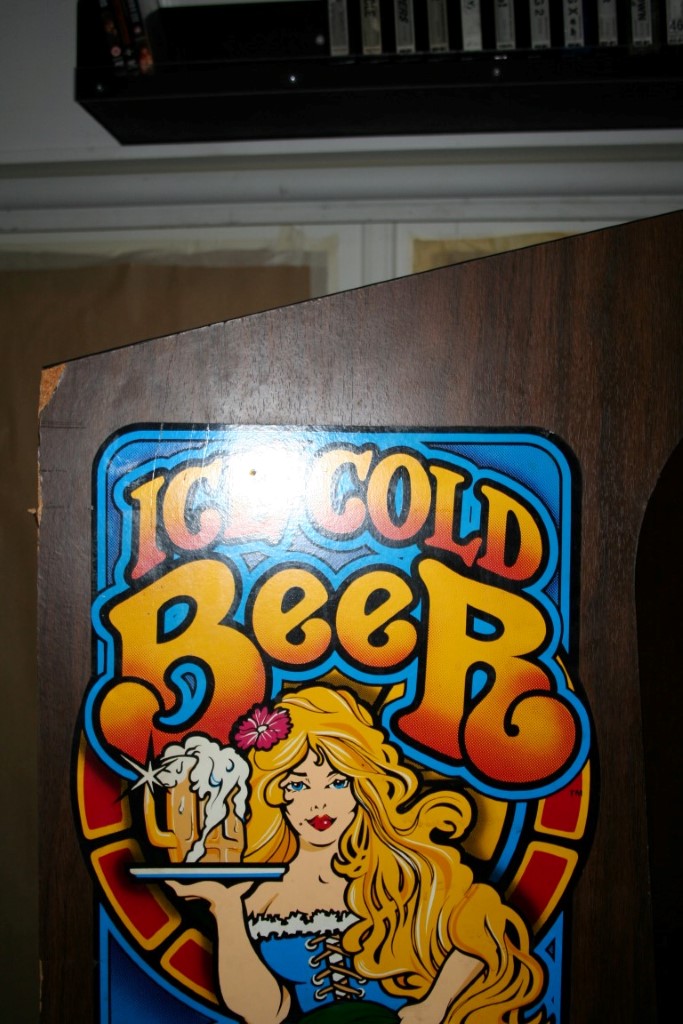 These are the pictures i used to recreate the sideart.  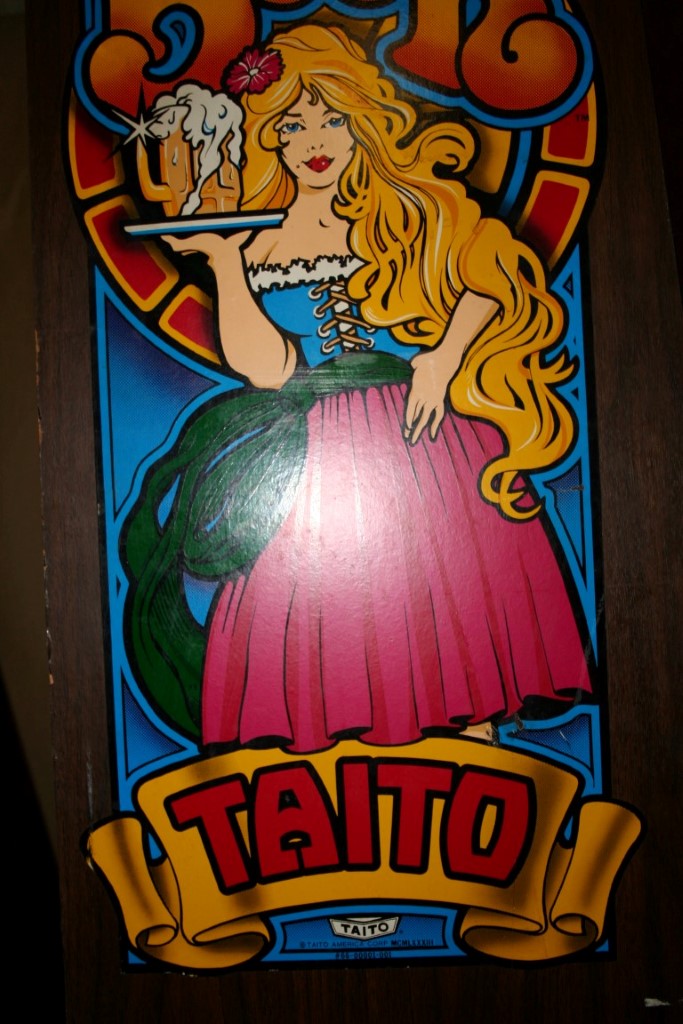 I put the art together by using the "non flash" parts.  Then, after vectoring the art, i scaled it down and took it in the last reprosticker run at my professional printer. 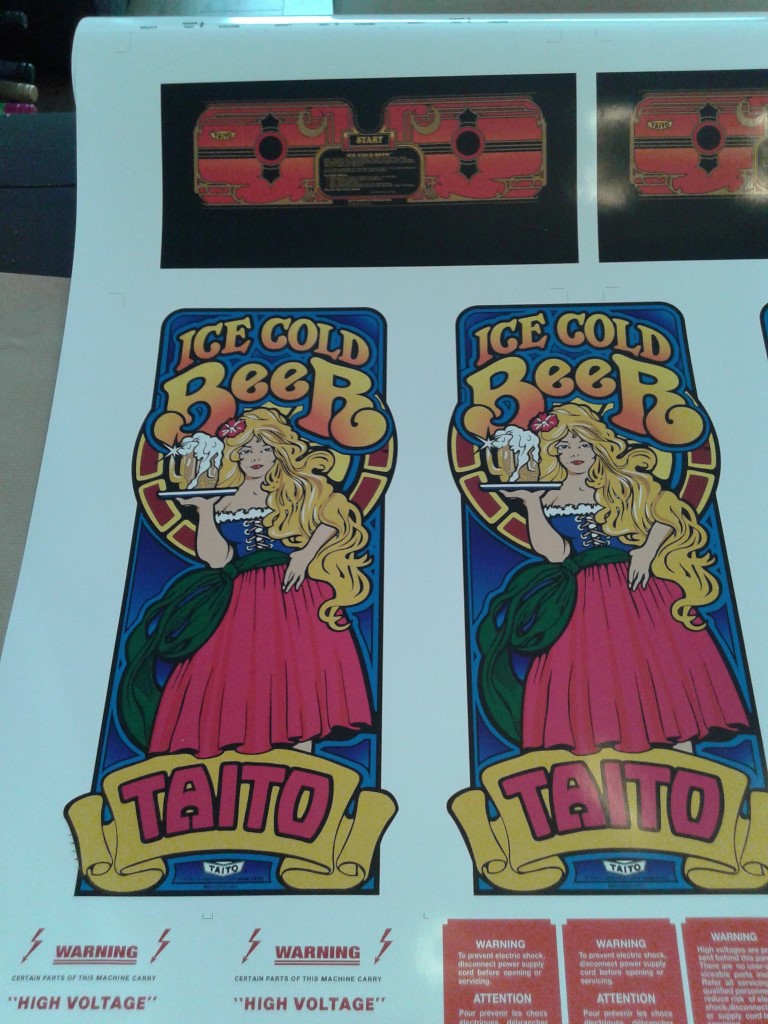 Applying the sideart.. 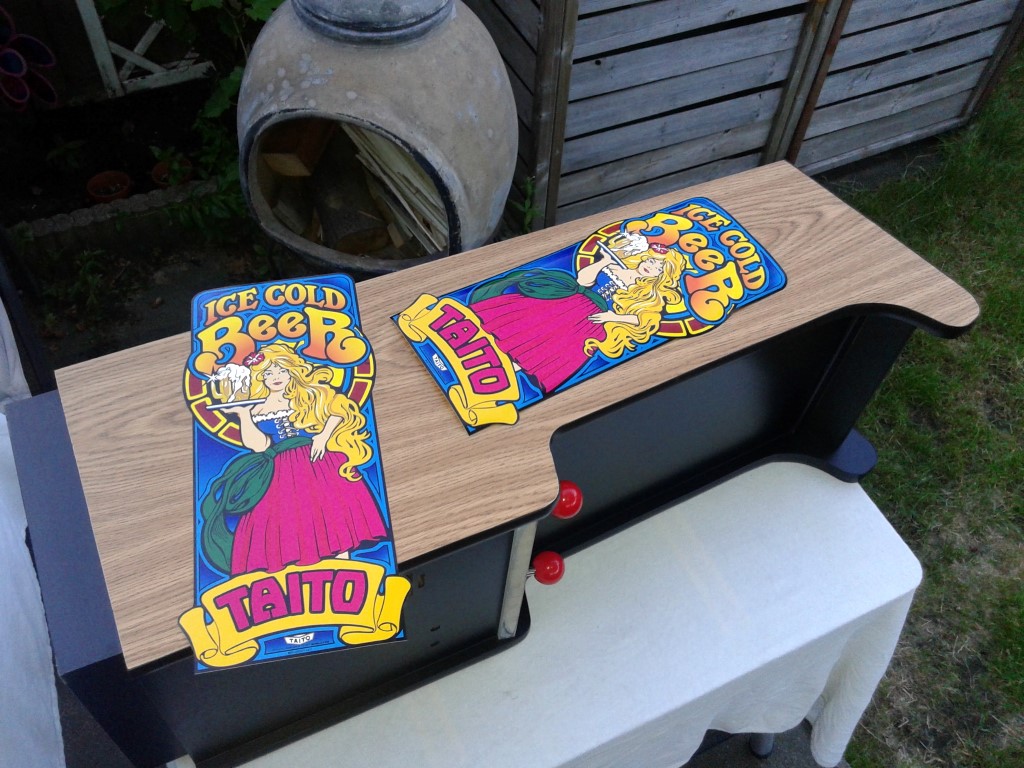 Installed right sideart.. 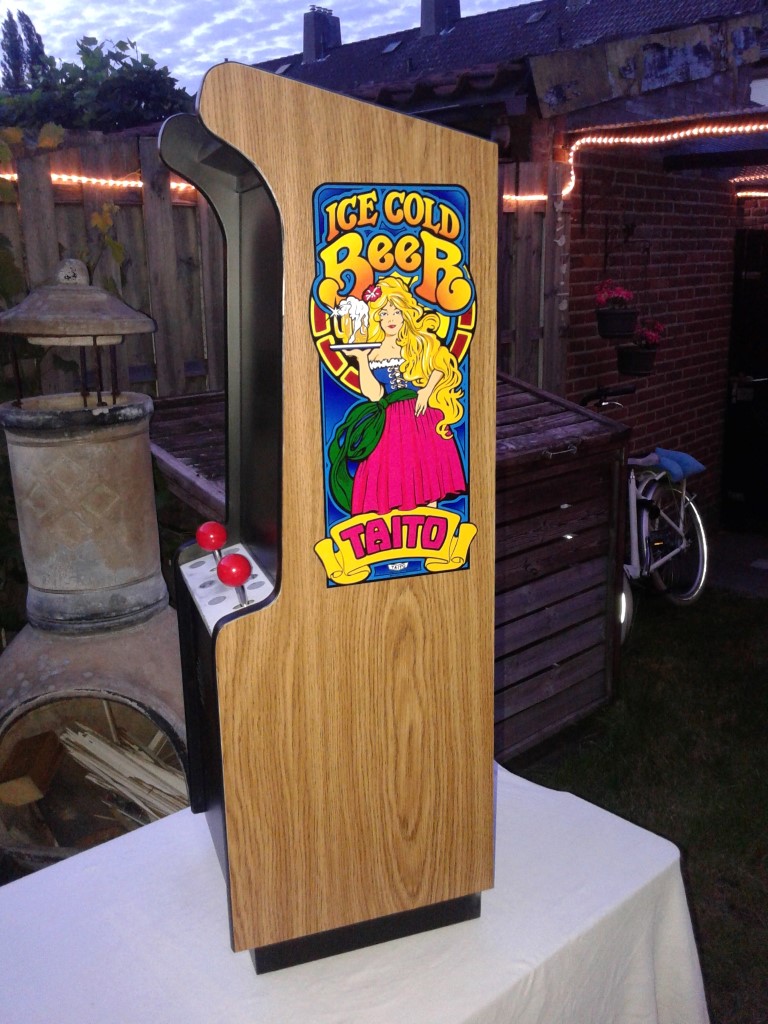 Installed left sideart.. 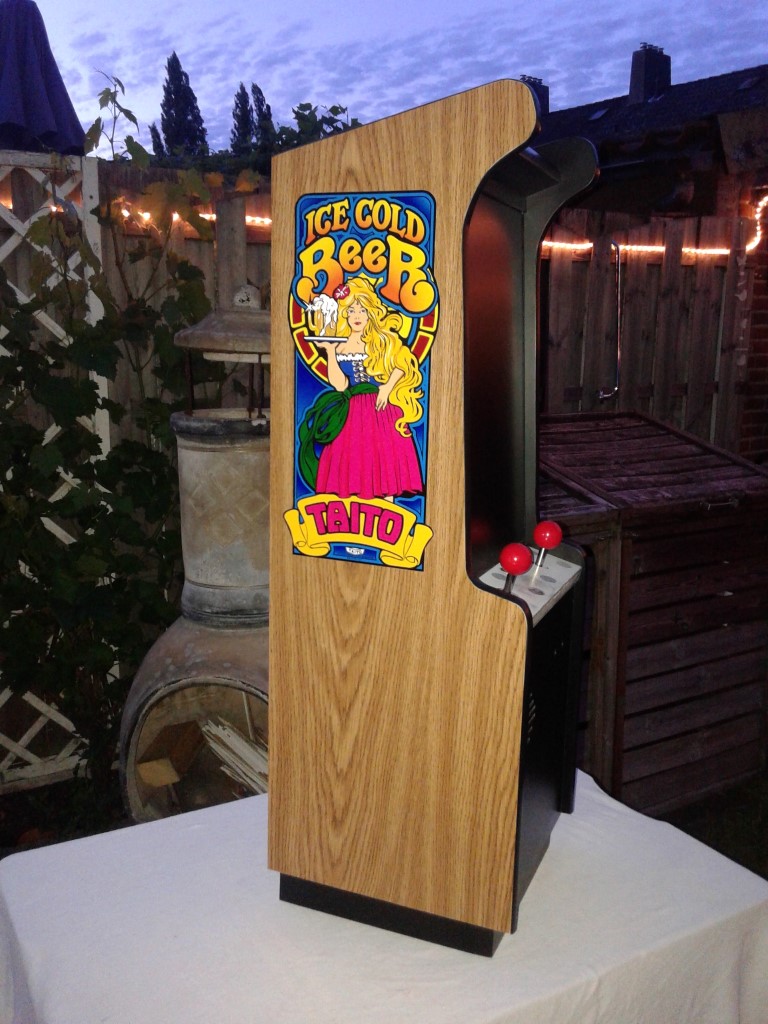 There was a highres scan of the CPO on www.coinopart.com. I have a account there, so i took the file, scaled it down, and have it also printed. 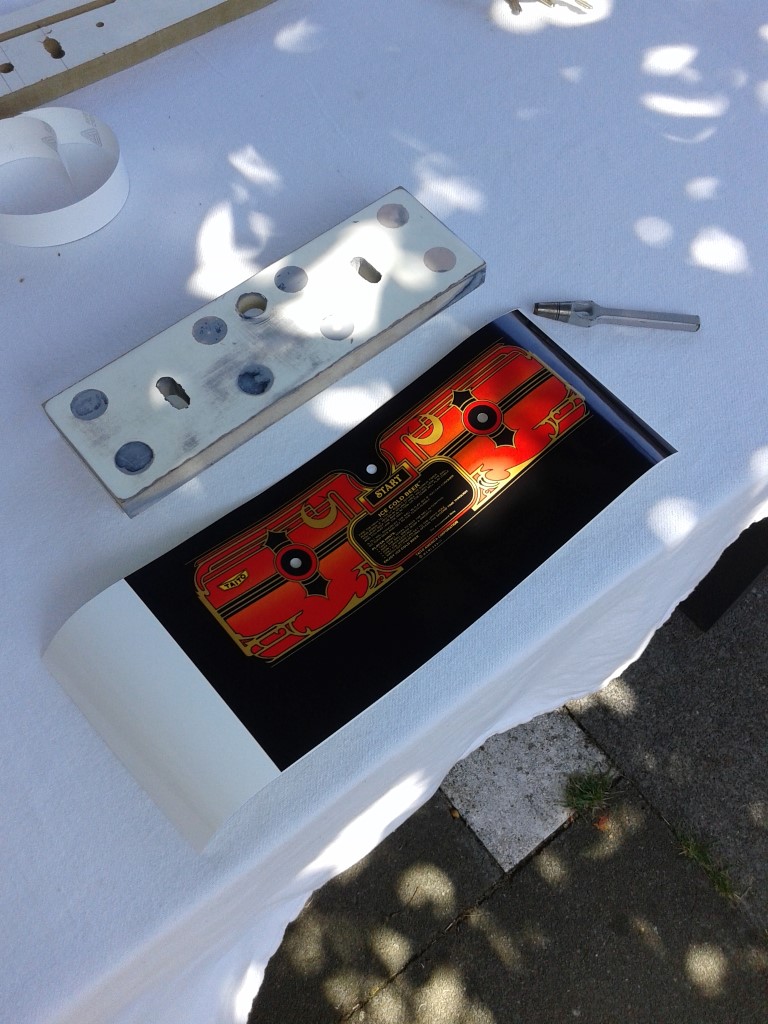 CPO installed. 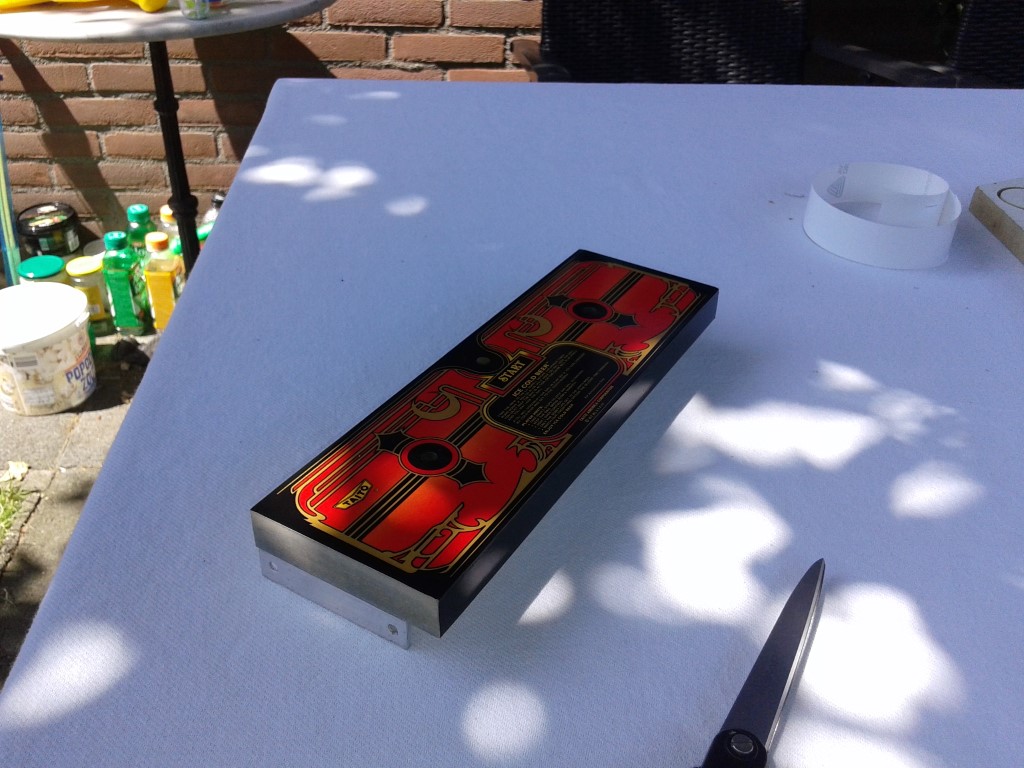 As the blinking button has two functions (blink and switch) i have 4 wires. Let's make a easy disconnect for that.. 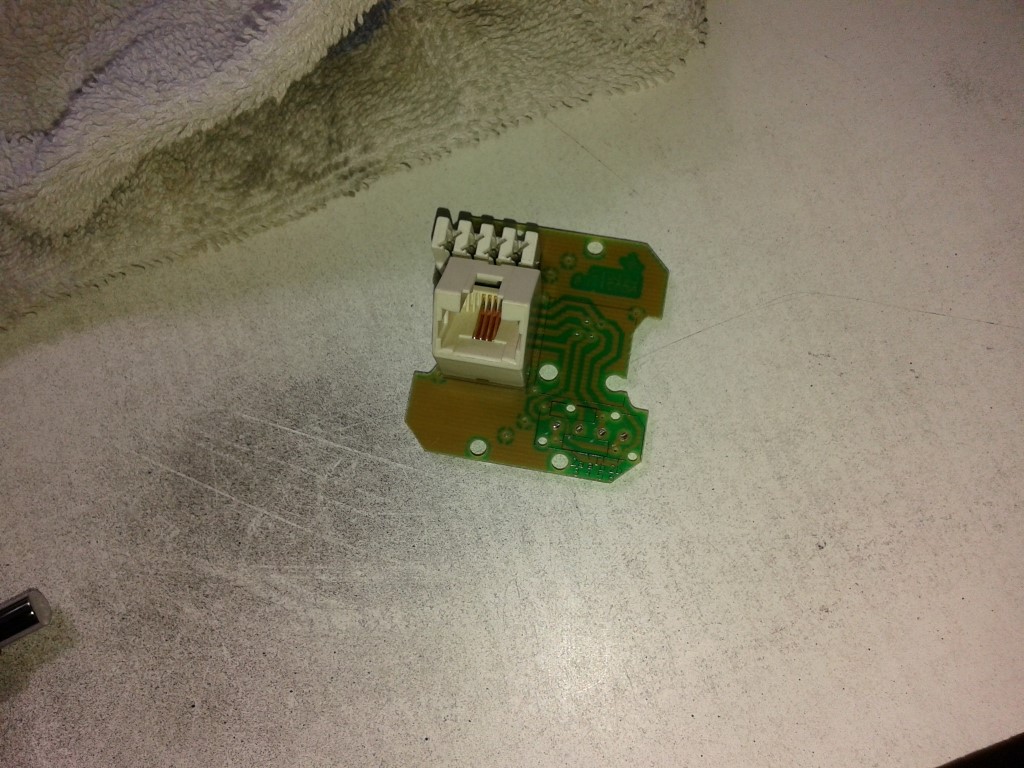 Took a old ISDN jack and hacked it up to the bare minimum. 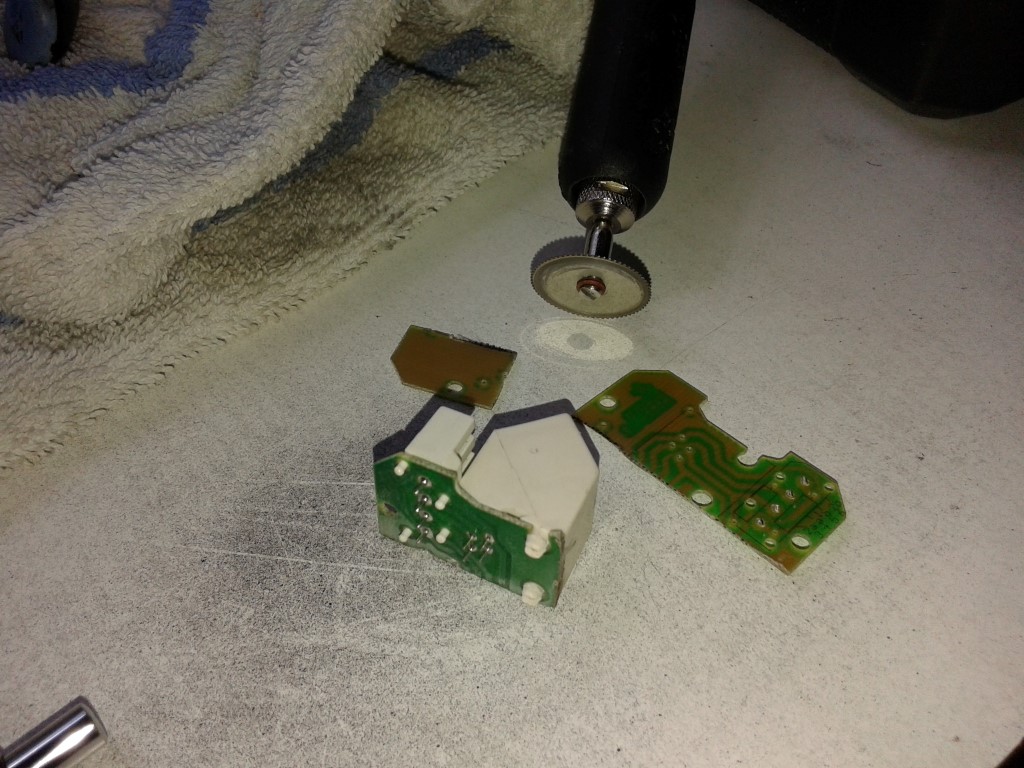 glued the connector PCB and 555 blinker cicuit to the bottom of the control panel with some hot snot. 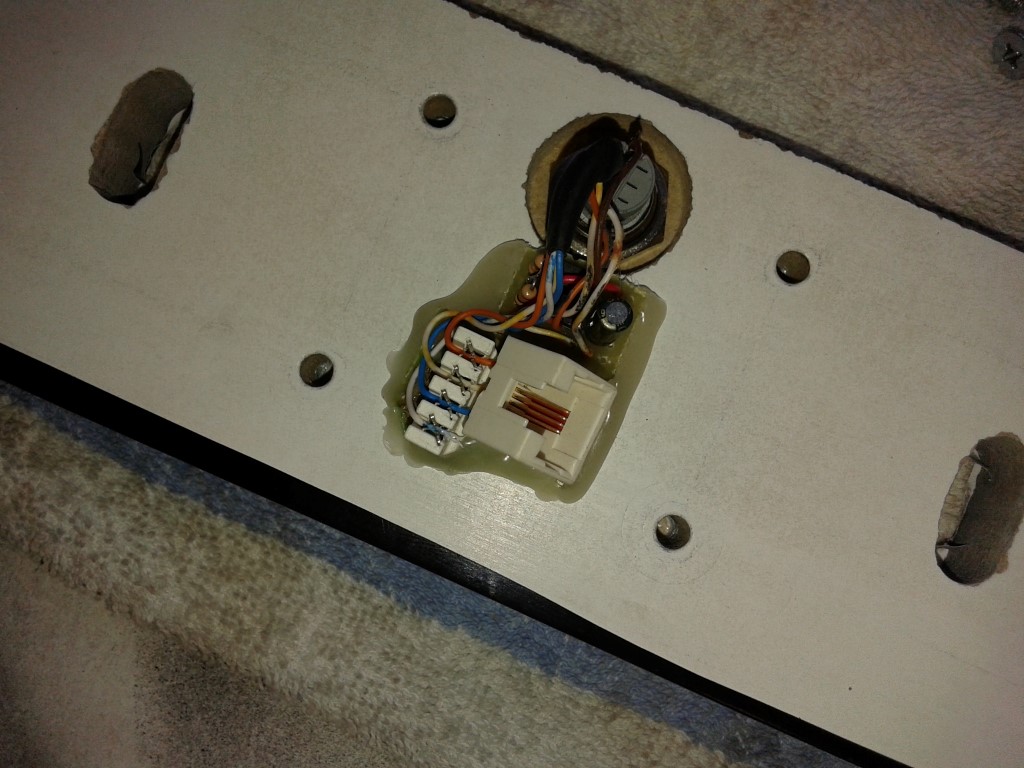 Control panel in place.. 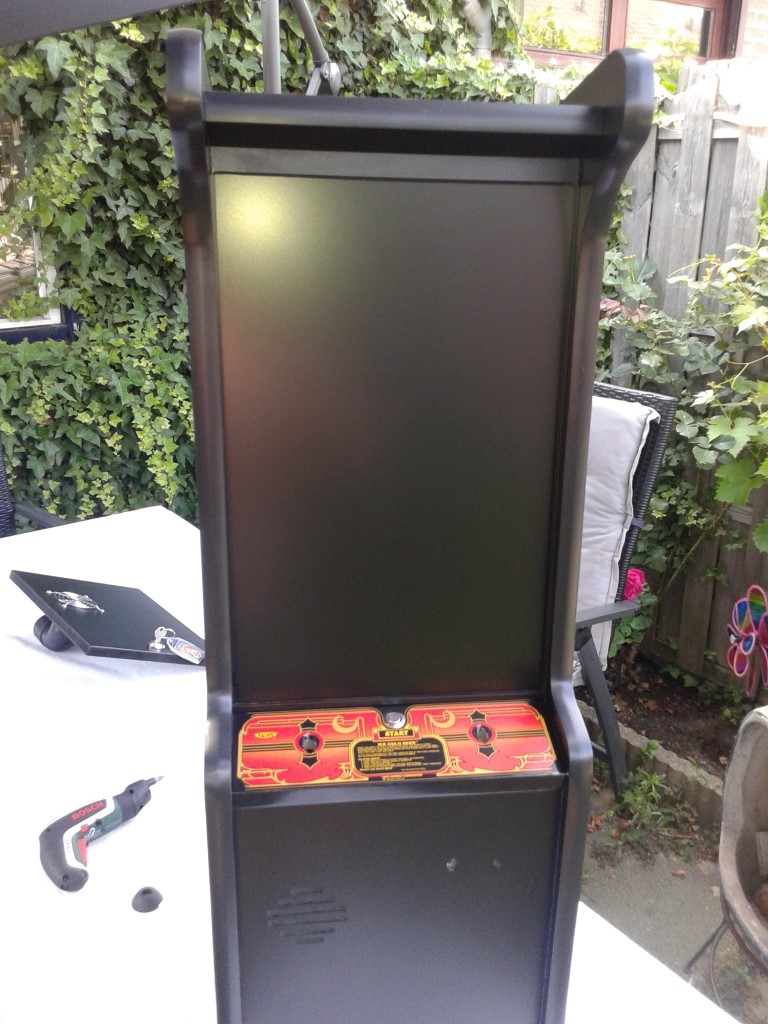 Time to create a coindoor, i have printed this graphic on Alufoil as a coindoor. 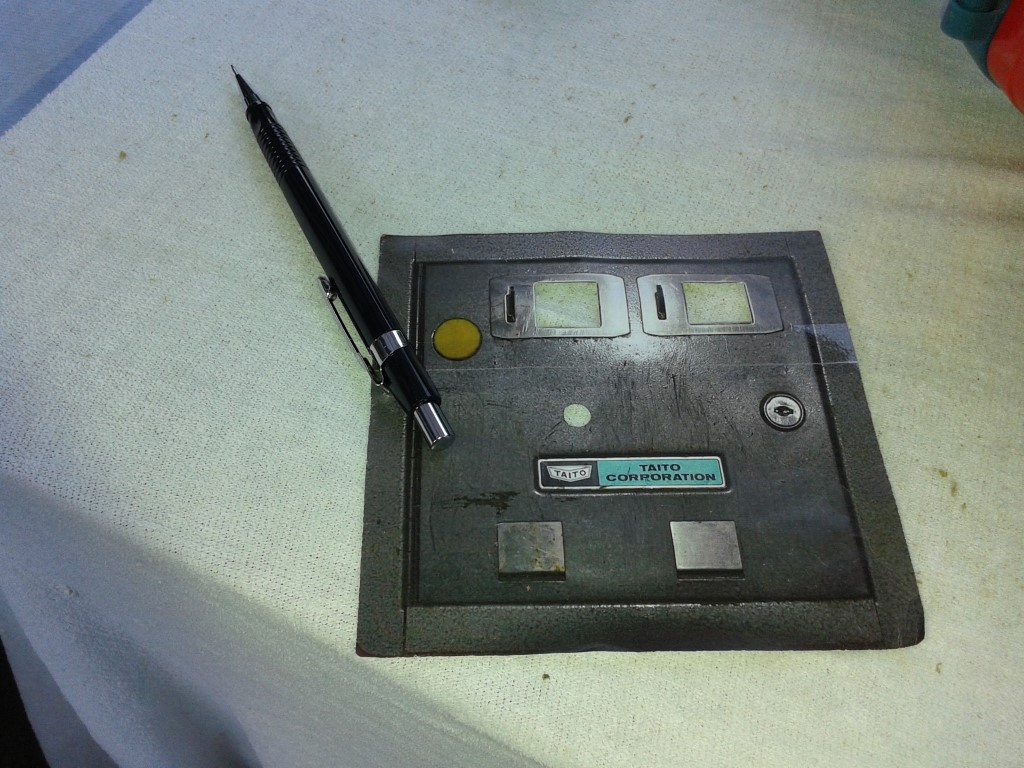 The bottom of the pencil will act very nice as a coin return button. 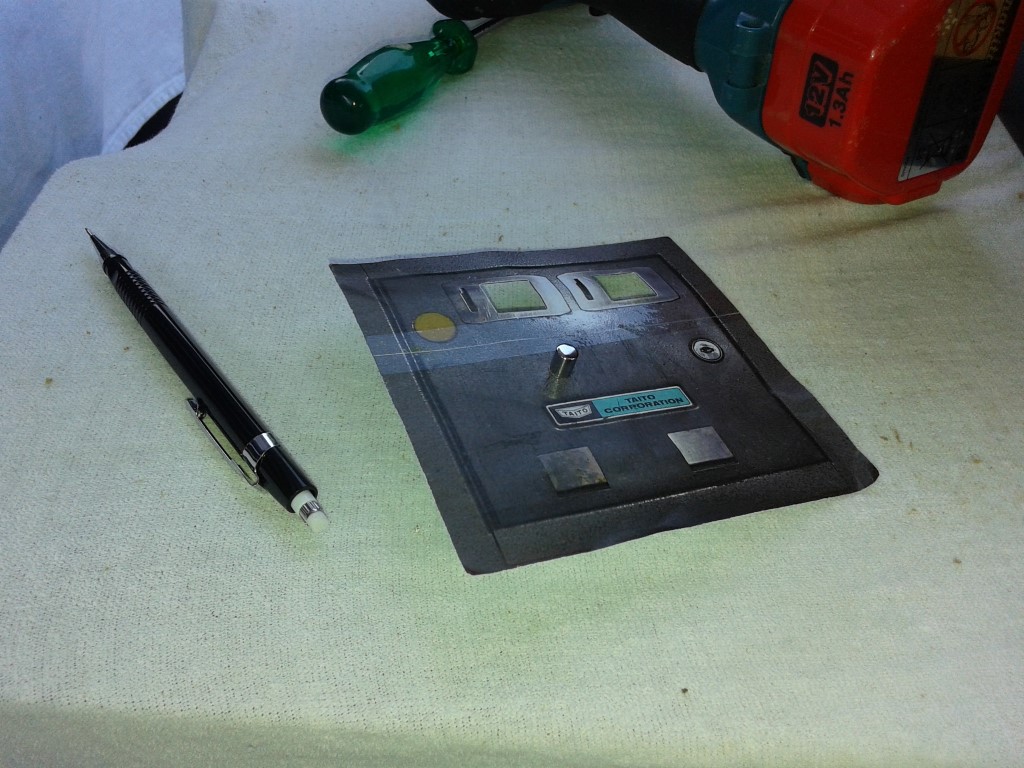 And after putting that on top of a regular push switch, it is a perfect credit button.. 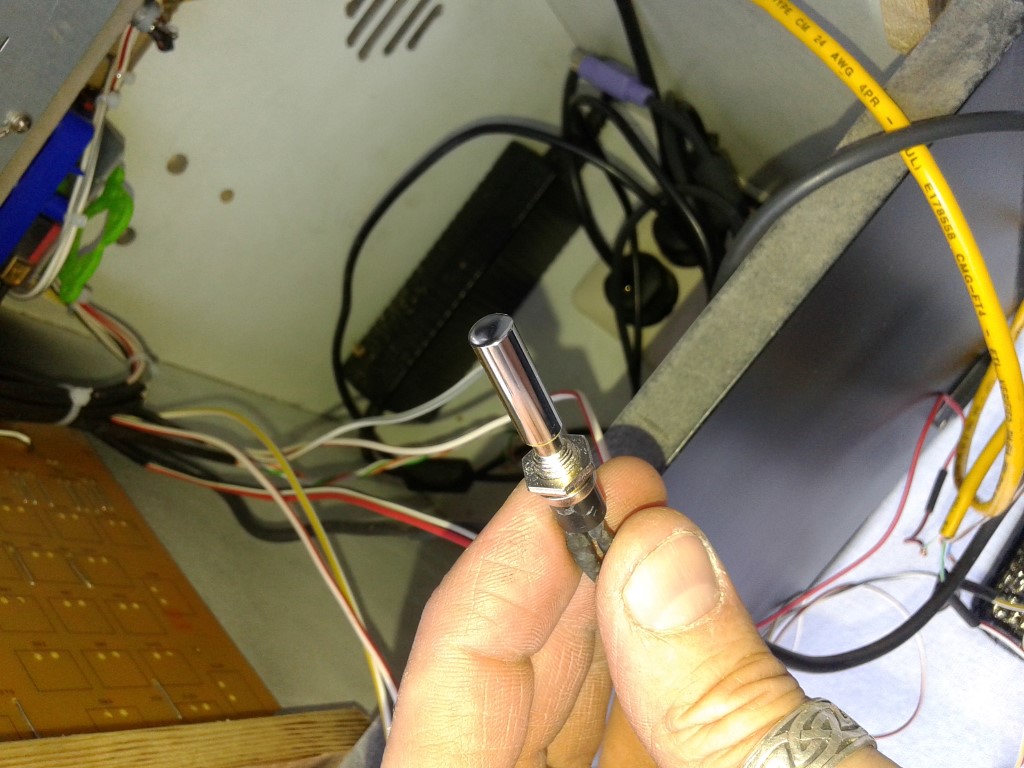 Fits nice and tidy.. 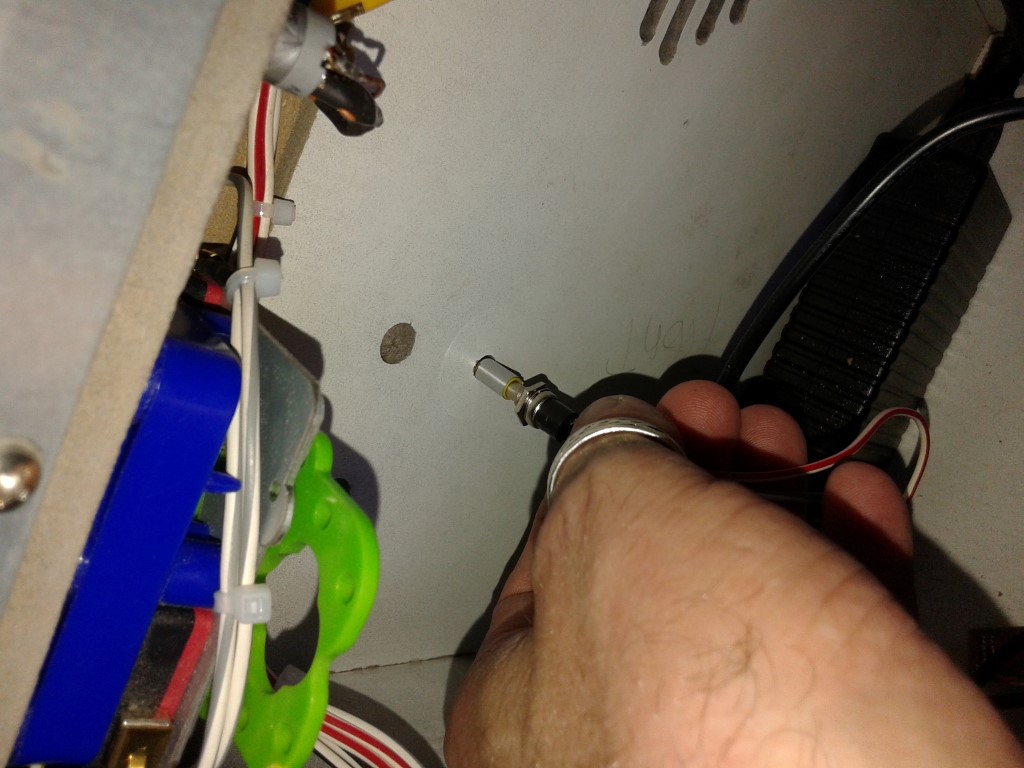 Created a bracket from a old piece of metal.. 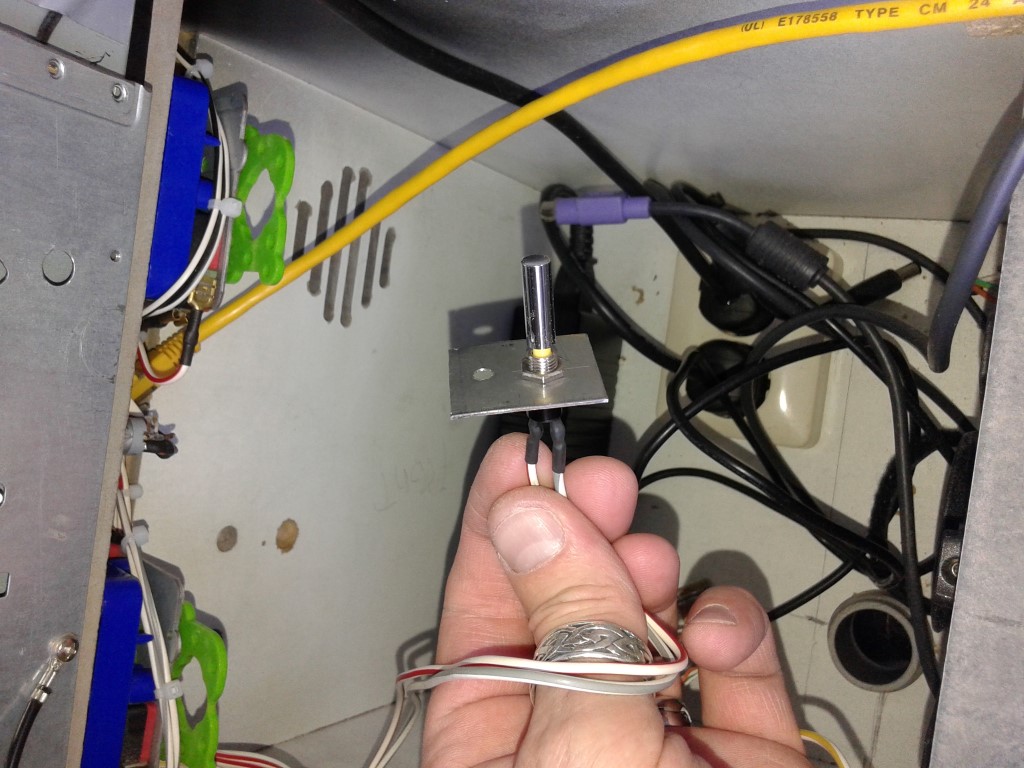 And time to apply the Alu coindoor decal.. 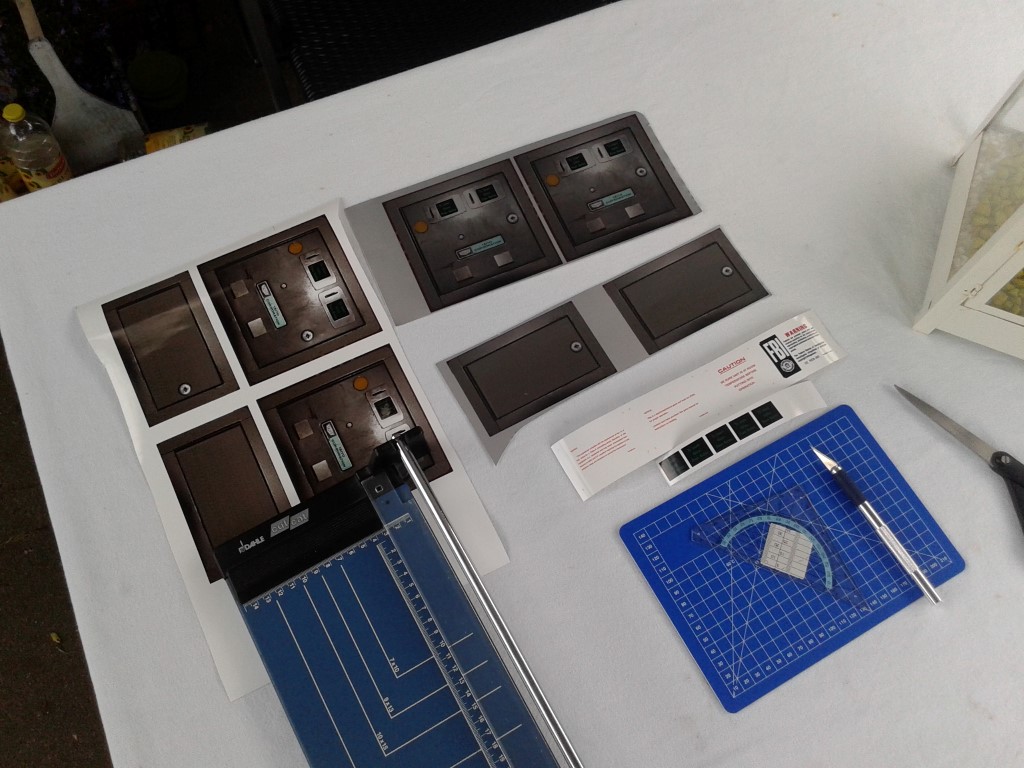 I have printed them on both vinyl as Alu, but the Alu looks the best, so thats the one that will be installed. 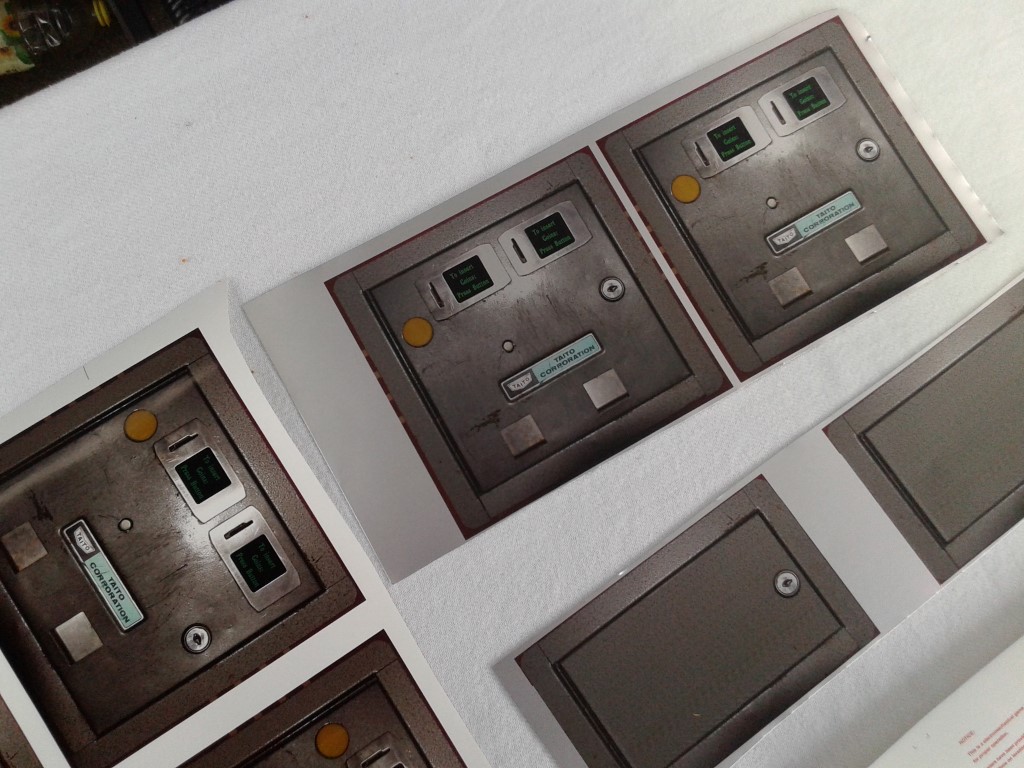 I cut out a piece to let the light for the coinslots come through. 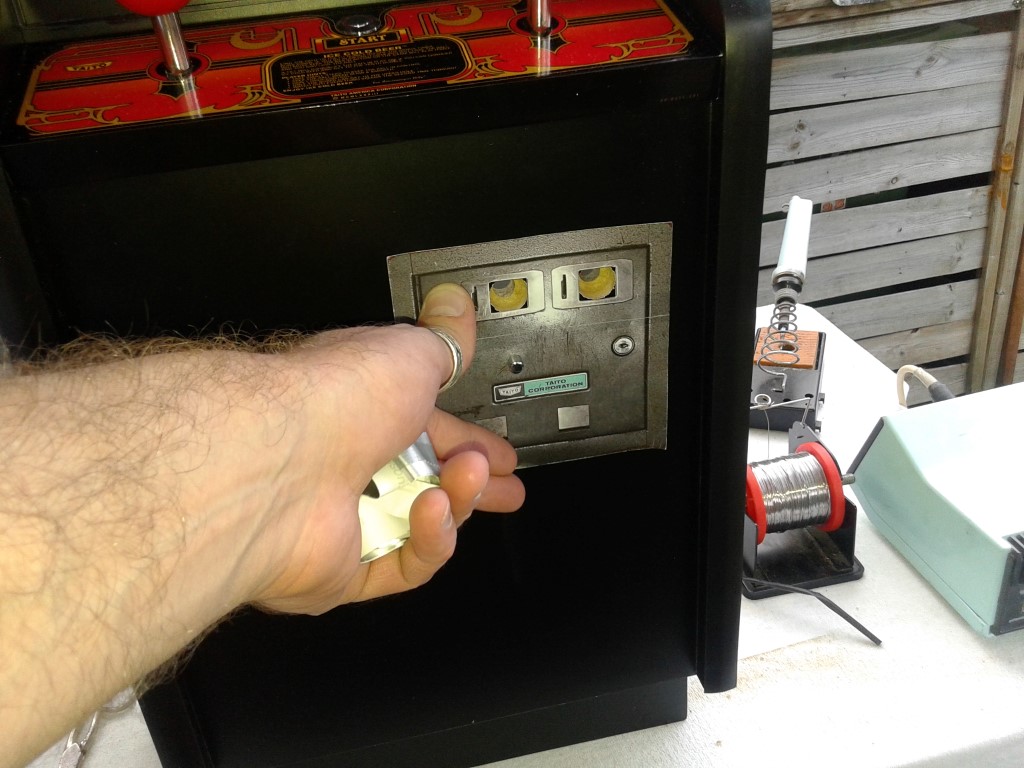 Sticker in place.. 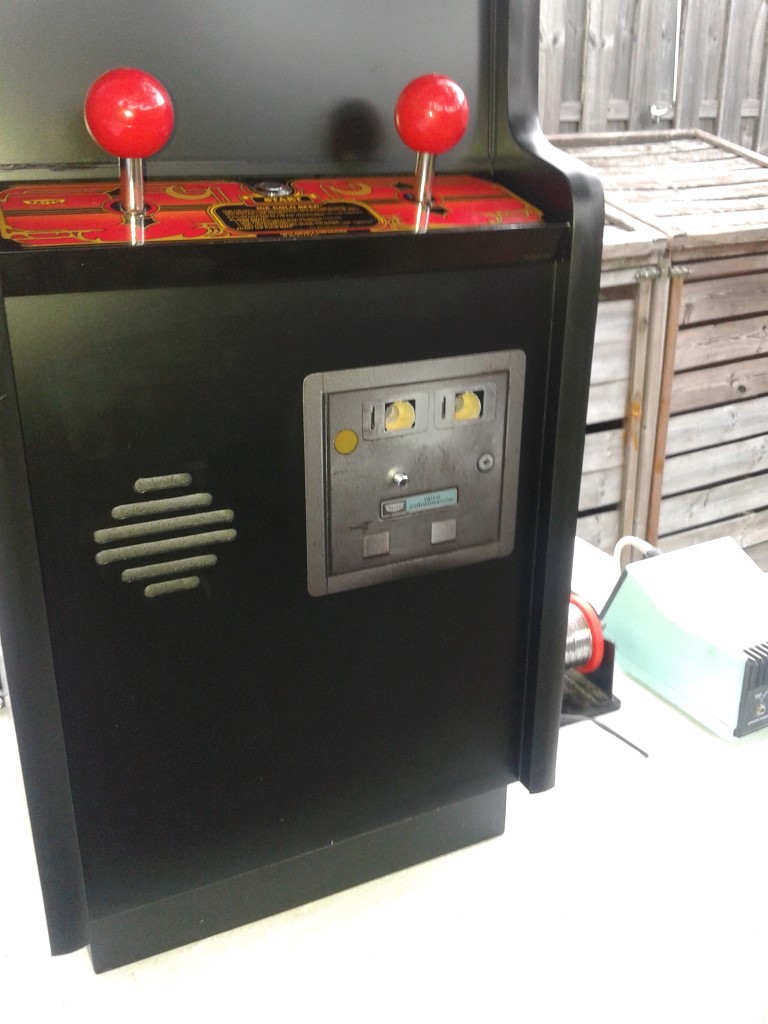 Then i took the vinyl one and cut out the coindoor lights part and pasted that over the alu. 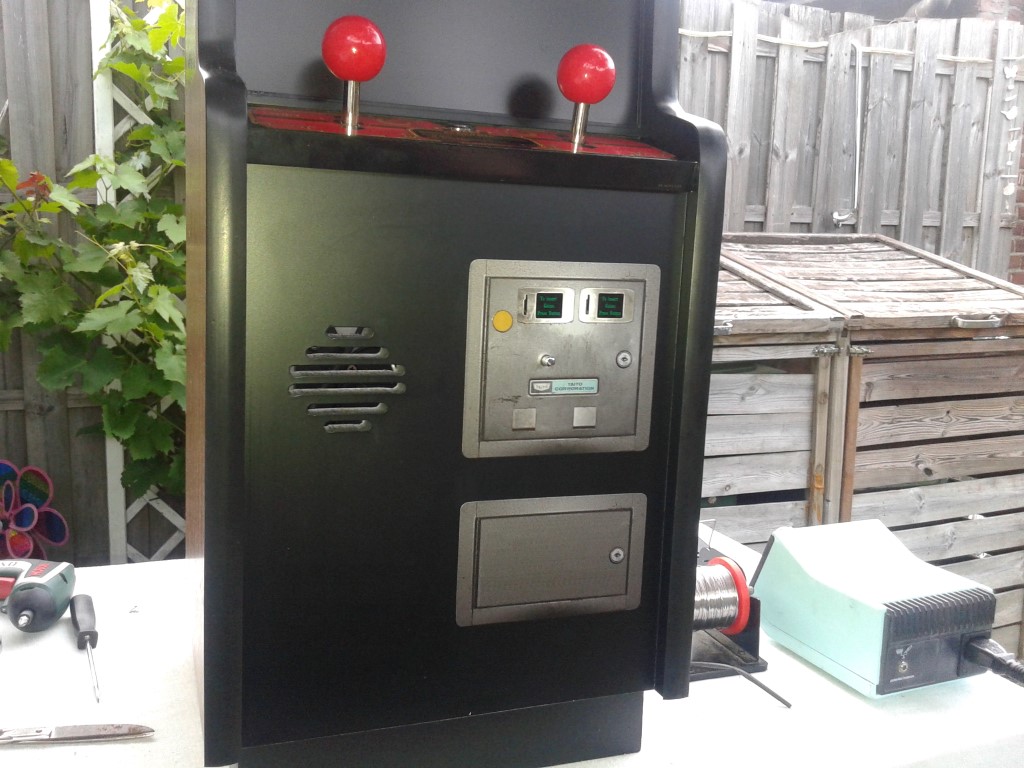 The vinyl is translucent, as the alu is not, so now the light shines thrue. 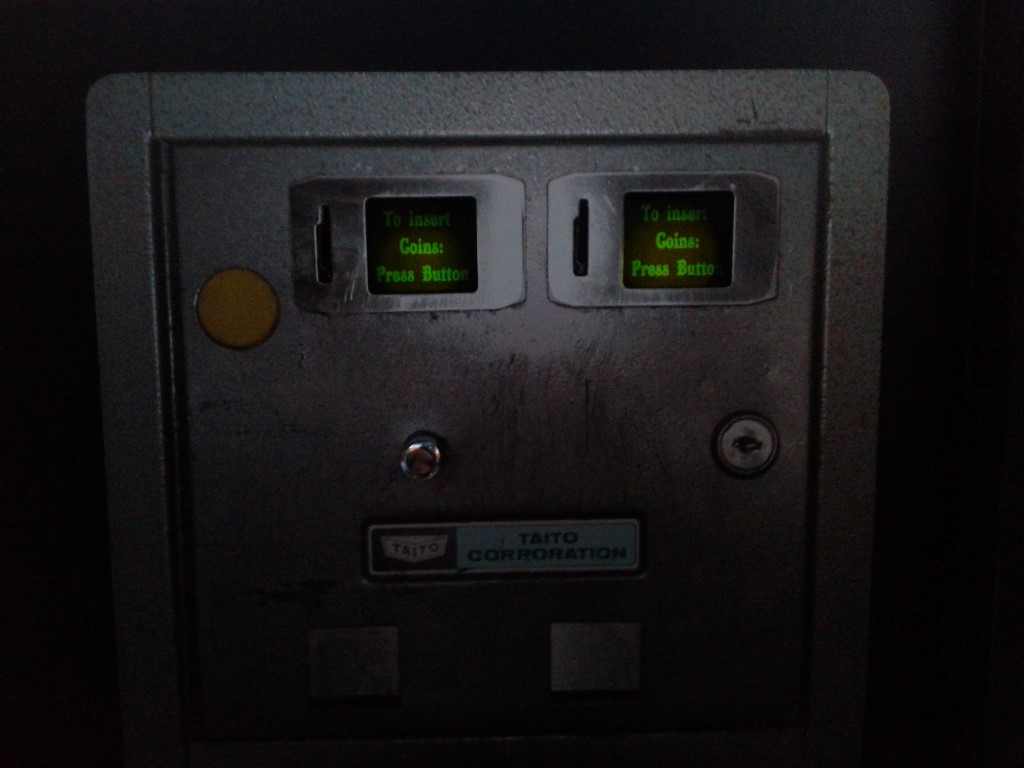 Outside of the cabinet is done.. 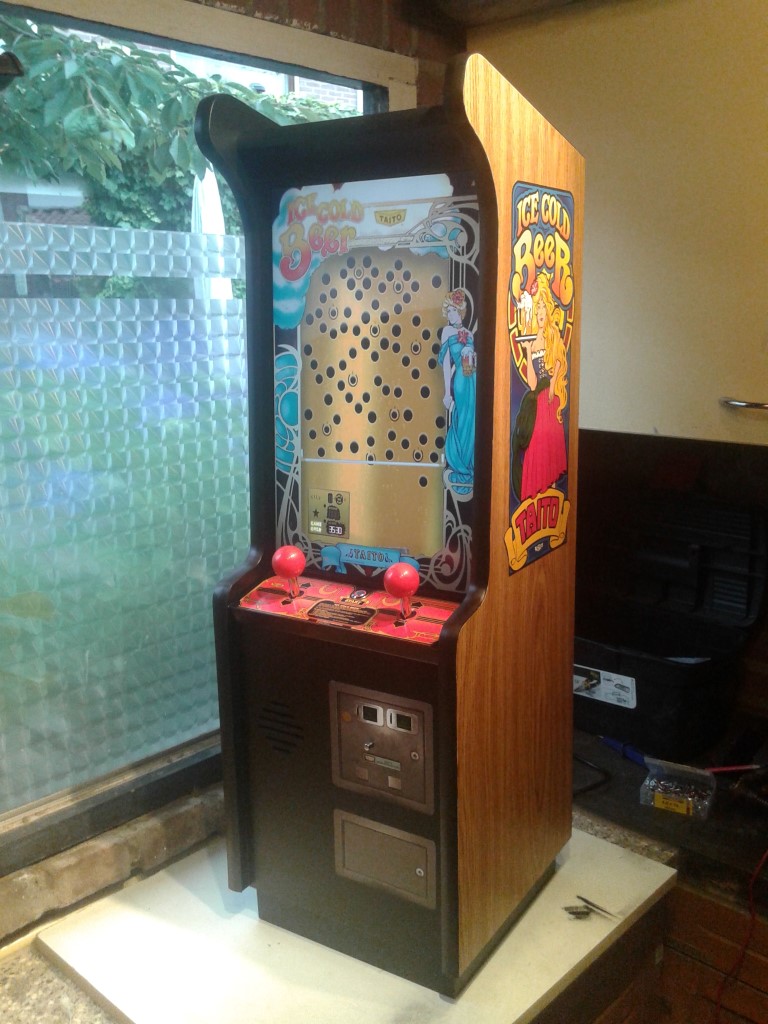 Except for the airintake grill that is, but i have sourced one last week. 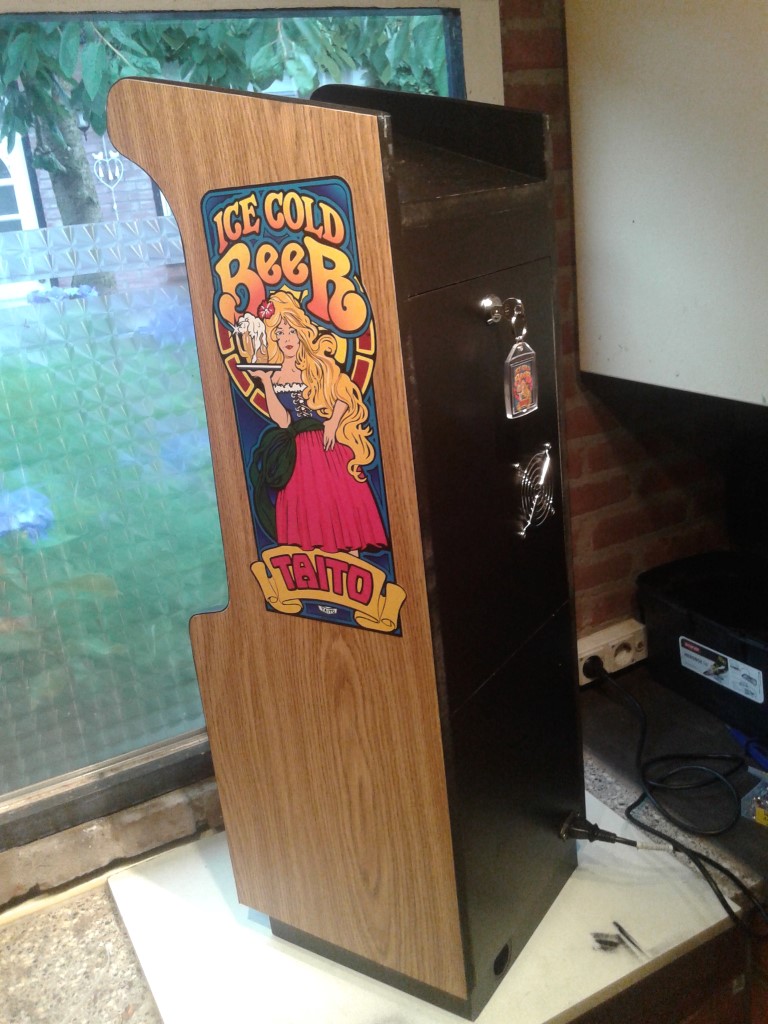 Will install that soon, and then its totally done cosmeticly on the outside. Next up, a speaker and amplifier.. |
|
|
|
|
4
|
Arcade and Pinball Discussions / General Arcade and Video Game Discussions / Re: Ice Cold Beer 1/2 Scale Repro Scratch build
|
on: November 15, 2015, 03:07:03 am
|
As this mini's second function is a piggybank, we need a coinbox. Let's build one  Sawed some strips from a flat piece to act as studs.  Took some thin sheets of wood and start glue-ing the studs to them.. 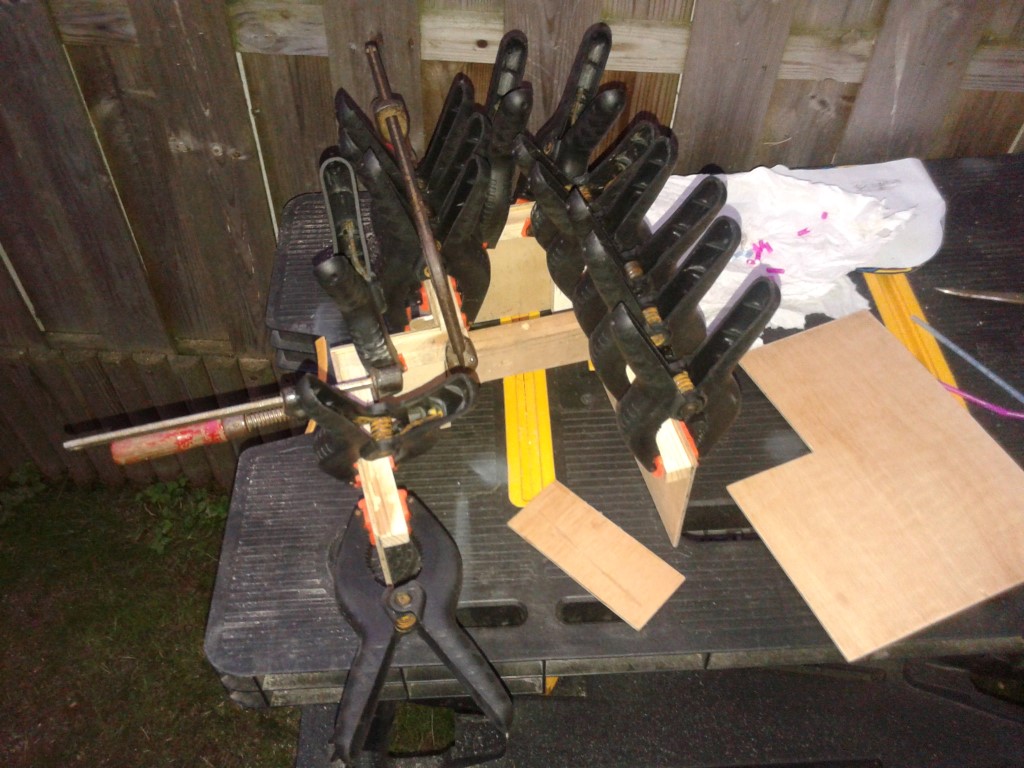 Watching glue dry... 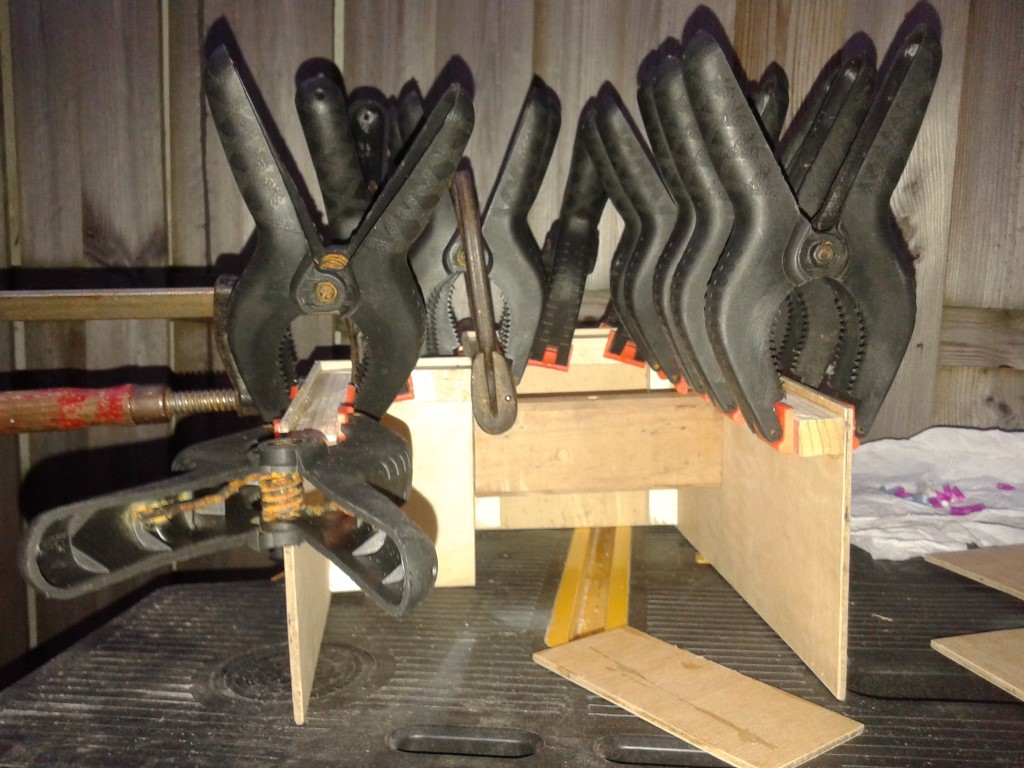 After the main shape was done, i glued in the backpanel. 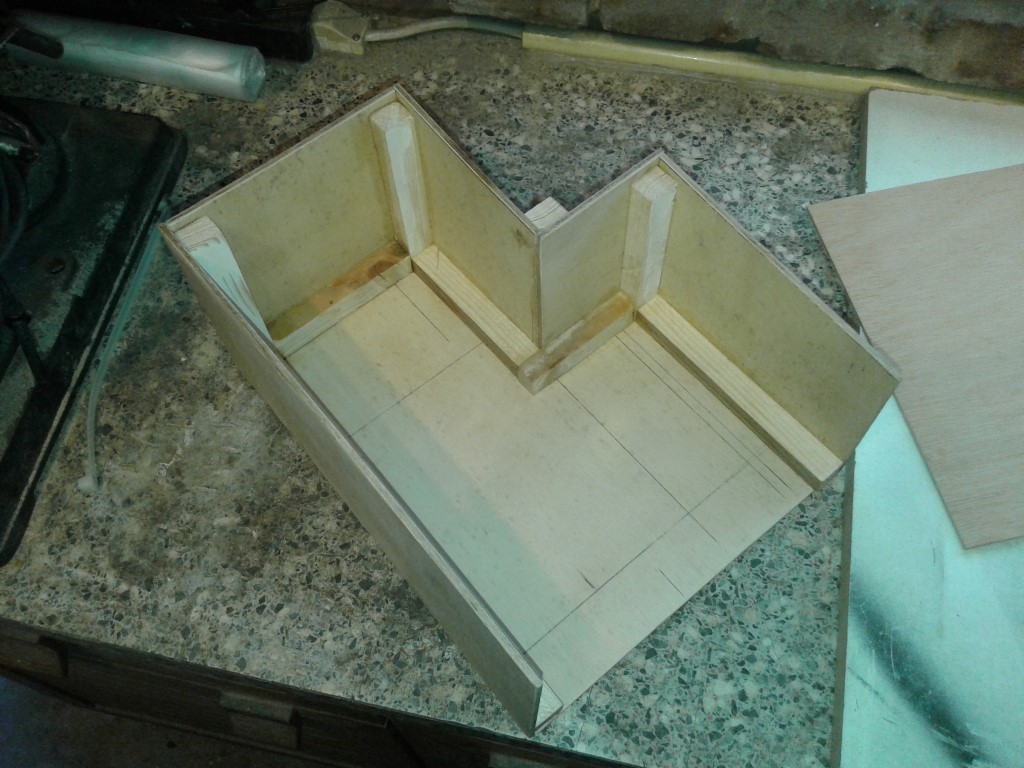 you may wonder why the shape is like this ? 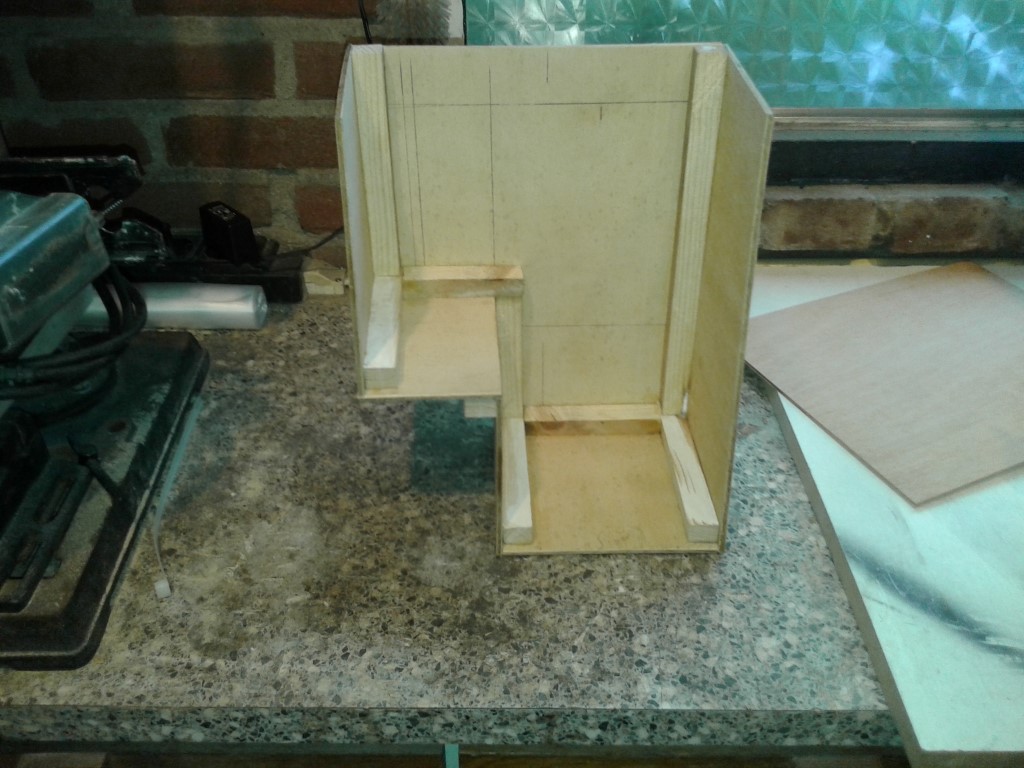 I'll tell you, its because there is a vent pipe in the backdoor that needs to be over the grill of the PC to transport the warm air out.. 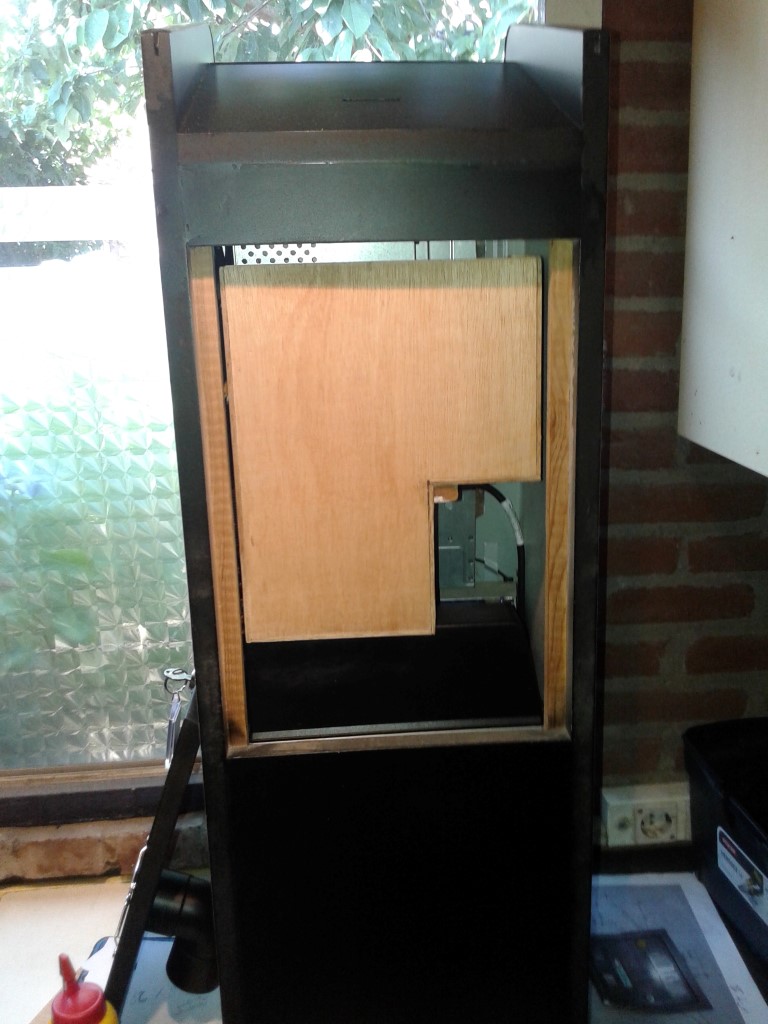 As there is a big hole next to the grill of the pc, the air would normally escape from there into the cabinet, but the bottom of the cashbox will prevent this as it closes the hole when sitting on top of the pc. 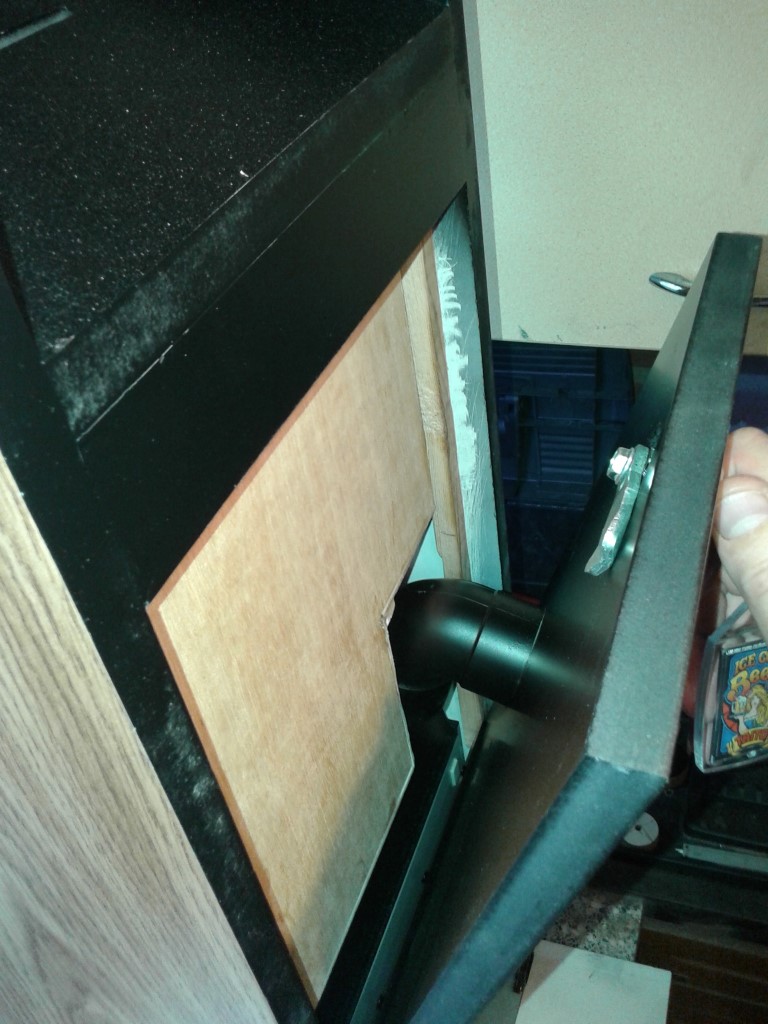 The back of the box is straight, the front (which is on the side of the monitor) is made with the same angle as the monitor is installed, so all fits nice and tidy, and gives maximum space in the coinbox. |
|
|
|
|
5
|
Arcade and Pinball Discussions / General Arcade and Video Game Discussions / Re: Ice Cold Beer 1/2 Scale Repro Scratch build
|
on: November 15, 2015, 03:04:47 am
|
Time to do some cosmetic work. Let's put some vinyl on the sides!  First thing to do after a light sanding session is cleaning the surface with alcohol. 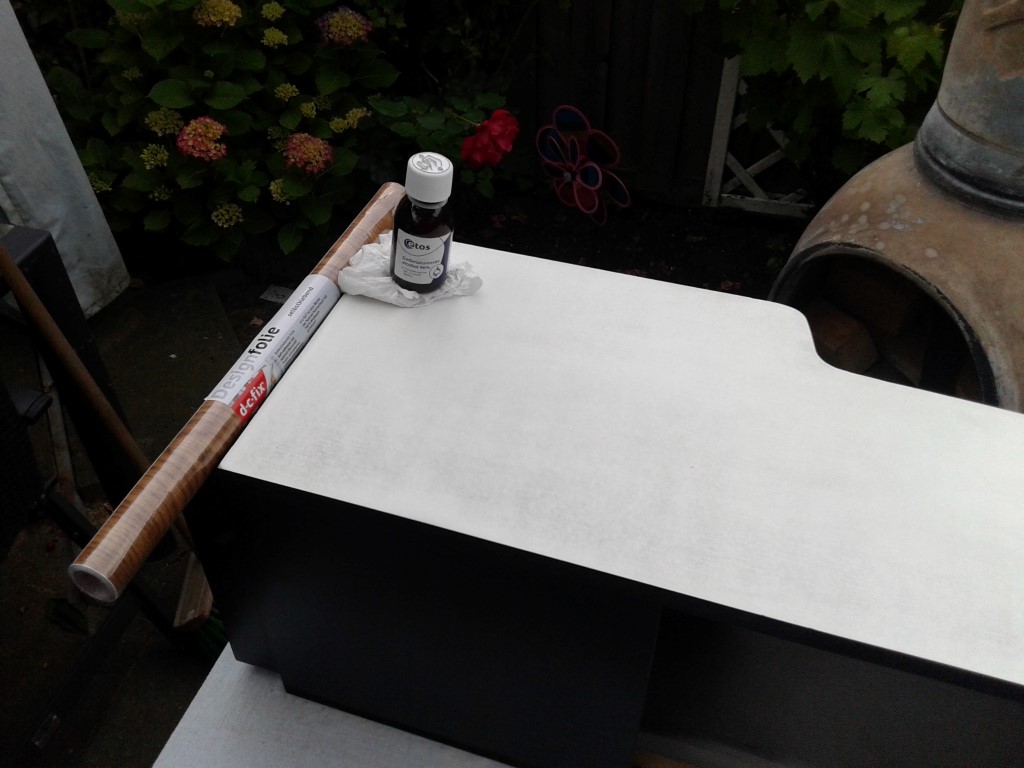 cut the roll in half.. 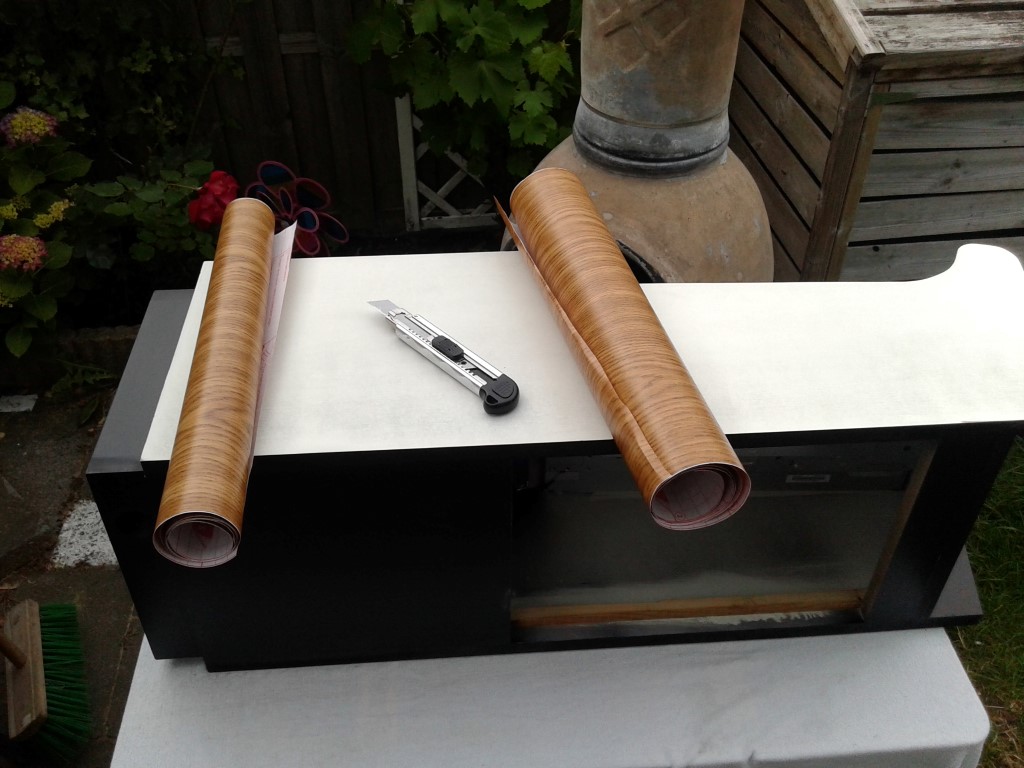 place in position, make a rough cutout and clamp it down on the top half. 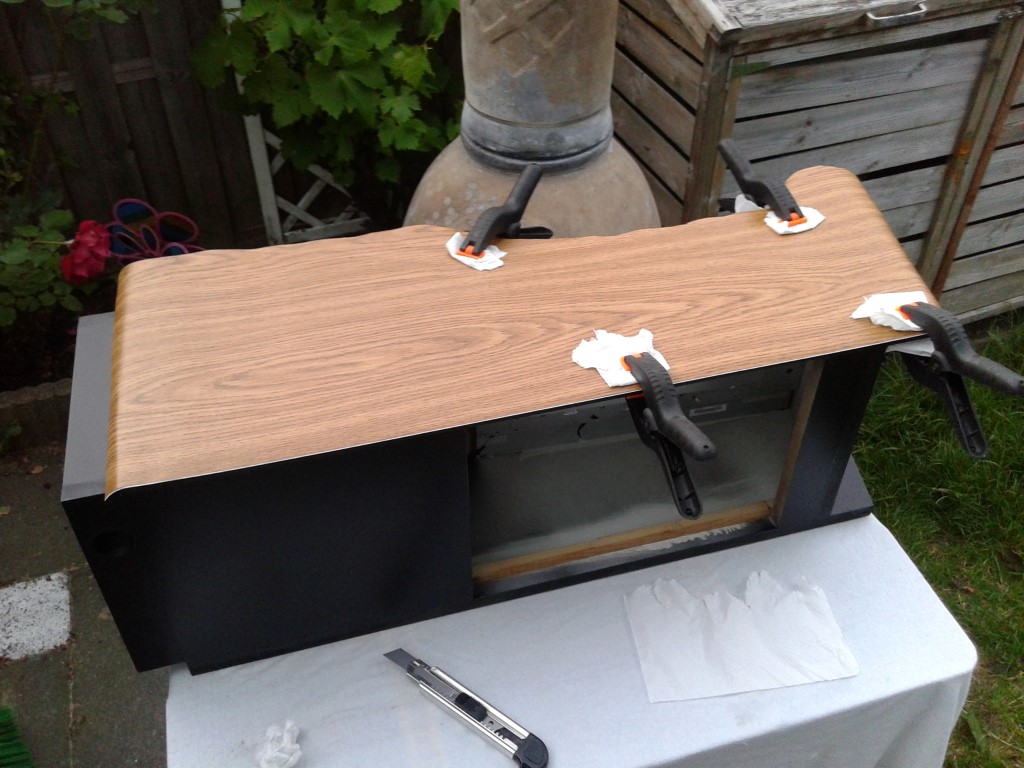 carefully bend the bottom side over, remove the protective backing and cut that off as straight as possible. 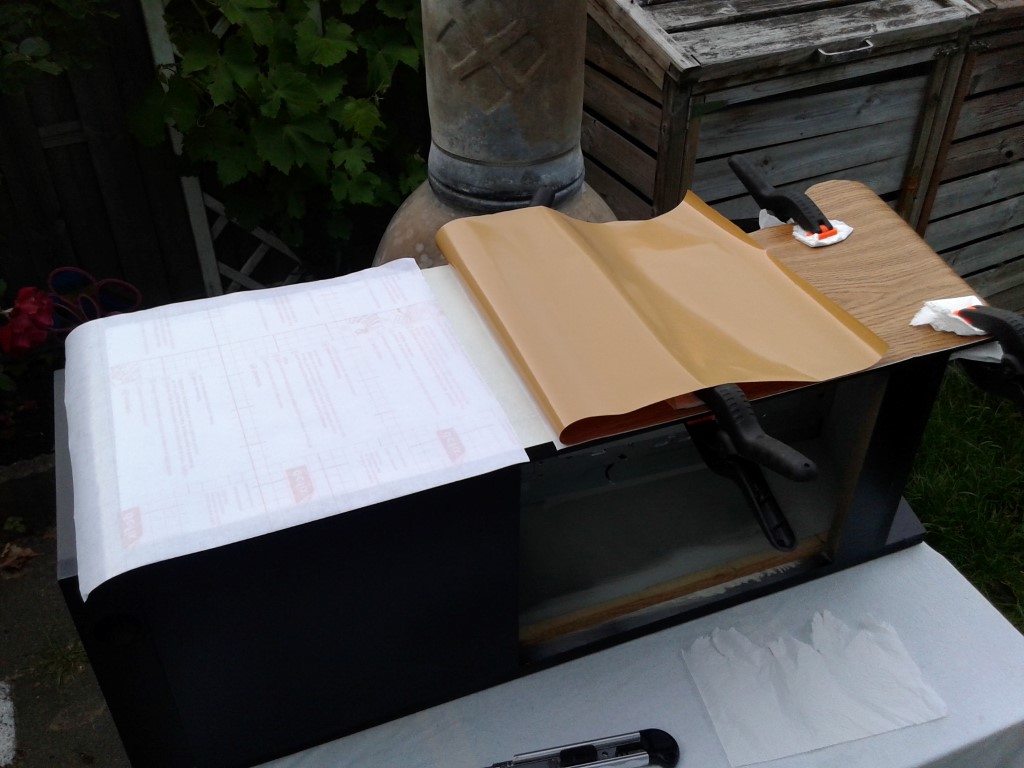 Then apply the bottom part from the center to the bottom while holding it up and push it down with a towel or something like that. I like a towel instead of a squeegy because with a towel i "feel" what i do. 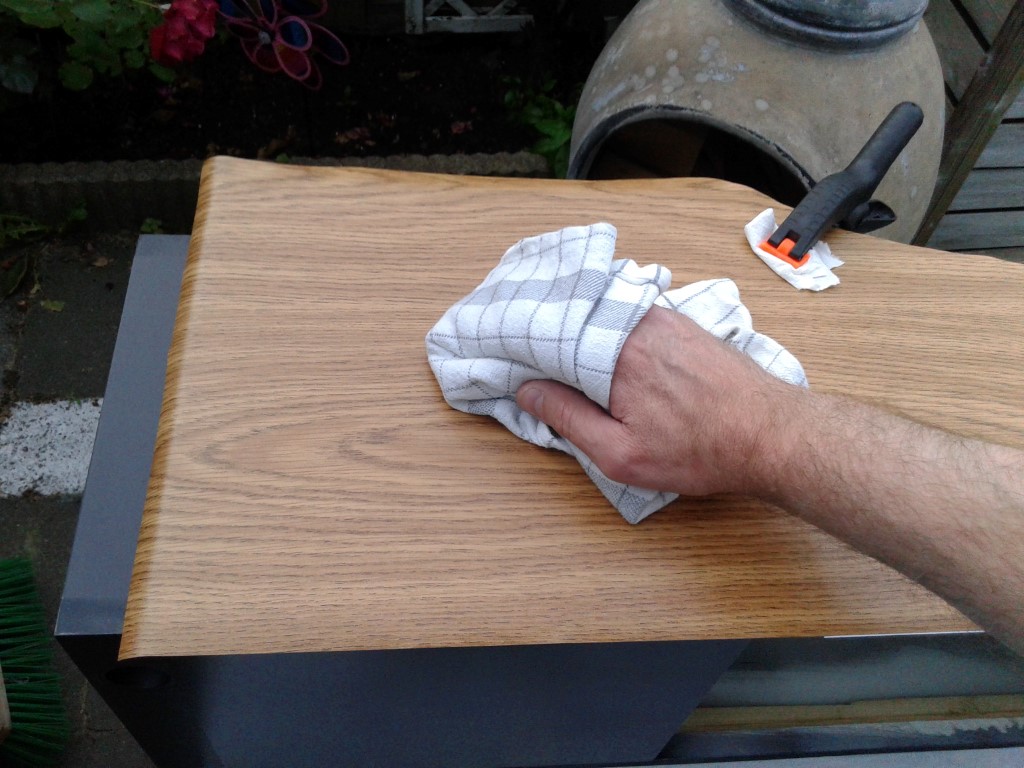 when that is done, remove the clamps and bend over that side..  Remove the backing from that and repeat the procedure to put that part on. 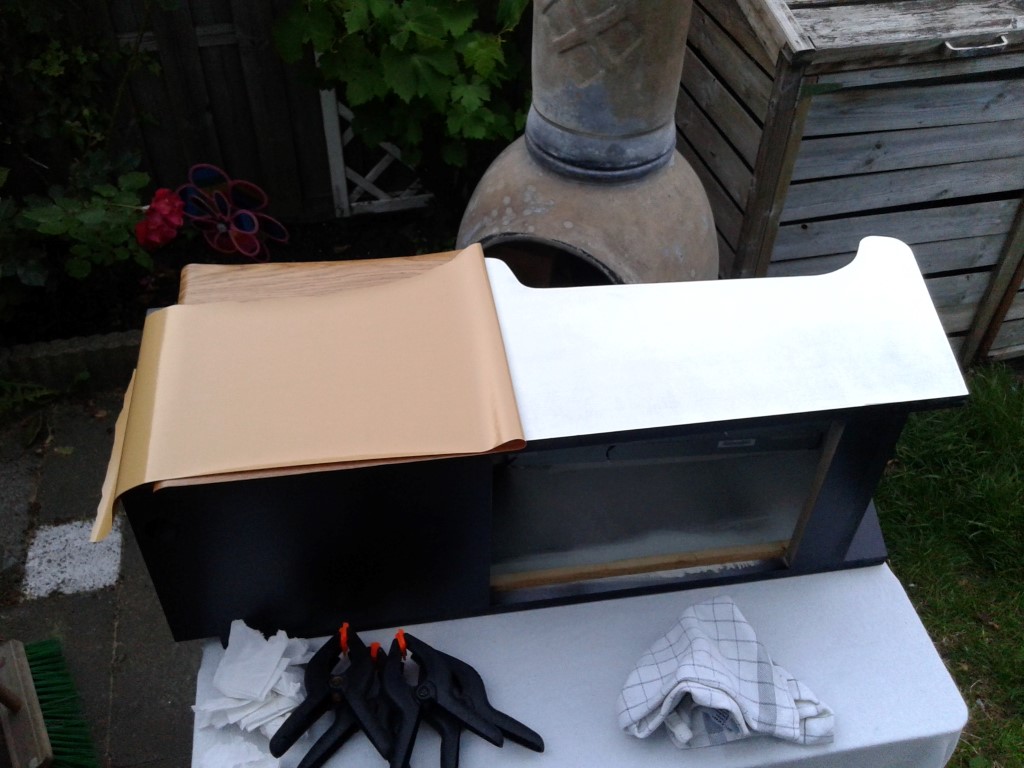 Trim the vinyl, and repeat all on the other side. 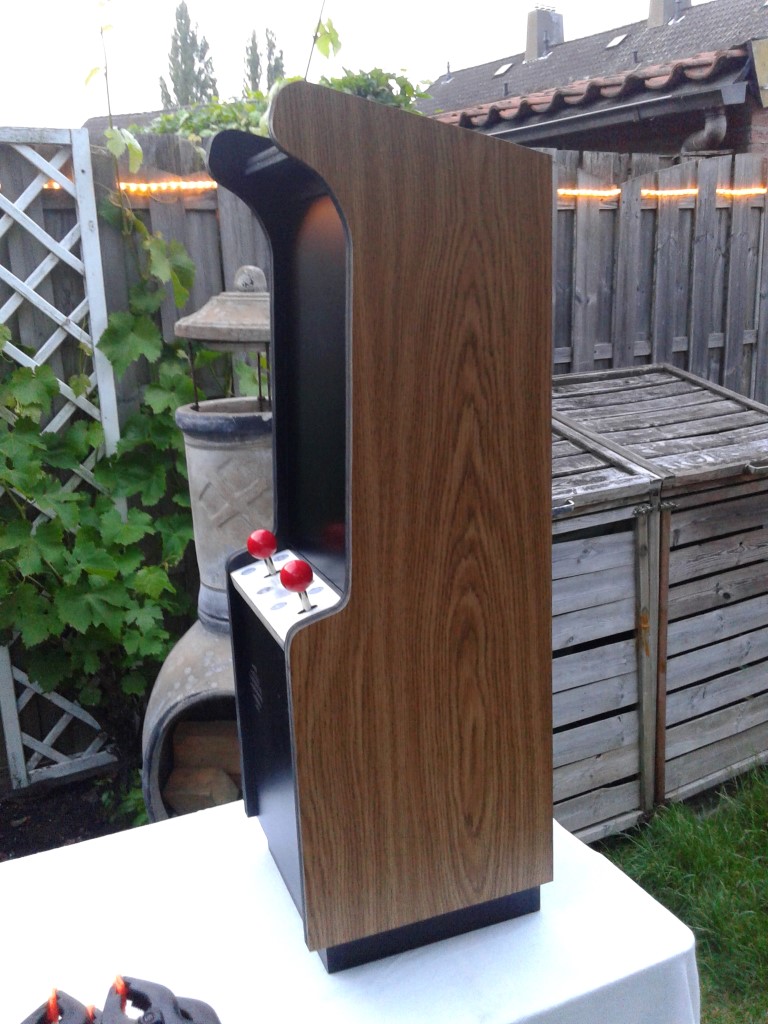 Tmolding time 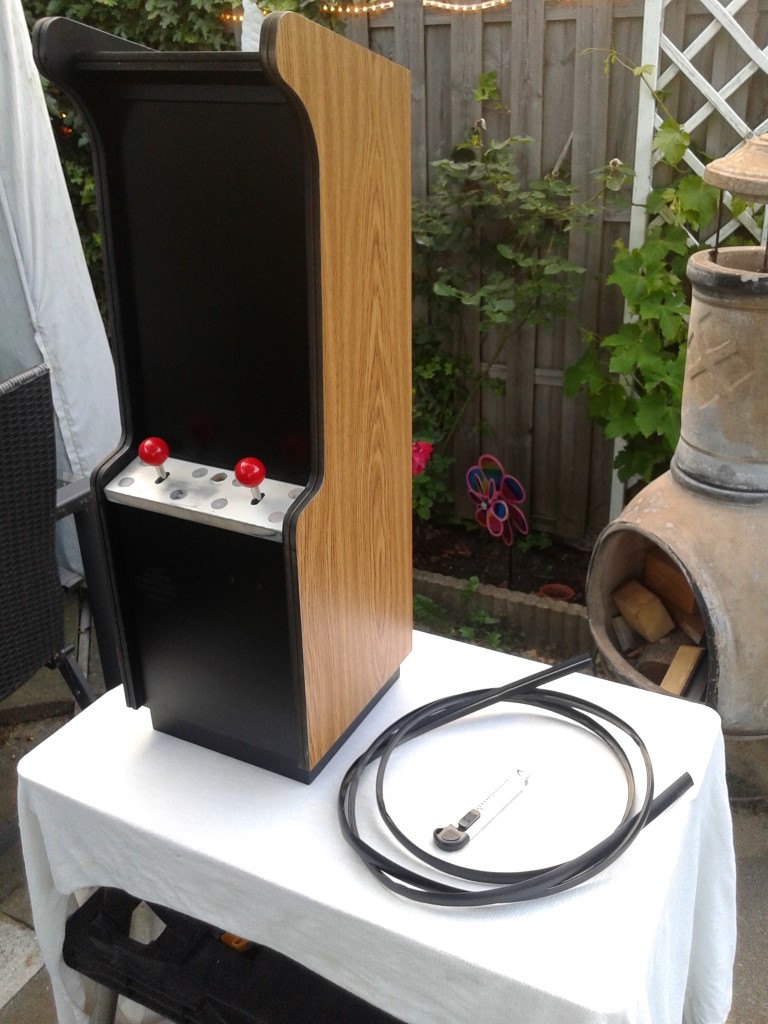 Here and there i used hot snot to fixate it. (corners and edges) 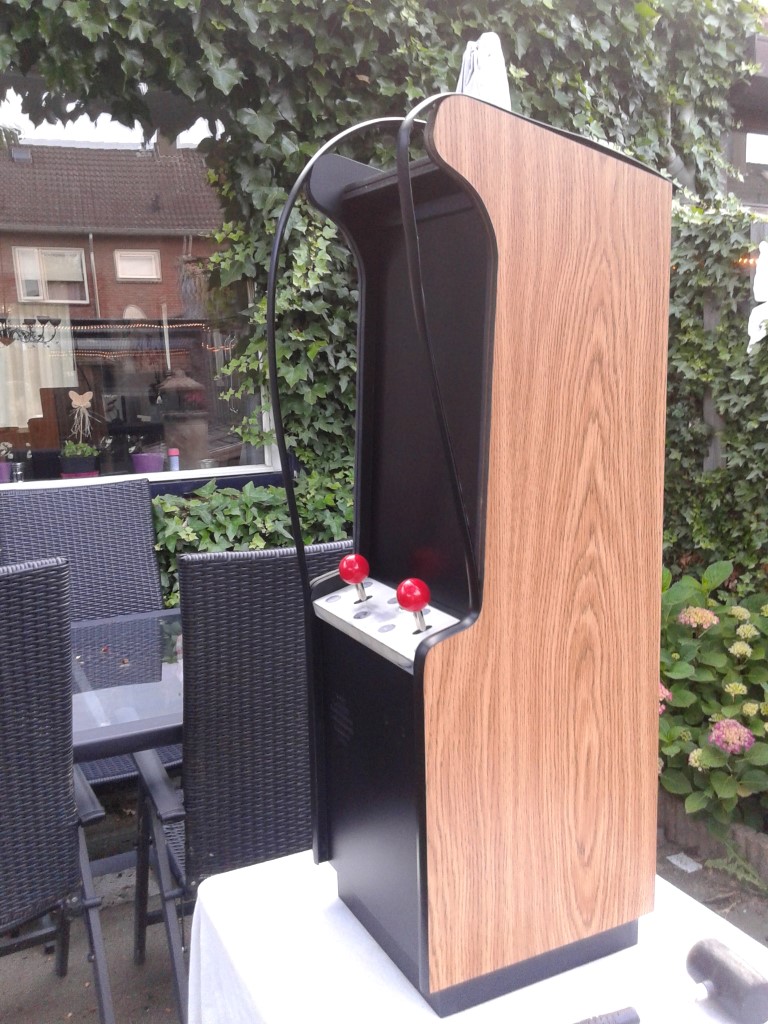 All in place. 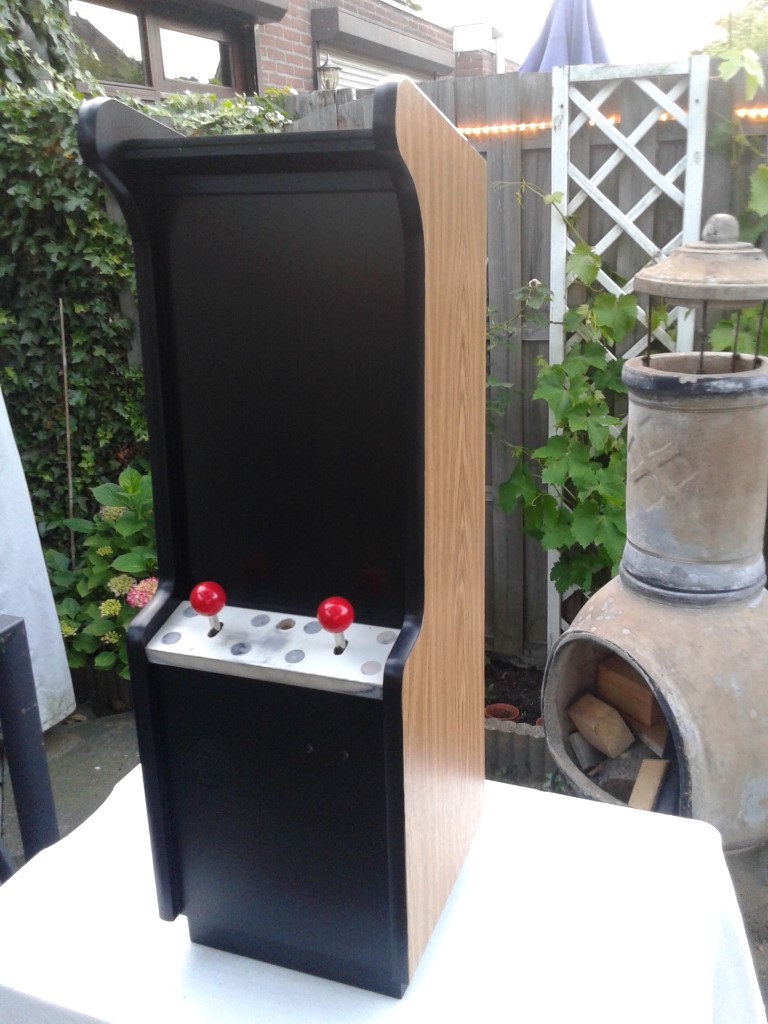 Repeat procedure on other side.. 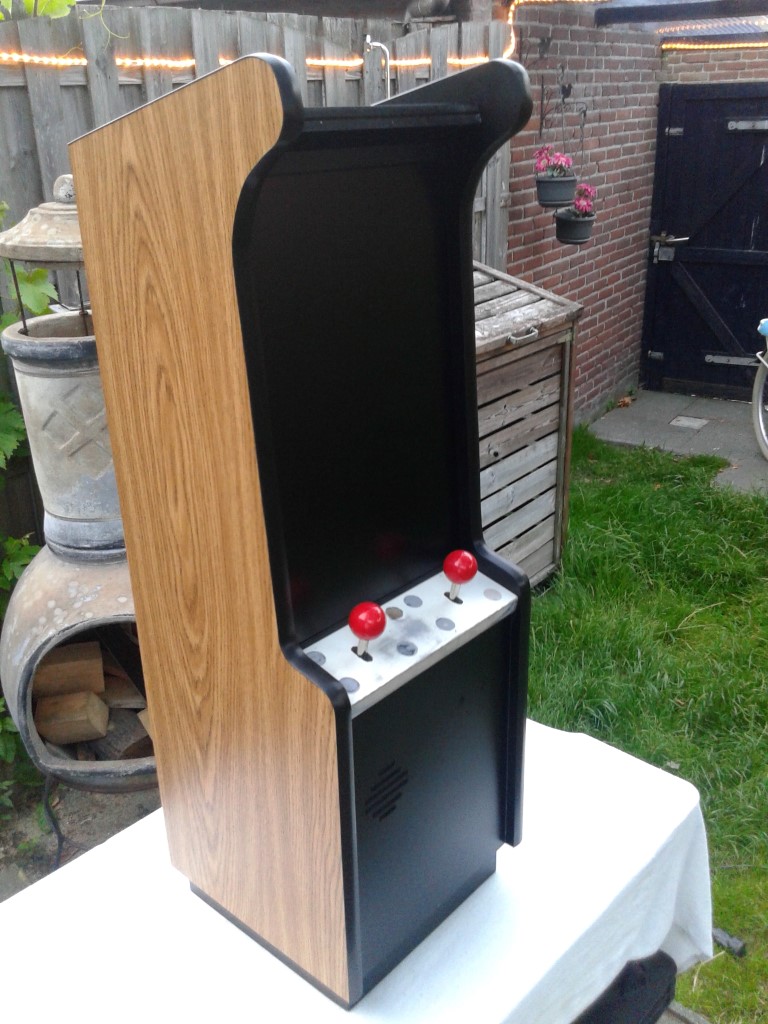 Next up, a power connection. Drilled out a hole for a A.C. Line Filter "built in Receptacle" 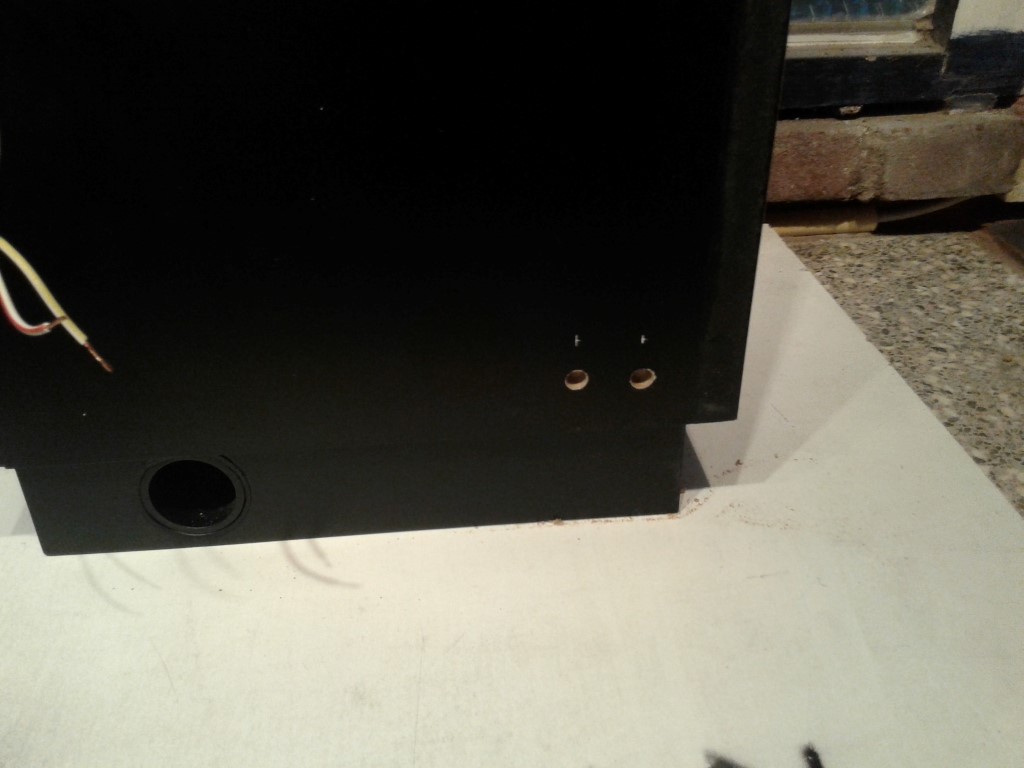 These you can find in old electronic devices and i think they are nice as you can use a IEC320-C14 plug (standard power cable) 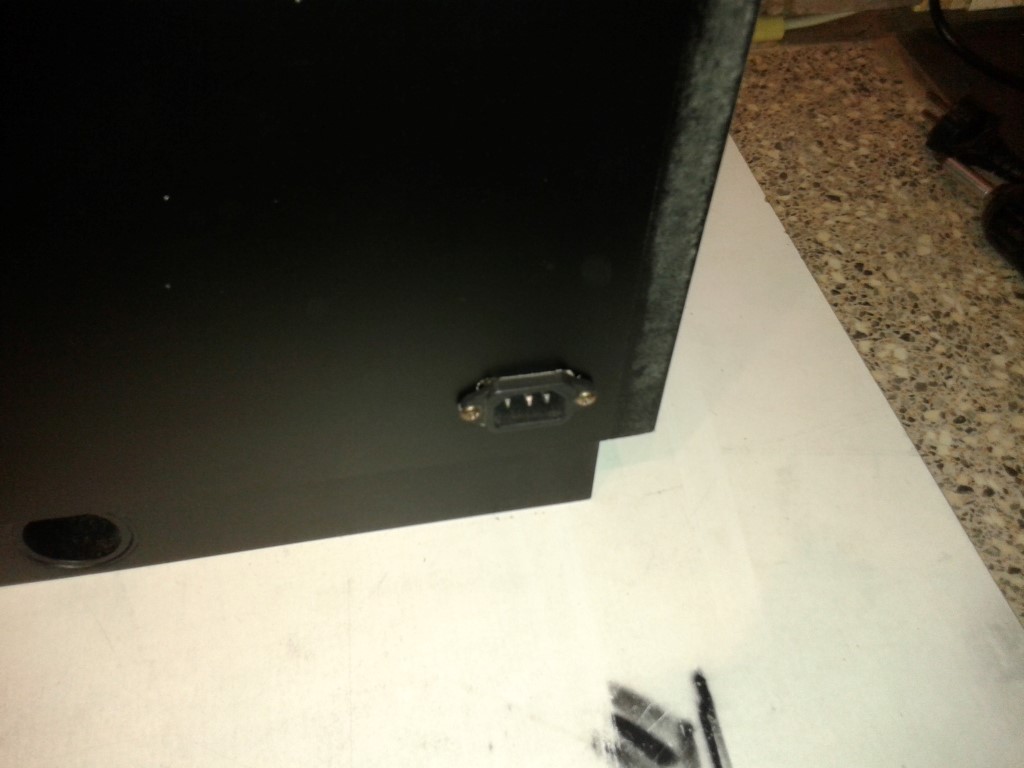 Fitted an old walloutlet in the bottom with 2 outlets. One for the PC and one for the monitor. 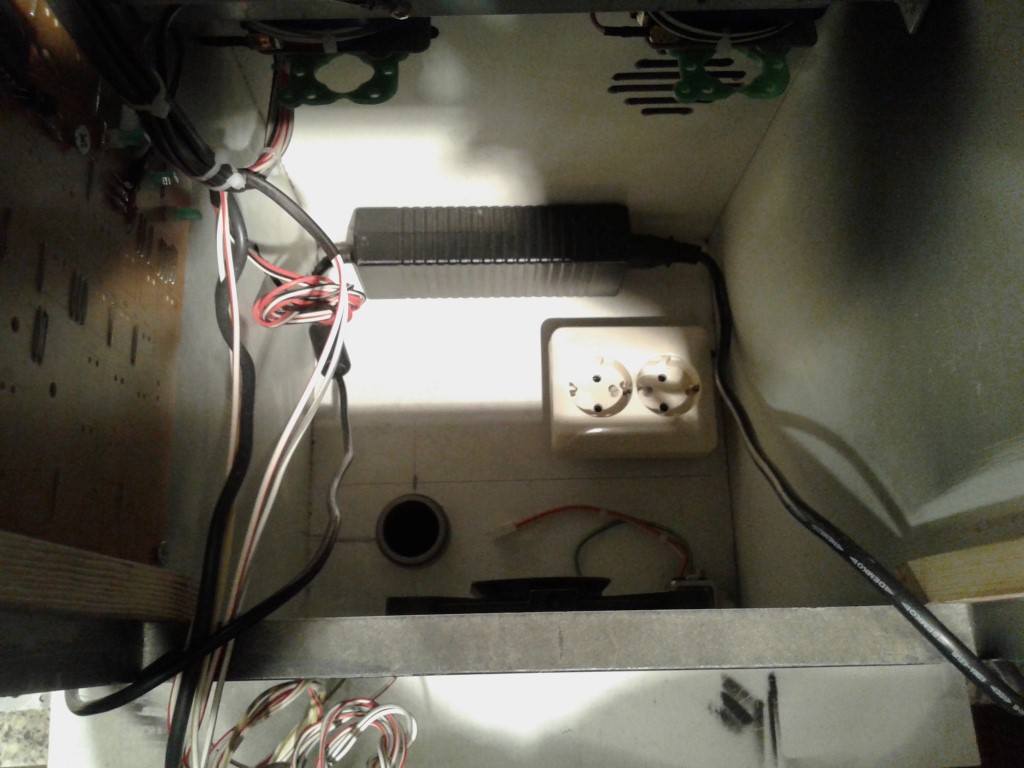 Drilled a hole in the bottom, guided the attached wires through it, and prepared a thermoplastic connector for it. 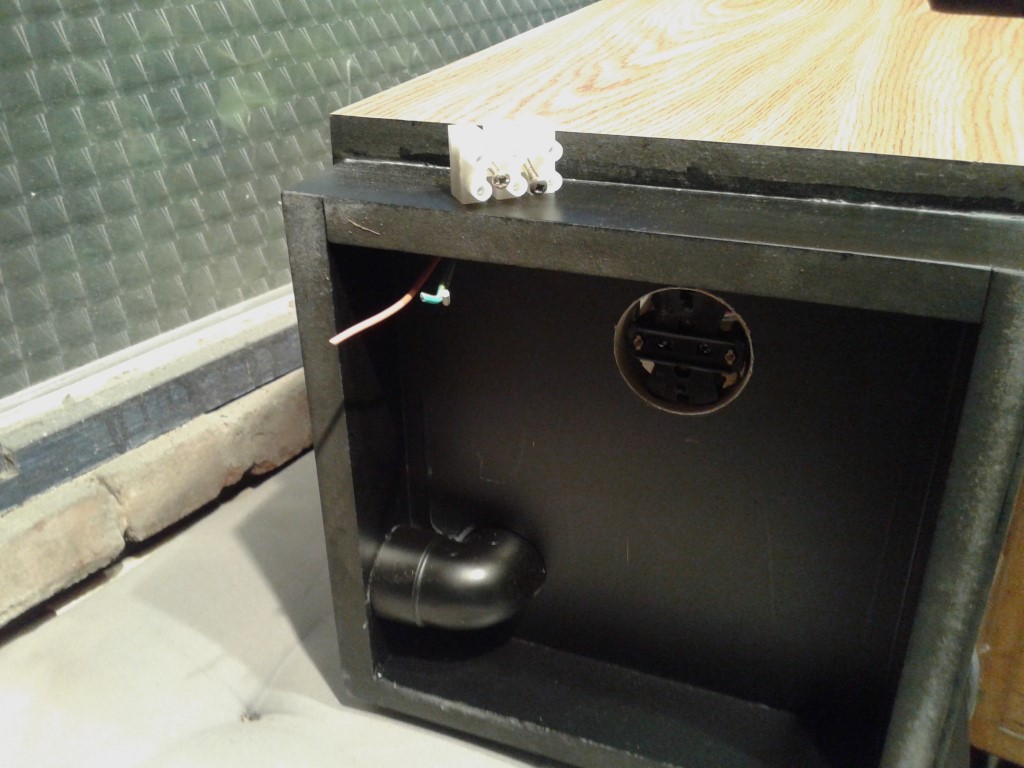 installed some wires to the outlet.. 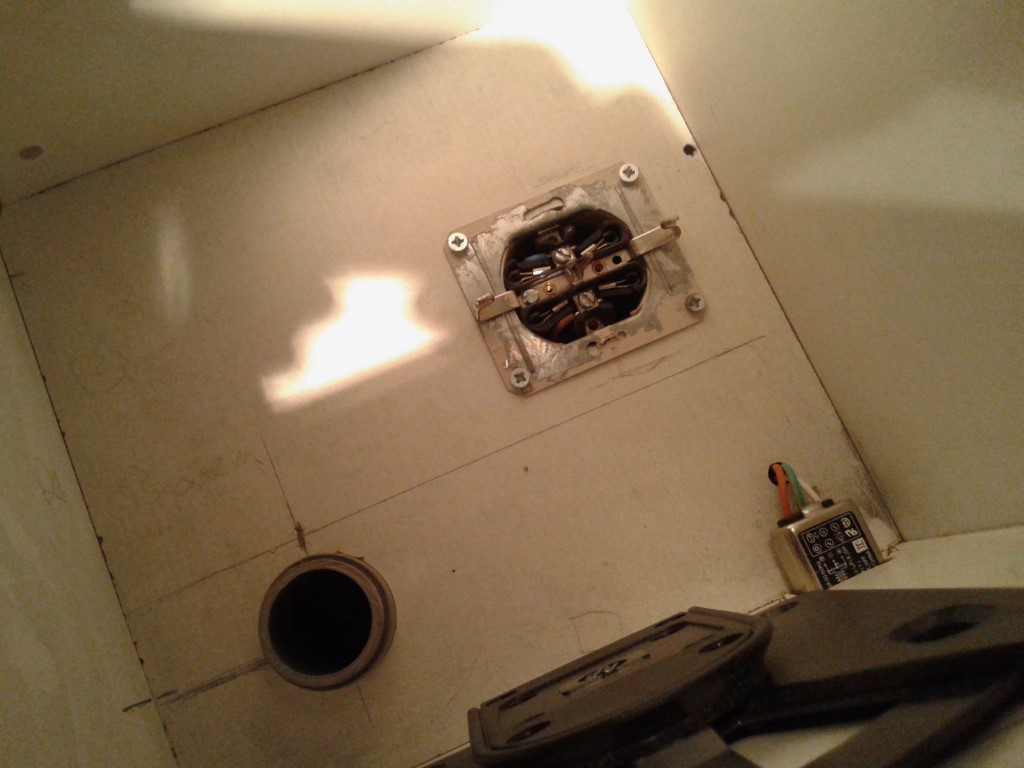 And installed the cover back on it.  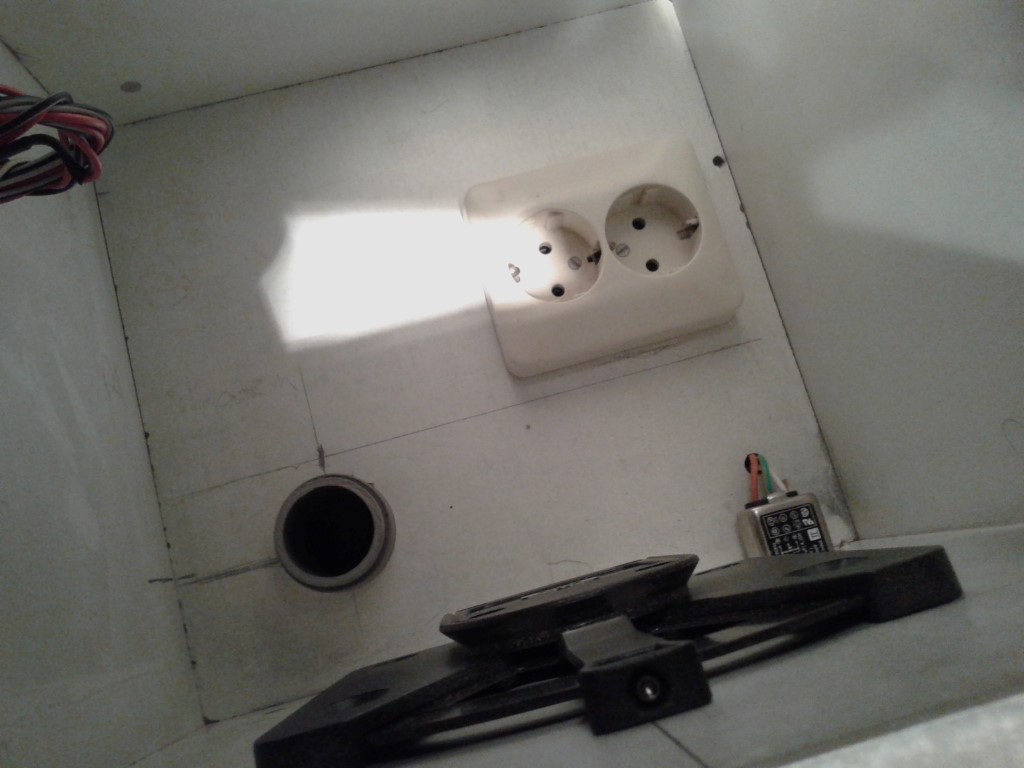 stripped the wires, and tinned them after i took this picture 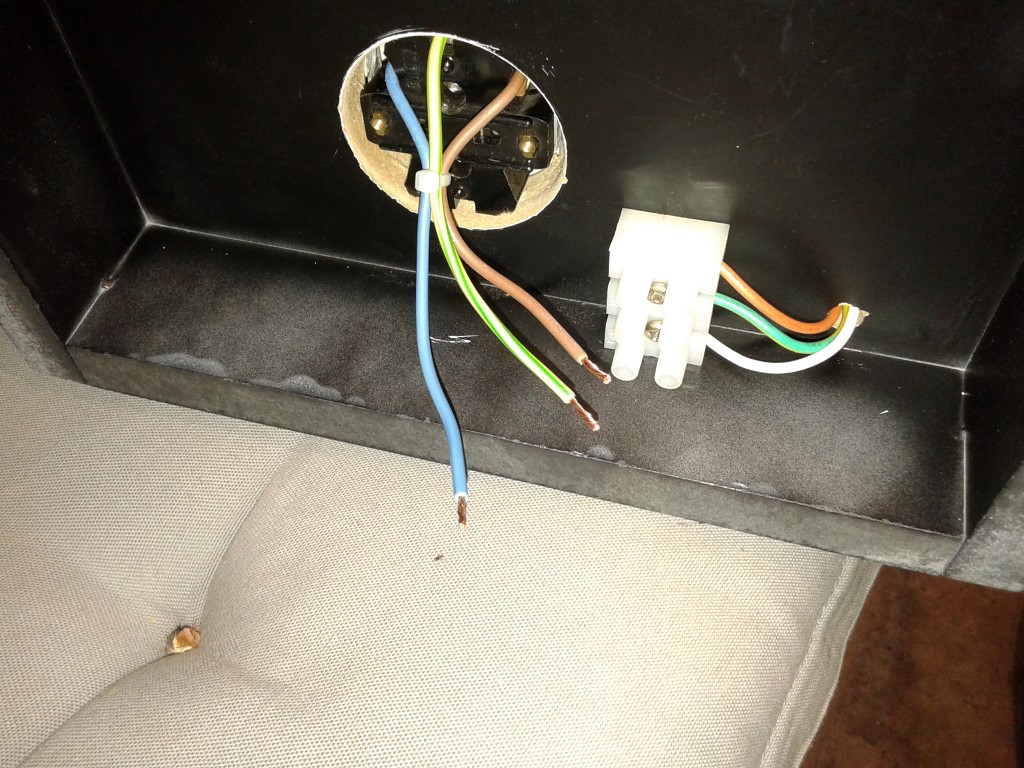 Nice and tidy connection. 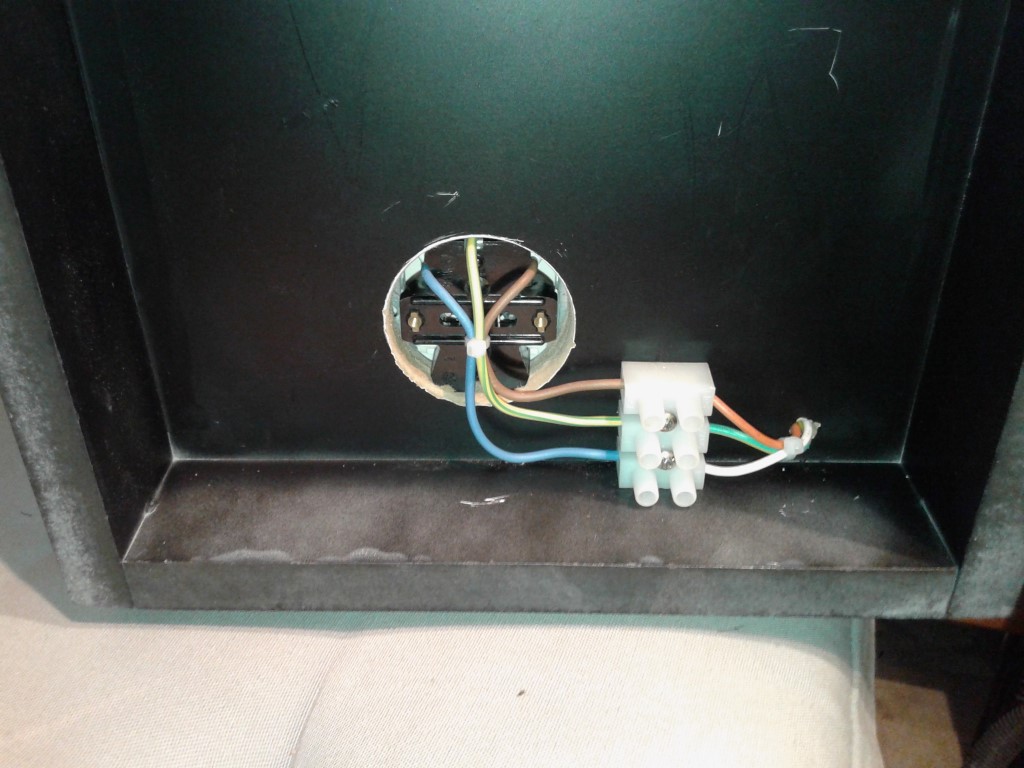 Then i made a printout of the flyer and made a nice keychain for it. 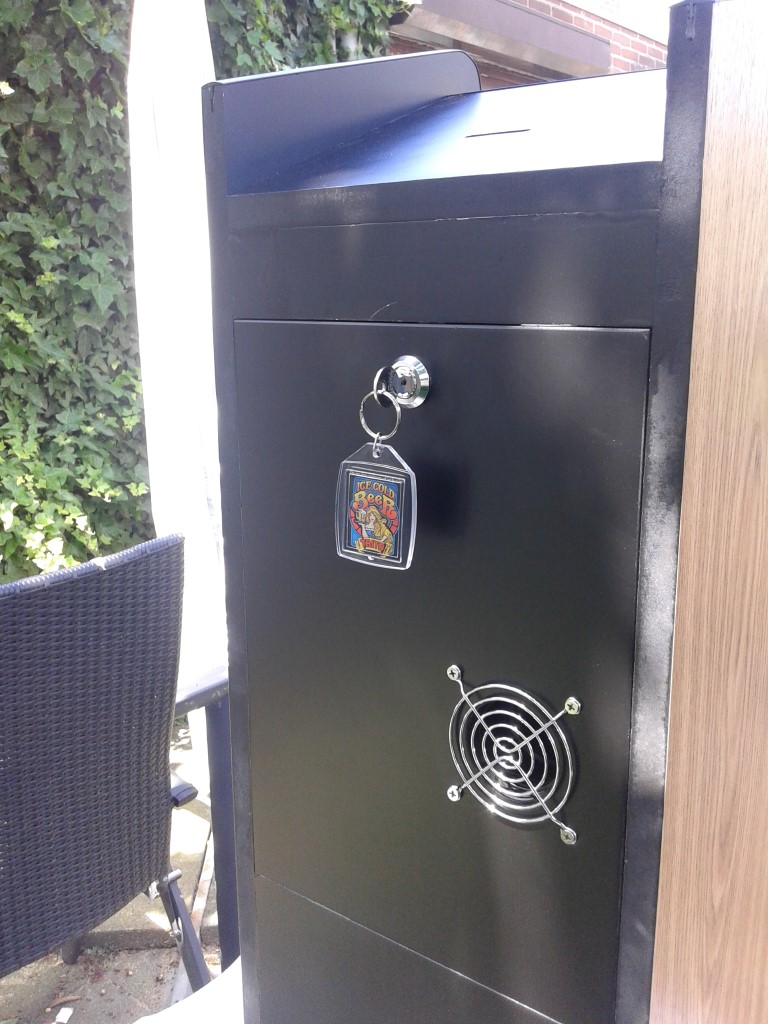 The other side has ofcourse the back of the flyer.  I need two different powercords in the cabinet, one IEC320-C14 for the monitor, and one IEC320-C5 for the AC adapter that the PC uses. I cut off a large part of the cables as i like it nice and tidy inside. 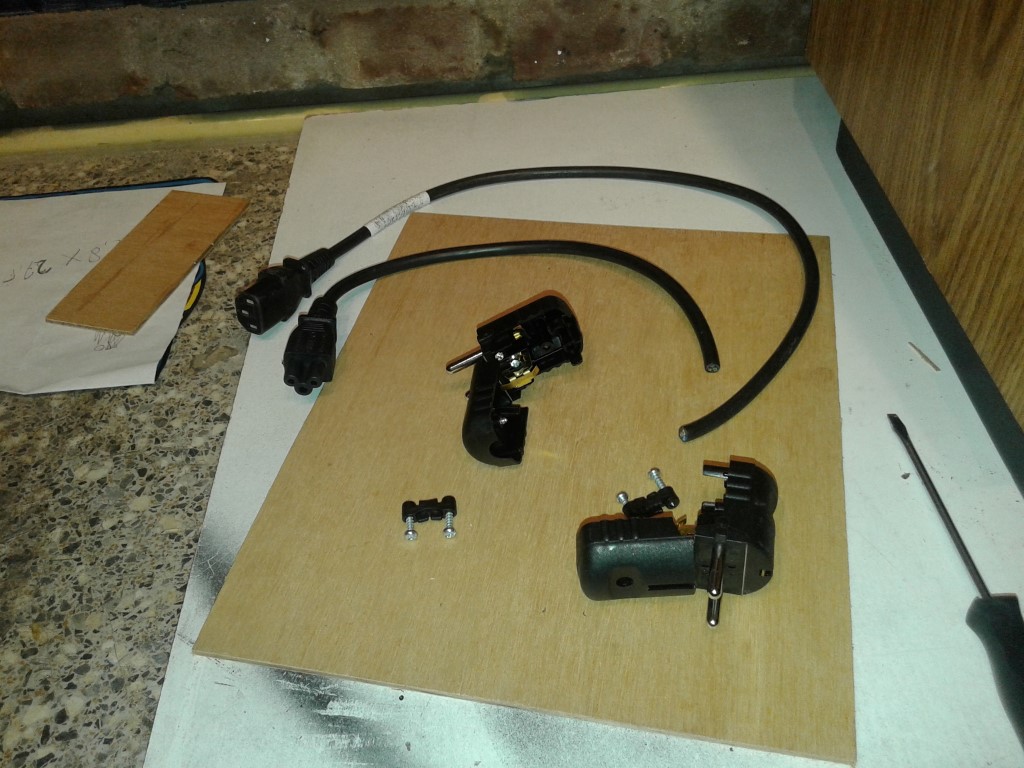 New plugs installed.. 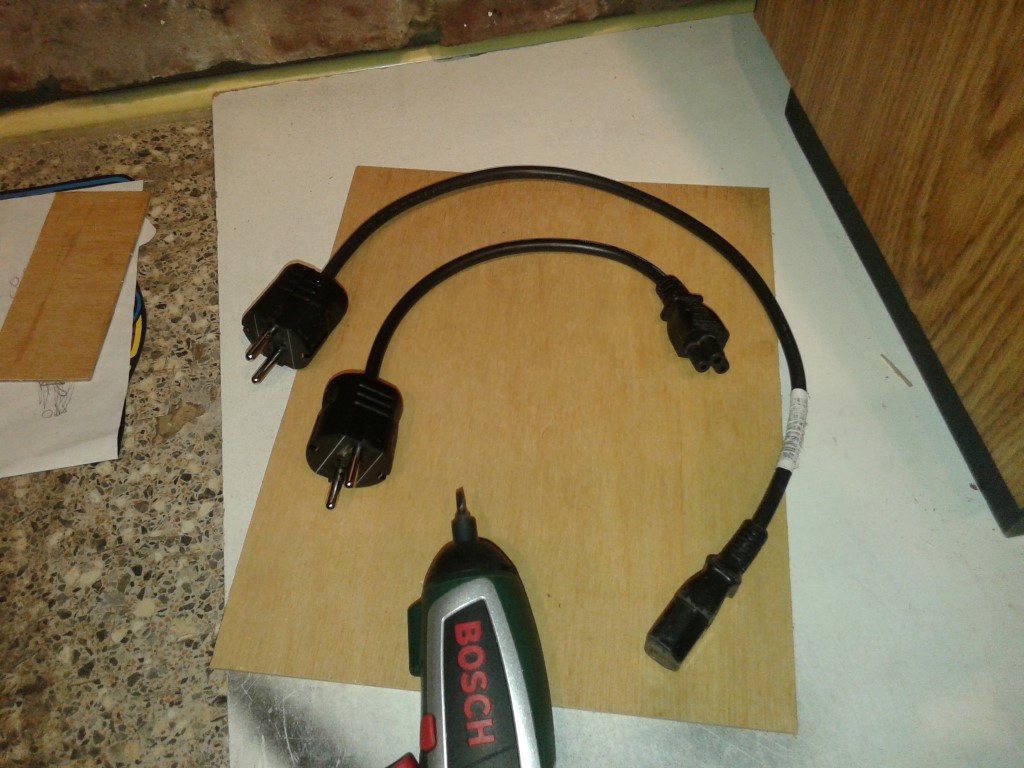 Powercords nice and tidy in place. 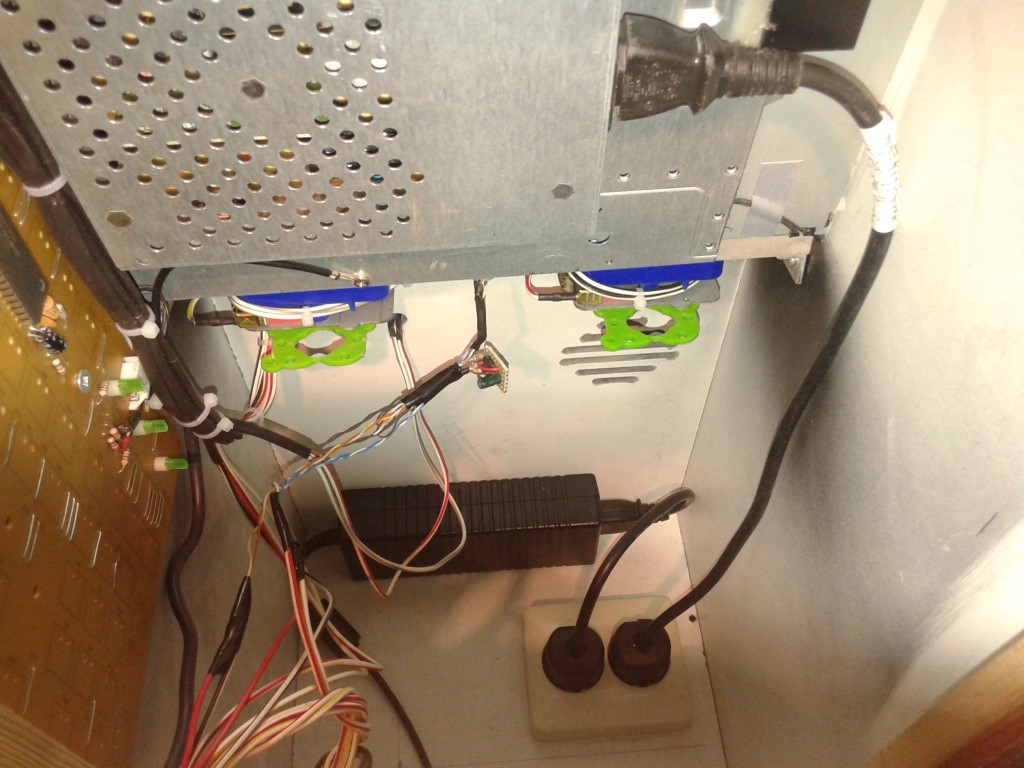 |
|
|
|
|
6
|
Arcade and Pinball Discussions / General Arcade and Video Game Discussions / Re: Ice Cold Beer 1/2 Scale Repro Scratch build
|
on: November 15, 2015, 03:02:42 am
|
As said before, i stumbled over an issue.. I let the game on to test it, and after a while it sounded like a rocket taking off..  Oviously it was the fan in the pc making overhours as there was not enough fresh air circulation in the closed cabinet. The coinslot in the top alone is not sufficient Let's take care of that ! I took a piece of scrap wood to figure out where i could position an air out take which i constructed out of some 40mm plumming PVC. 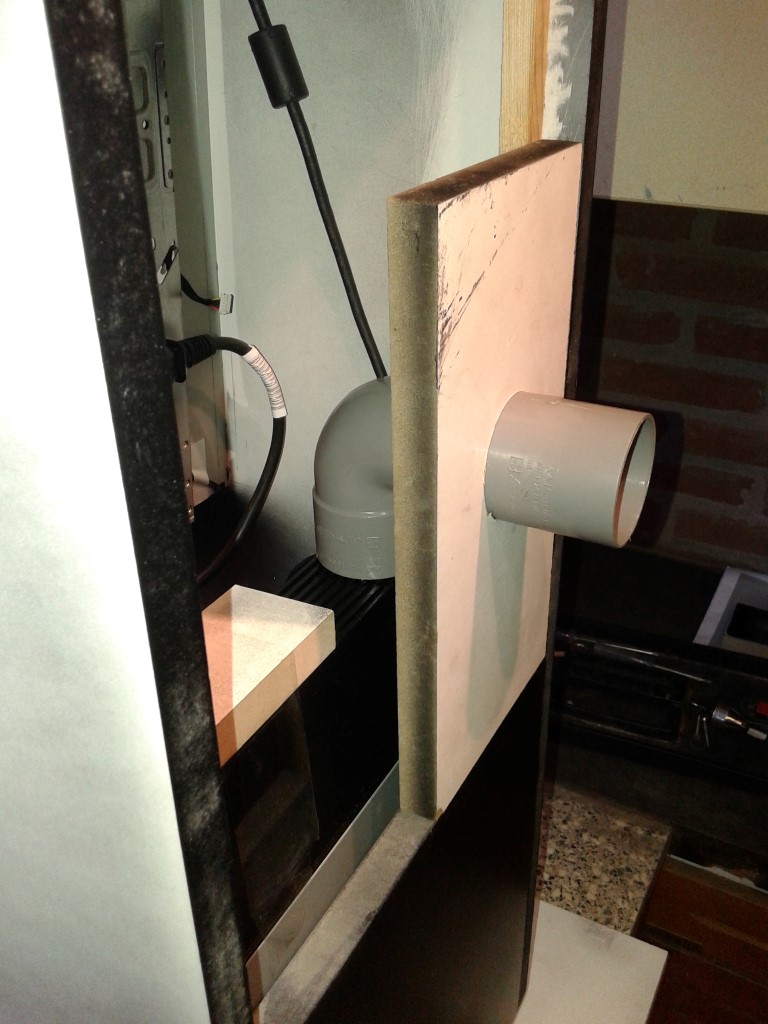 the reason i took 40 is that it will connect nicely with the size of the back of the pc. There is a plastic cover on the back of the pc to hide the cables. 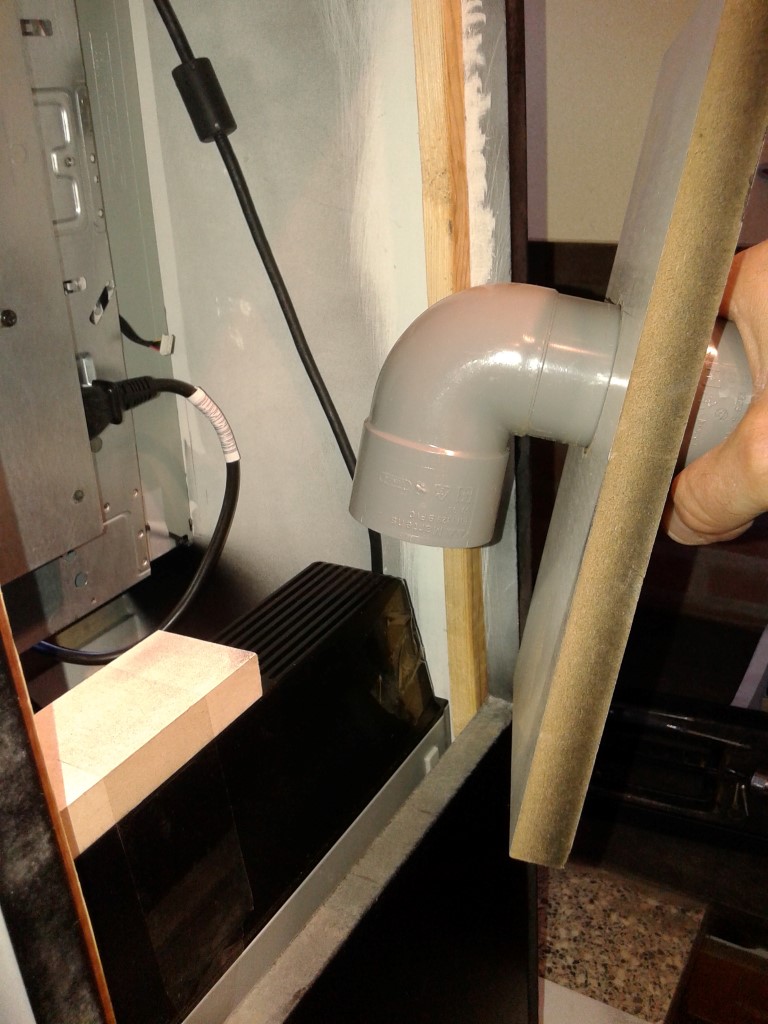 And the second reason is that i have a "sawdrill" of that size. 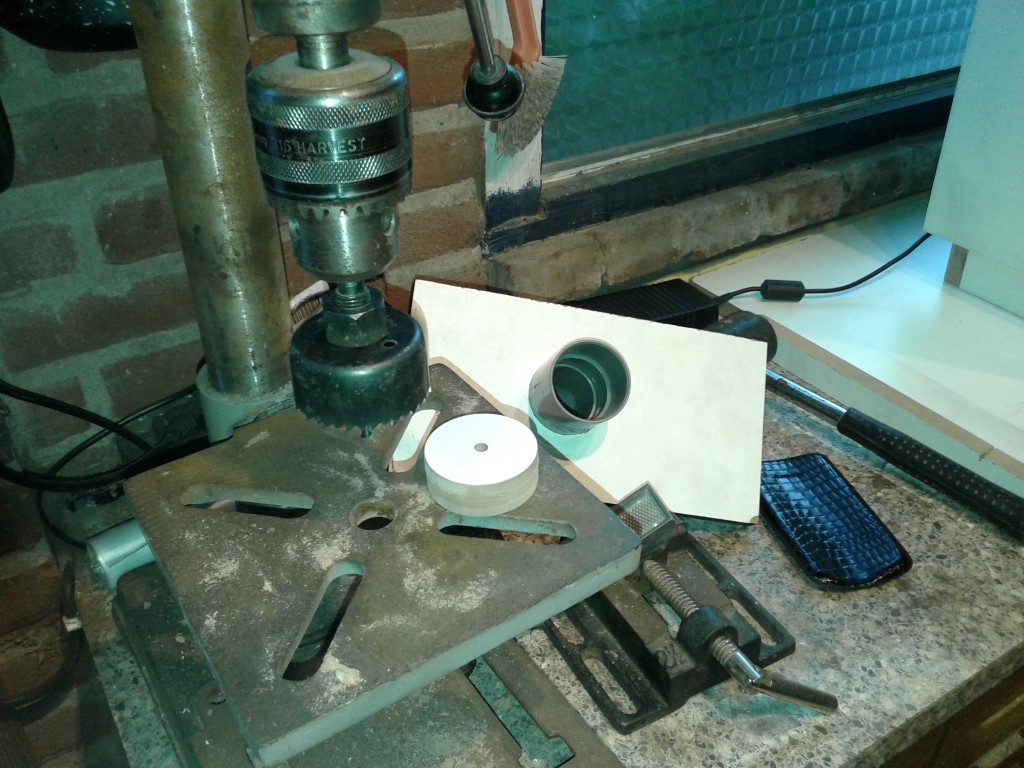 I used that piece of scrap to transfer the position of the hole onto the backdoor. 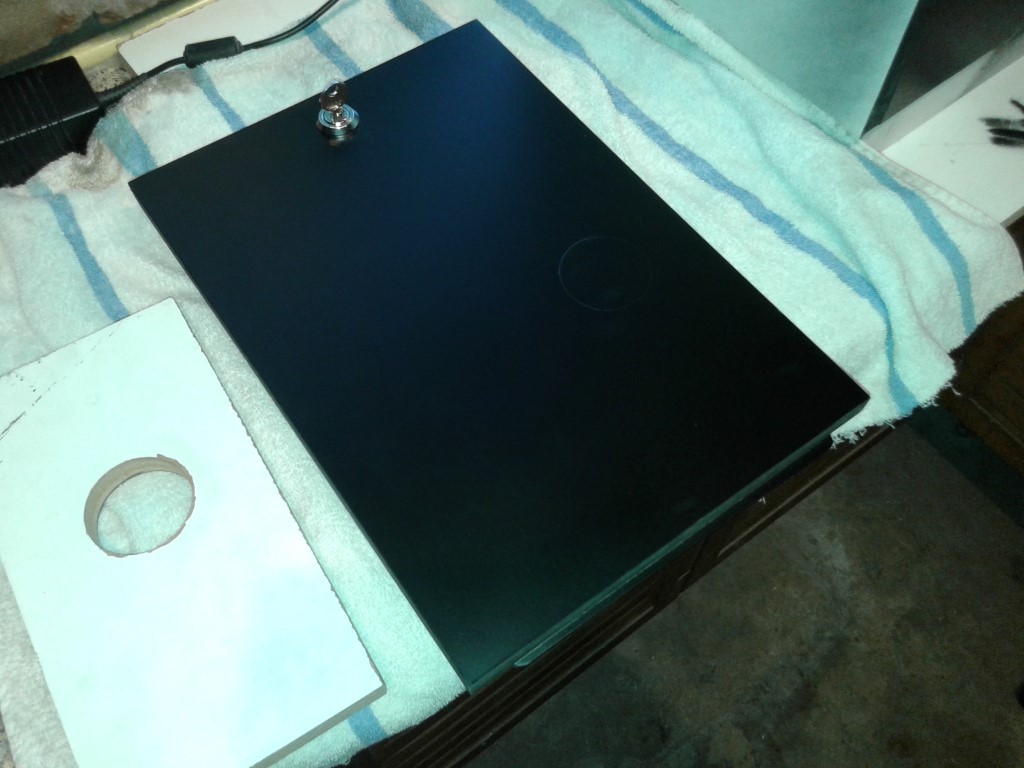 Let's drill that hole ! 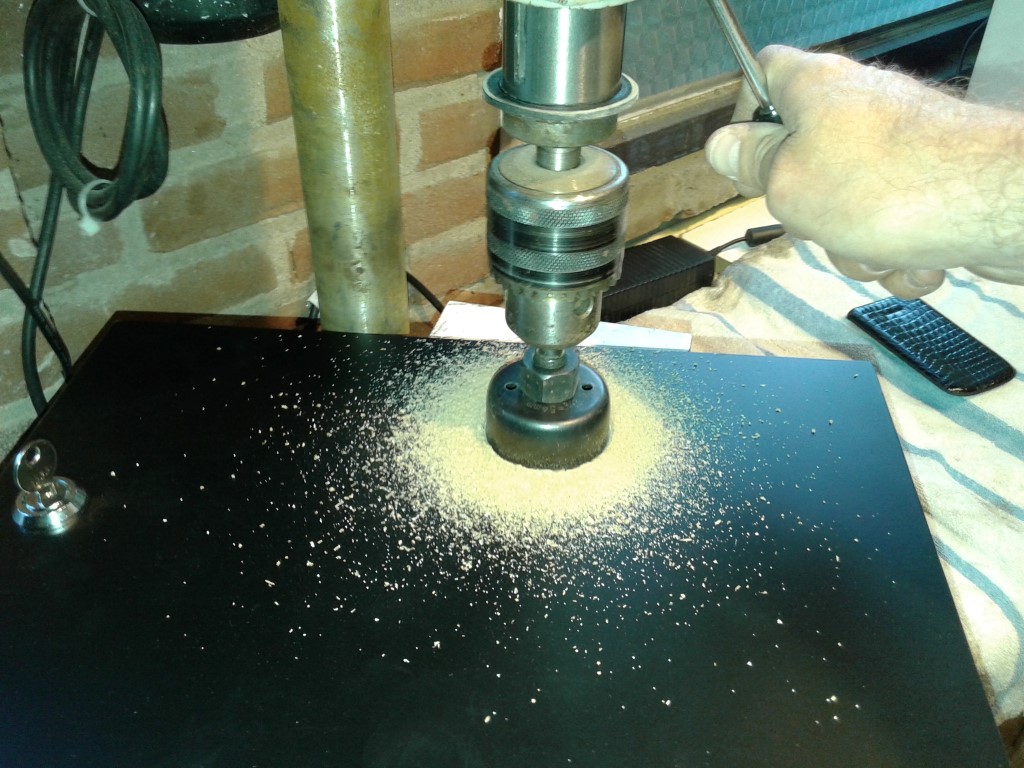 I drilled it from both sides to prevent damage to the already painted backdoor.. 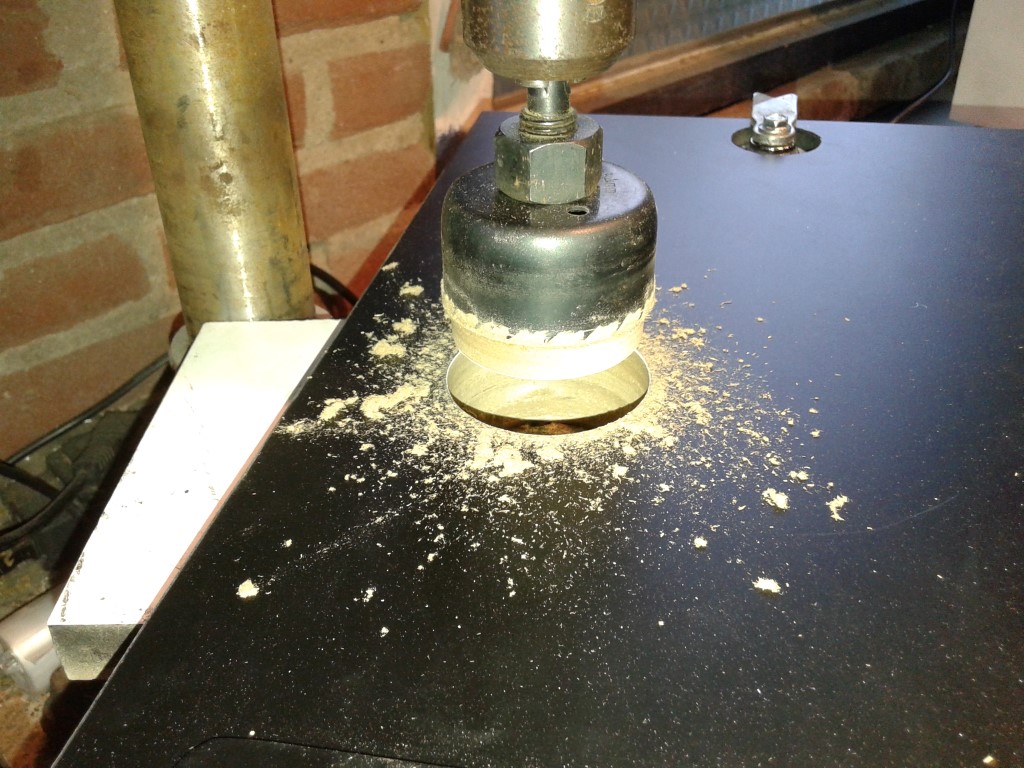 Hole in place, but there is some damage to the paint afterall..  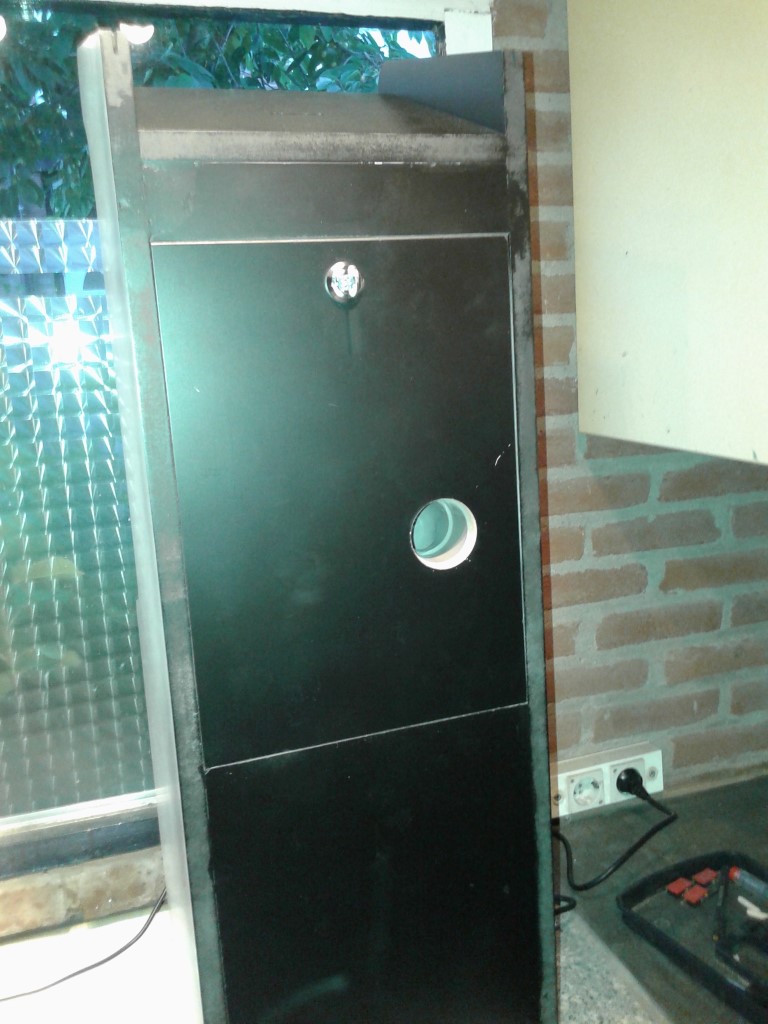 Testrun time ! Much better than before, not too much noise anymore. :spaceace: 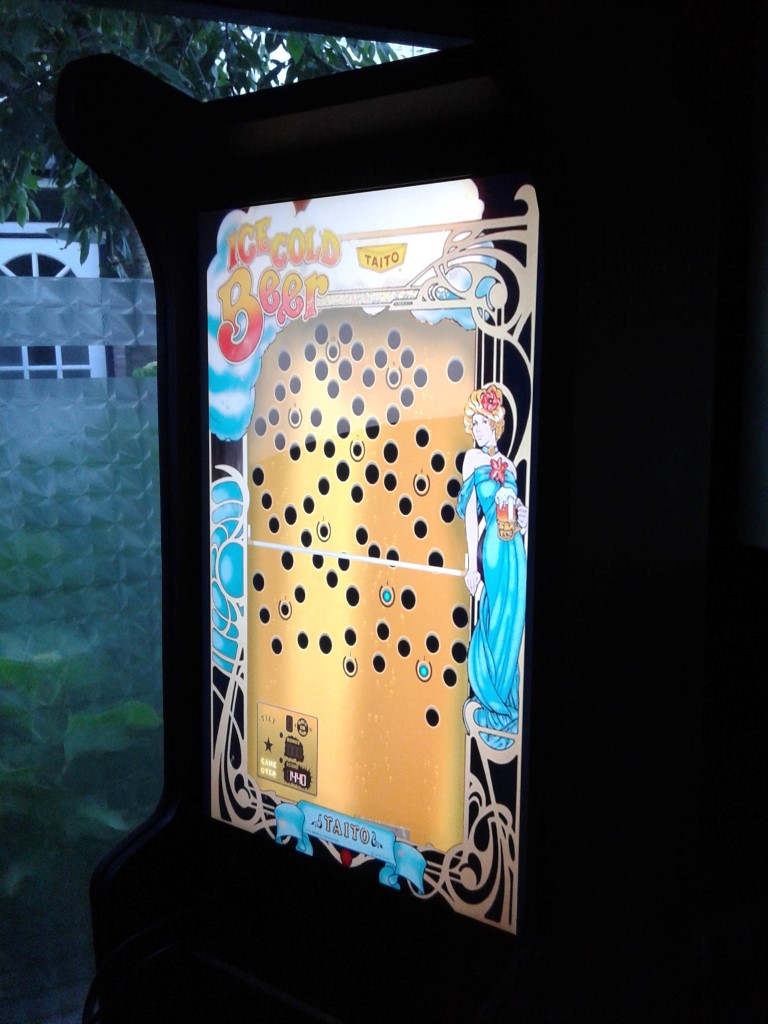 Again a profit when you have some old pc equipment on hand, nice fangrills to salvage ! 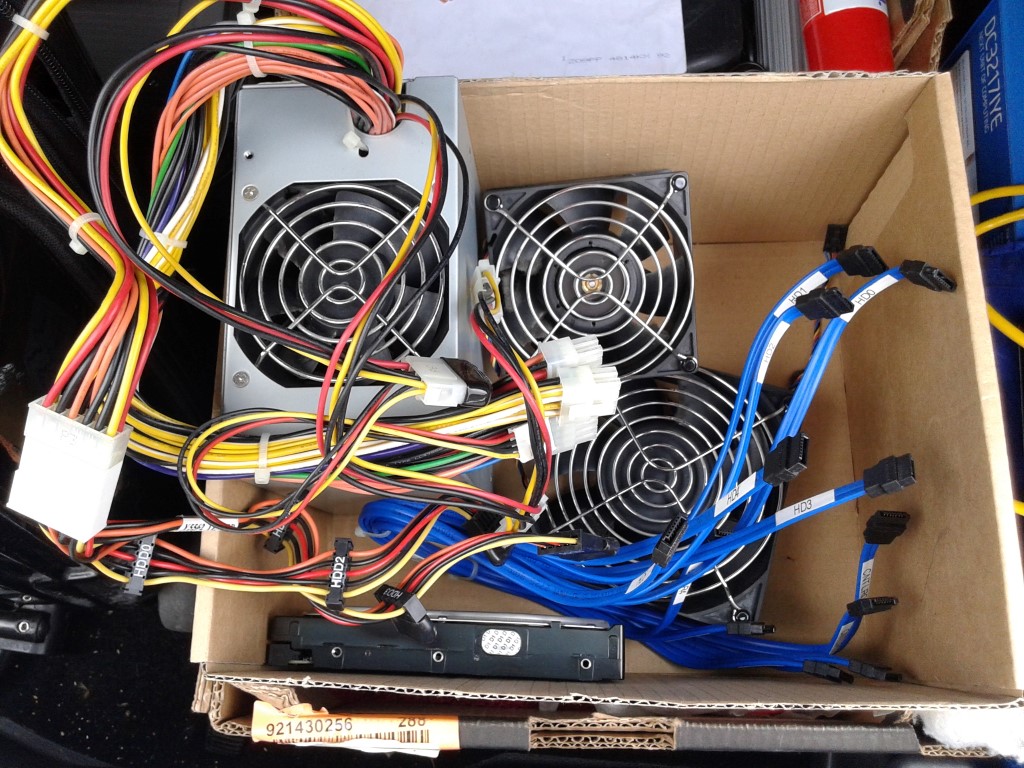 I failed bigtime with touching up, i had paintrunners which i tried to wipe off... Not a good idea.... :roll:  The only way to fix that is to redo all the paint.. 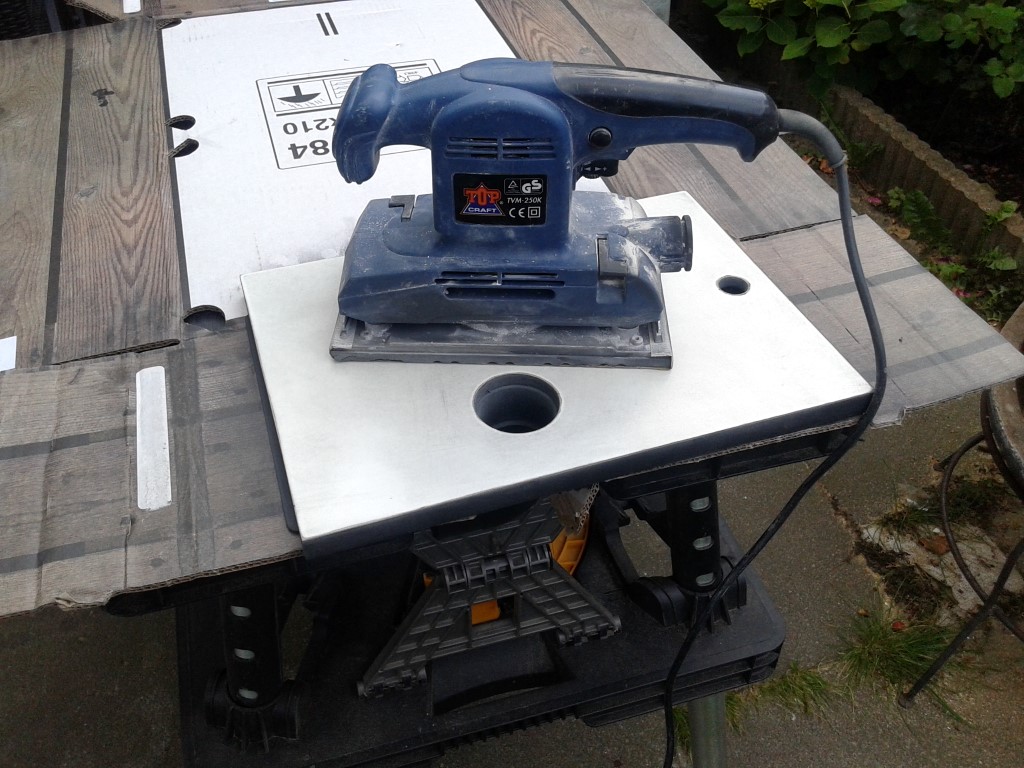 New primer on, drying time.. 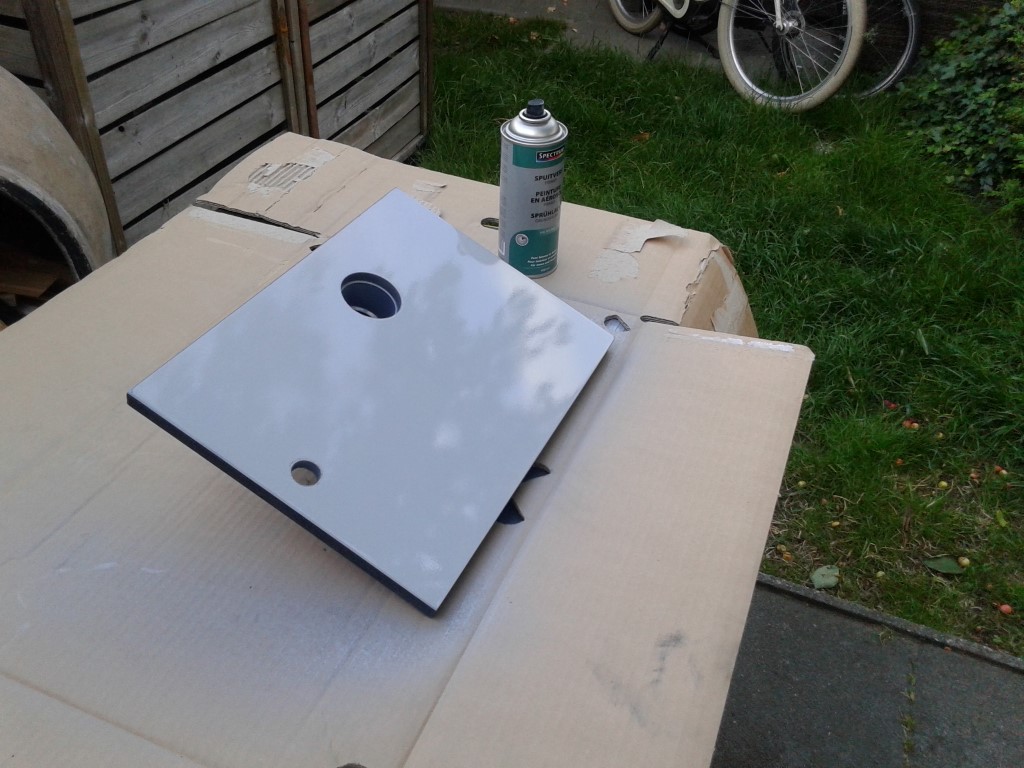 Here the same procedure as the backdoor lock, but this time on the control panel for the nut of the startbutton.. 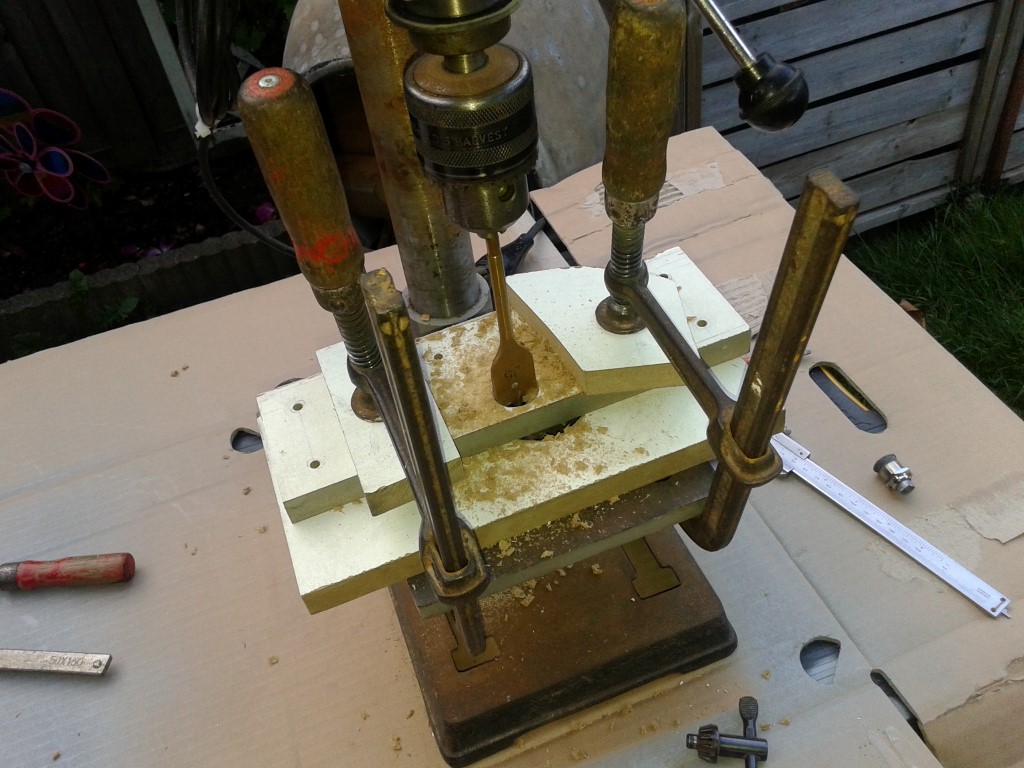 Again, Perfect fit ! 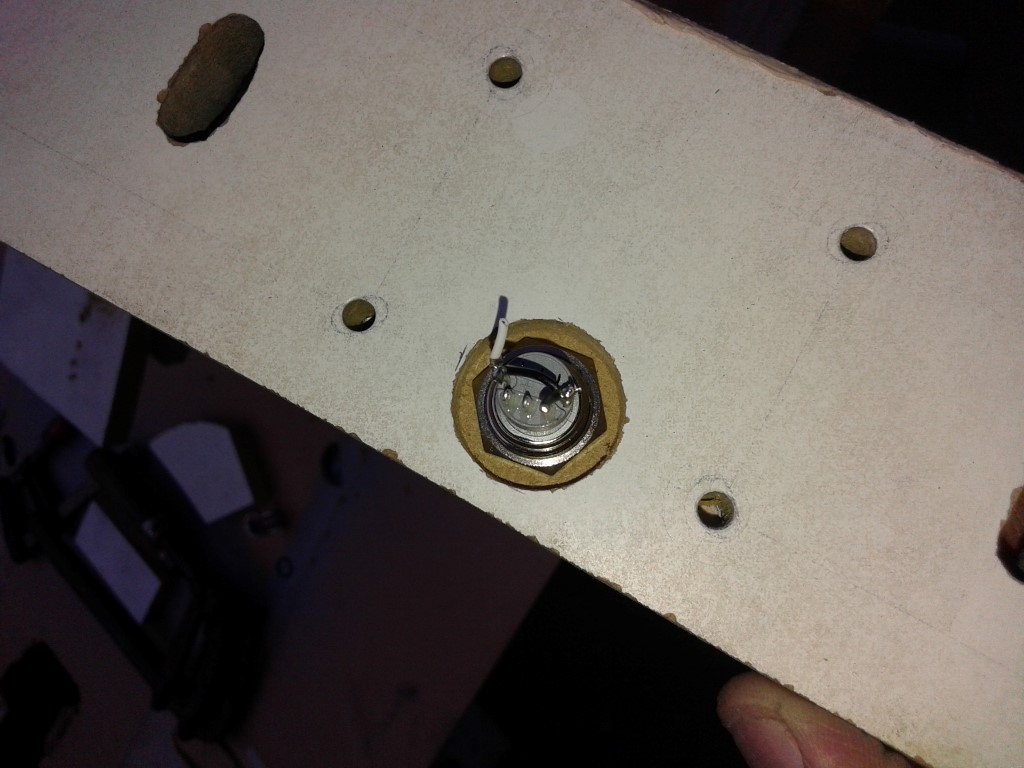 Another application of bondo, ready for sanding..  In the meantime the primer has dried enough to paint over with black.. 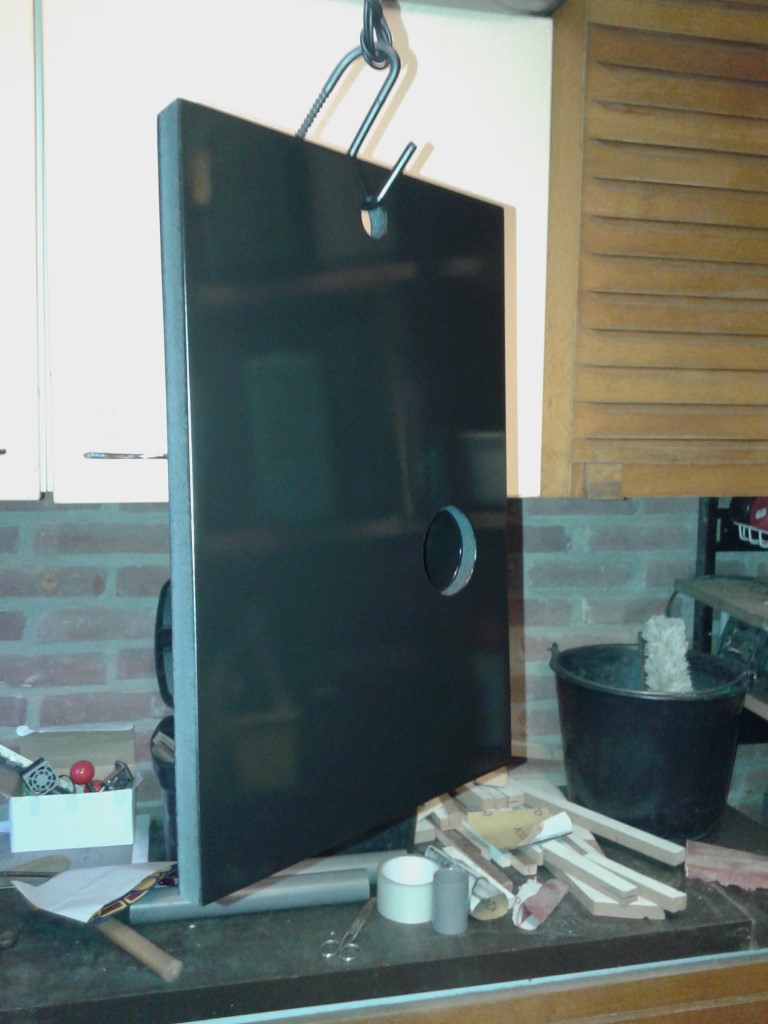 And after that i installed the salvaged fangrill.. A little bigger than the hole, but it will do ;)  After a while it was still a bit too noisy for me, so i decided to also make an air inlet. The outlet was really reducing the noise, but i figured i am already spending so many time to get this thing done right, i might as well take the extra step.. Let's see how many millimeters the pc is from the bottom of the cabinet.. 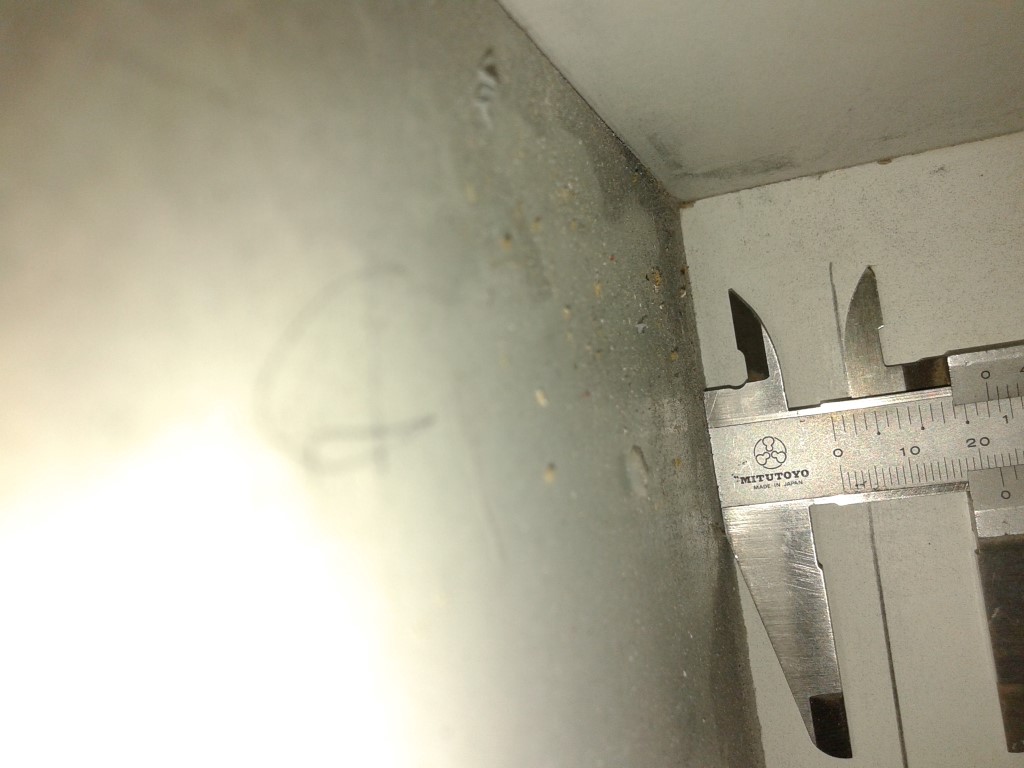 Drill a hole exactely where the inlet fan of the pc is located..  Insert a piece of PCV pipe in there to match the height.. 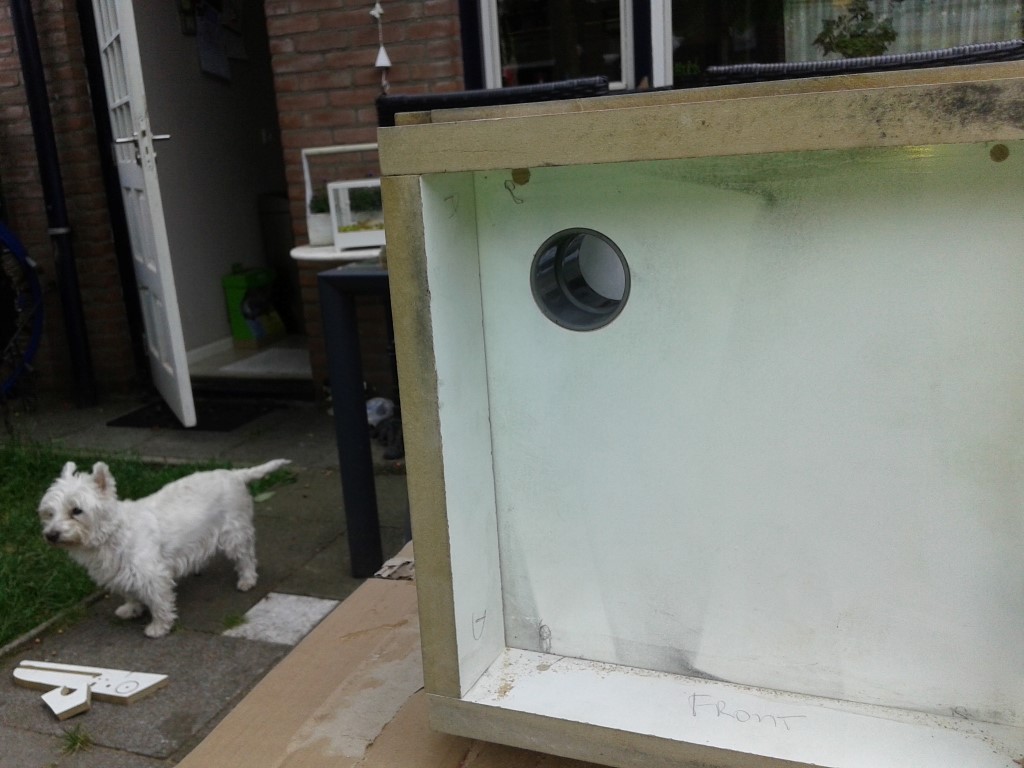 install a 90 degree piece to the back, and drill the other side in the base of the cabinet..  I tried to drill as high as i could.. 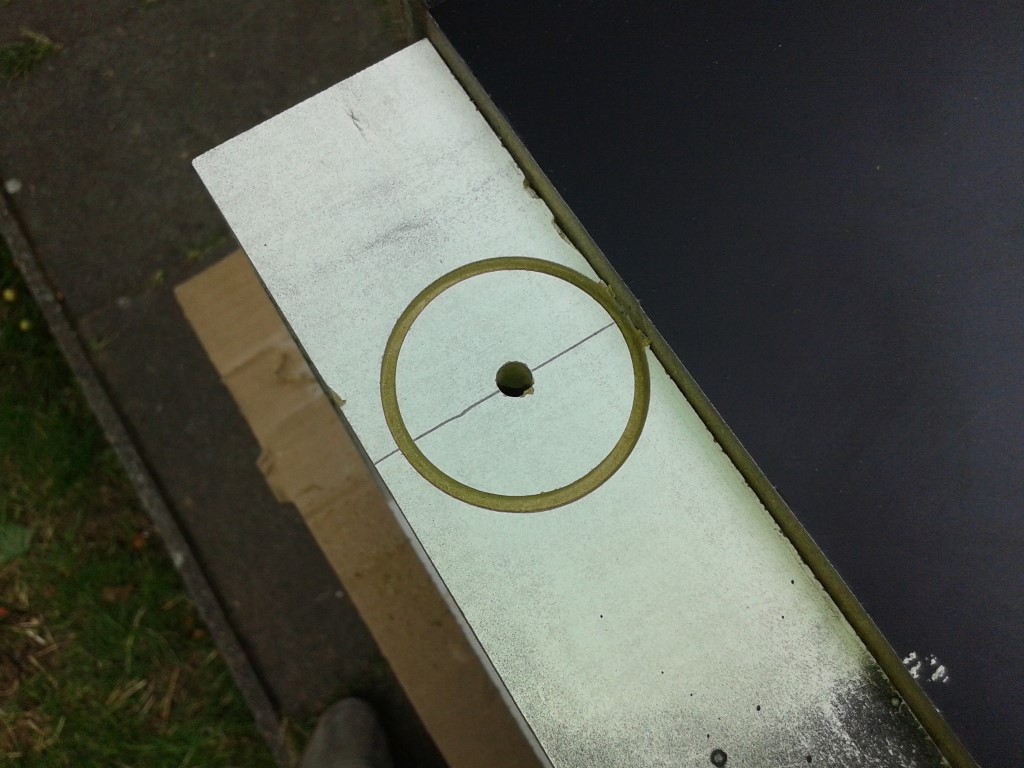 Perfect !  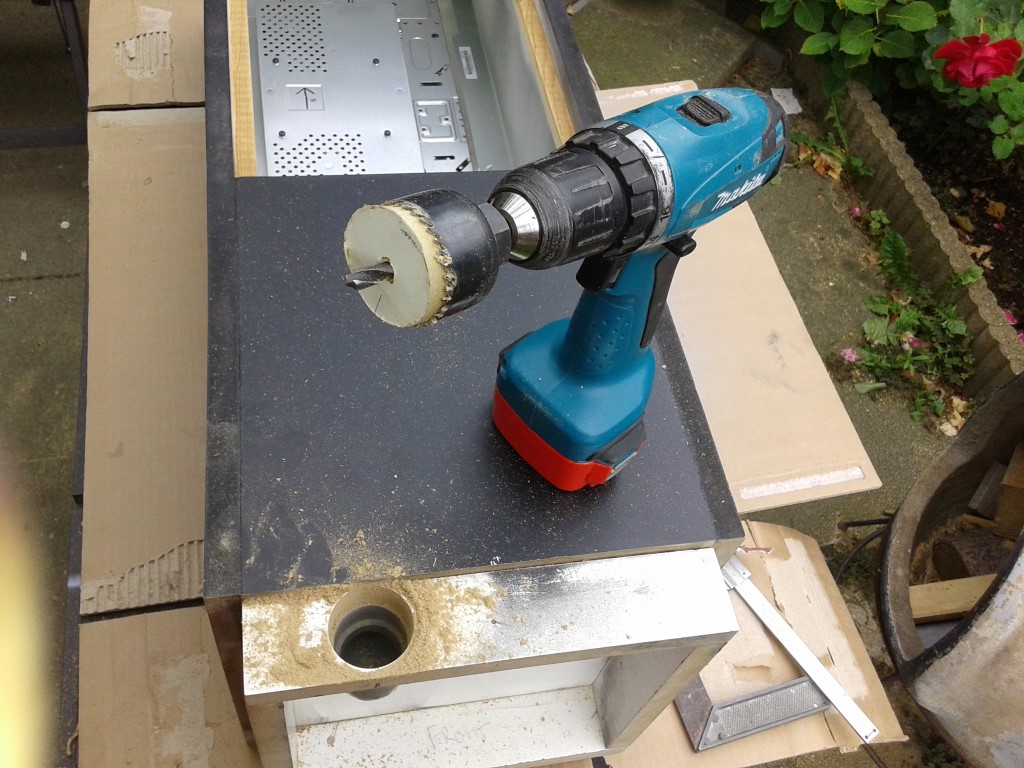 Fit another piece of PVC pipe in there and we have a nice inlet.. 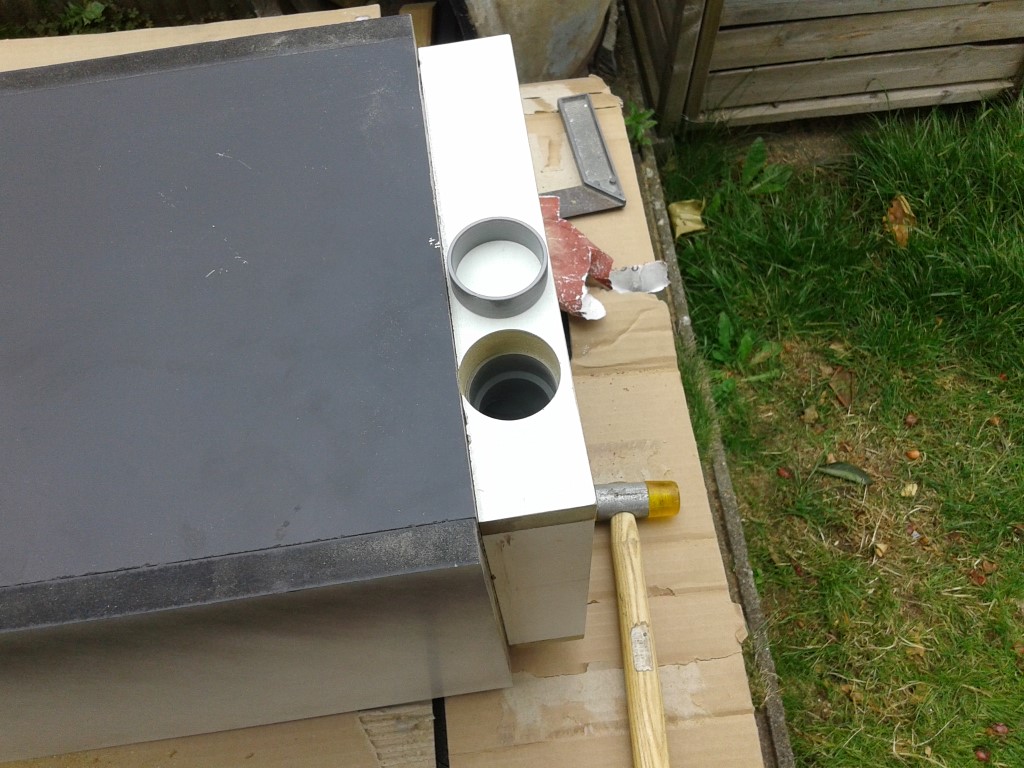 Spraypainted the bottom afterwards.. 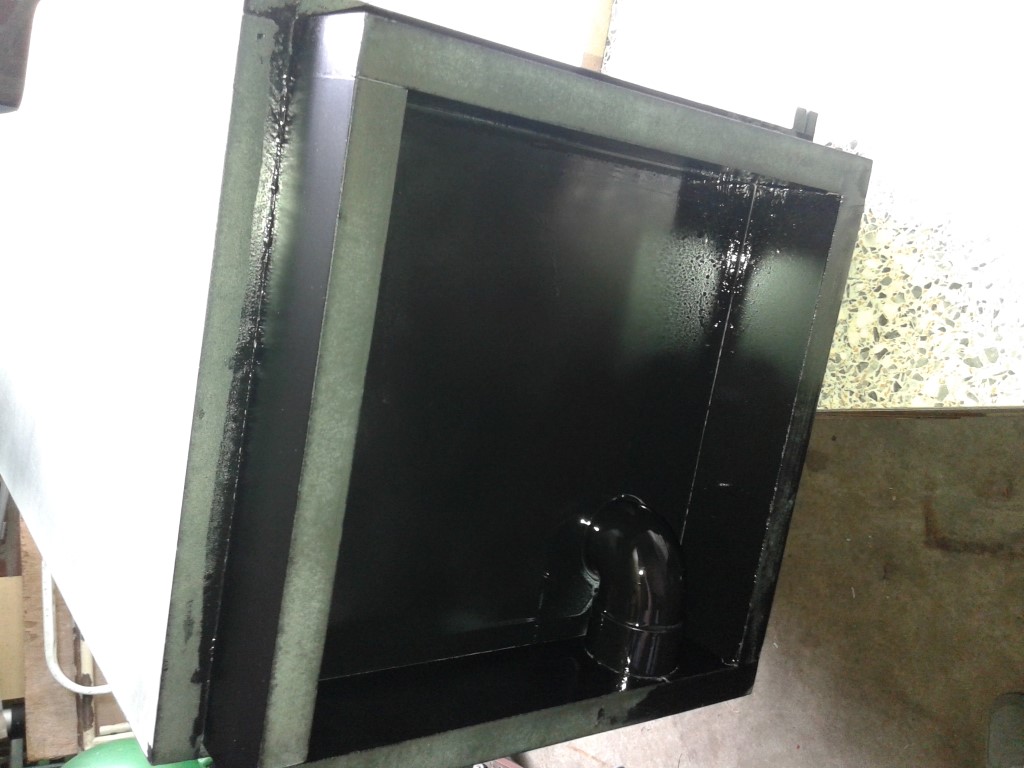 and spraypainted also the outside including the rest of the base which needed some paint also. 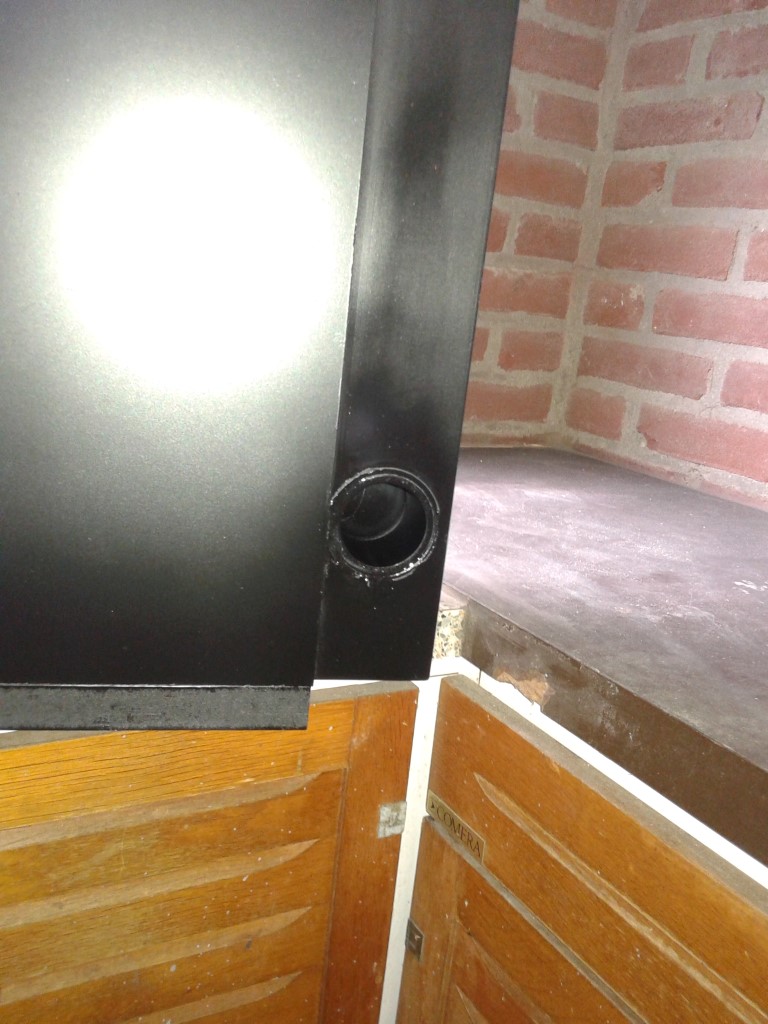 I was looking for another nice fangrill, but this location required a smaller one than the backdoor, and i could not find one at the time. Perhaps in the future i will stumble over a suitable grill, but for now this will do ;) After installing both ducts, silent as it can be. Mission accomplished ! |
|
|
|
|
7
|
Arcade and Pinball Discussions / General Arcade and Video Game Discussions / Re: Ice Cold Beer 1/2 Scale Repro Scratch build
|
on: November 15, 2015, 03:01:09 am
|
The game is powered by a HP 7900 USFF (Ultra Small Form Factor) The great thing about this model is that its very compact, and has a graphics chip that has the capability of rotating the screen with its driver. Exactely two factors i need in this project.  Be-ing a ICT guy has profits from time to time, as customers sometimes have "left-overs".. One of the left overs is a Vesa mount with quick release.. 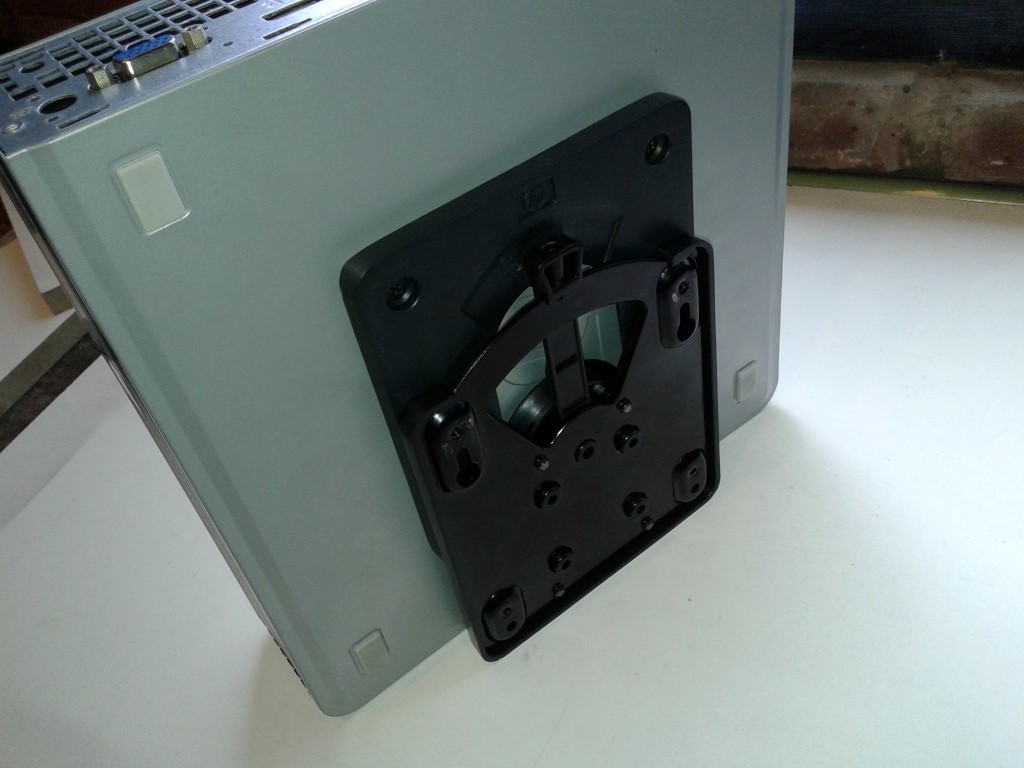 Very handy, easy removal during the build, and a easy mounting in the cabinet. 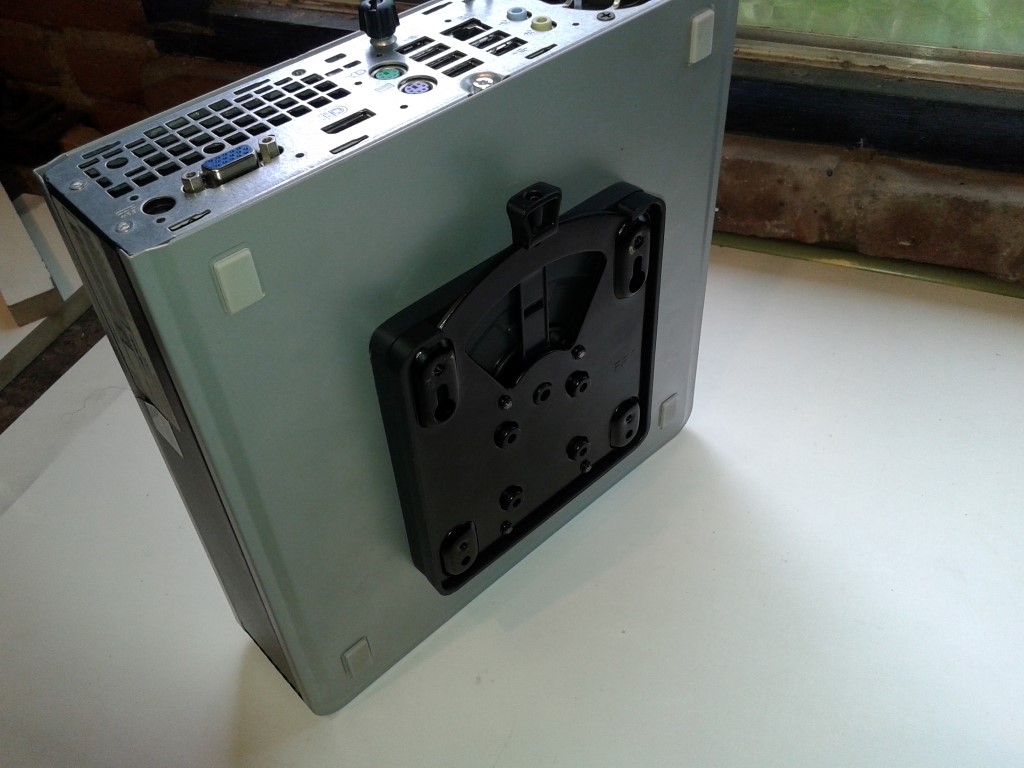 It slides out of eachother. :pac:  Bracket mounted in the cabinet 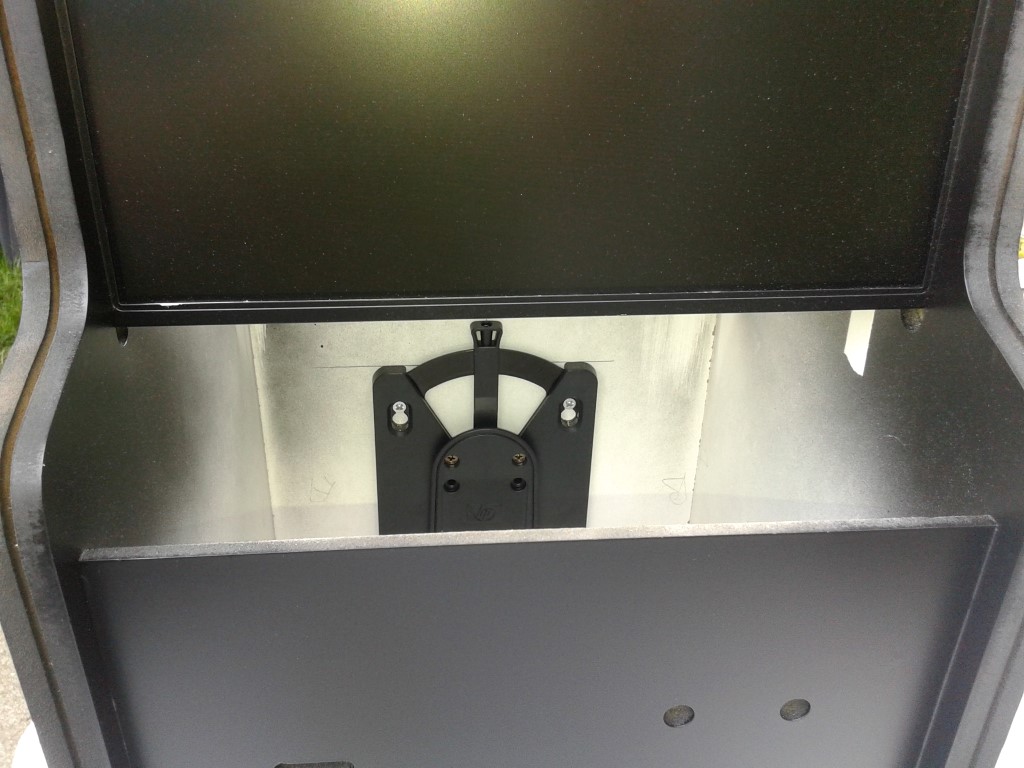 PC in place.. Fits perfectly ! :spaceace: 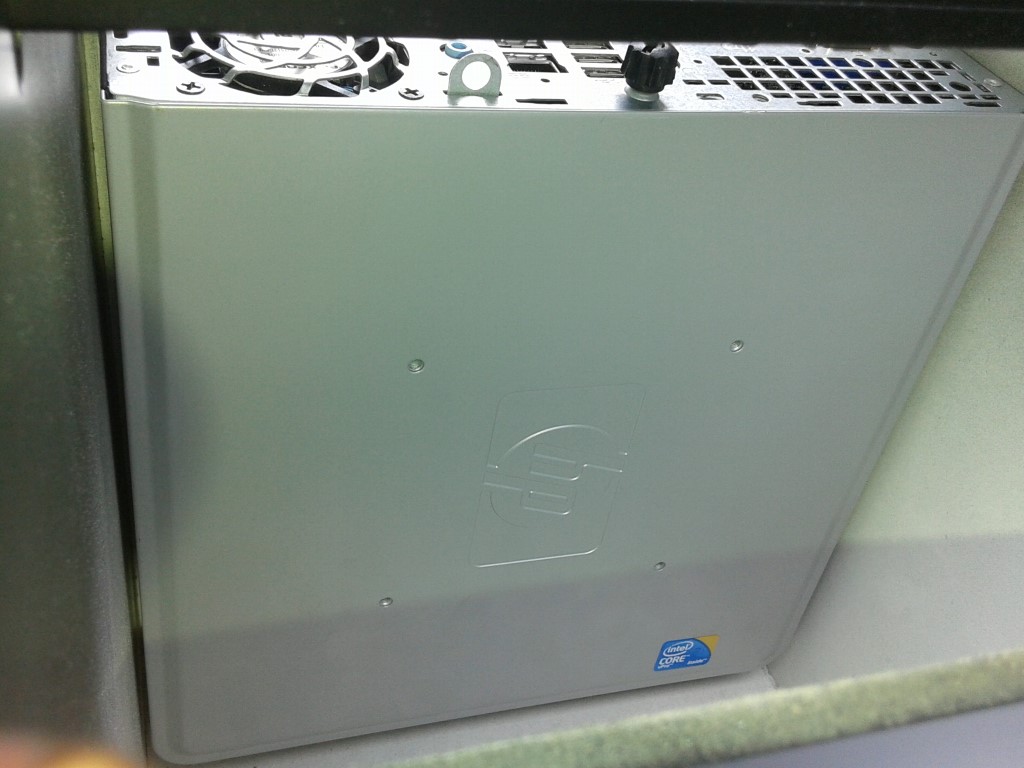 Leveled the back of the pc with the edge of the backdoor. 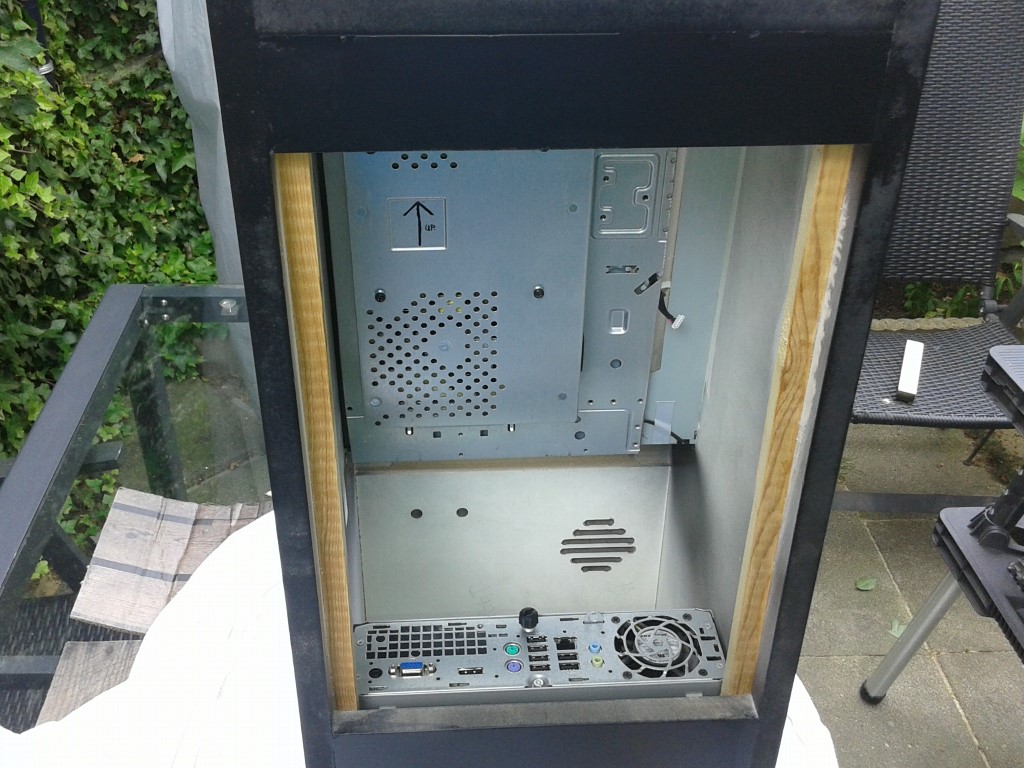 Testing the startup sequence, i made the setting in the bios so that the pc turns on when power is detected. That way i don't have to press the powerbutton (which is now facing to the bottom of the cabinet) 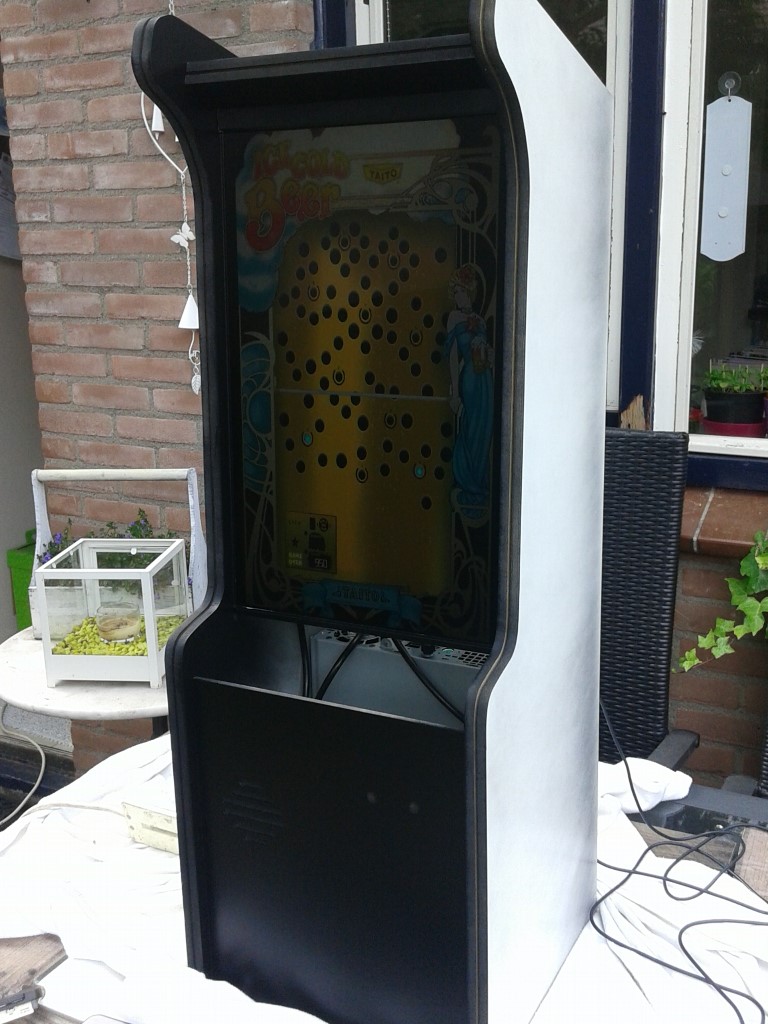 Next up, constructing the base.. 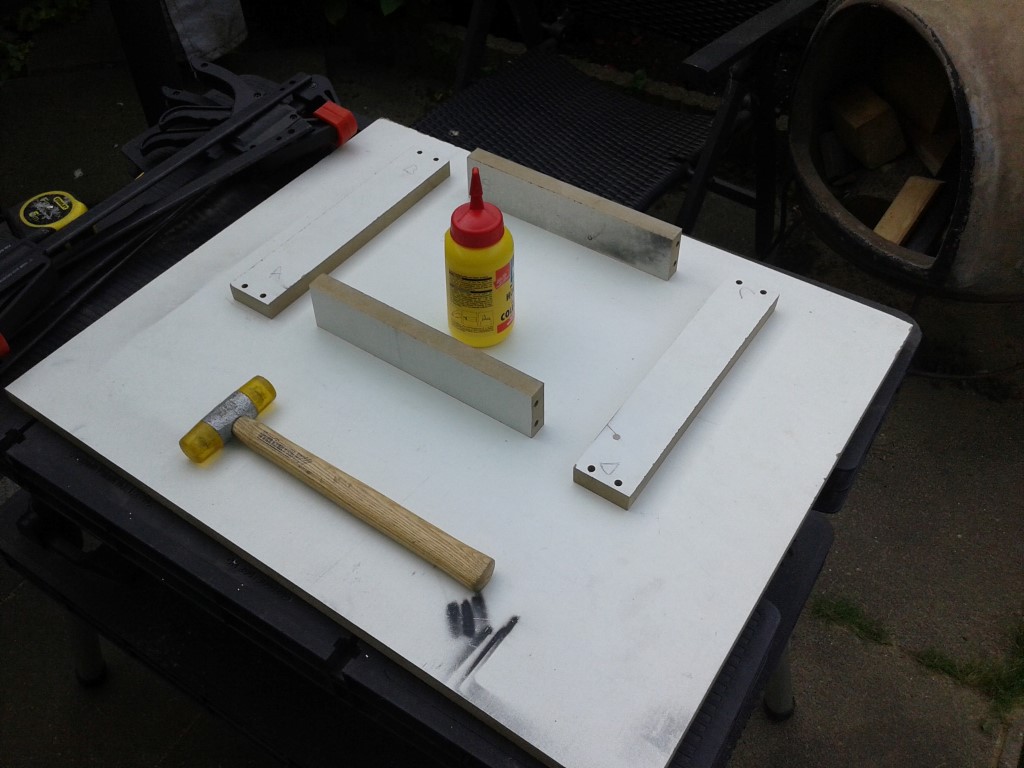 Same procedure as the rest, dowels and glue. 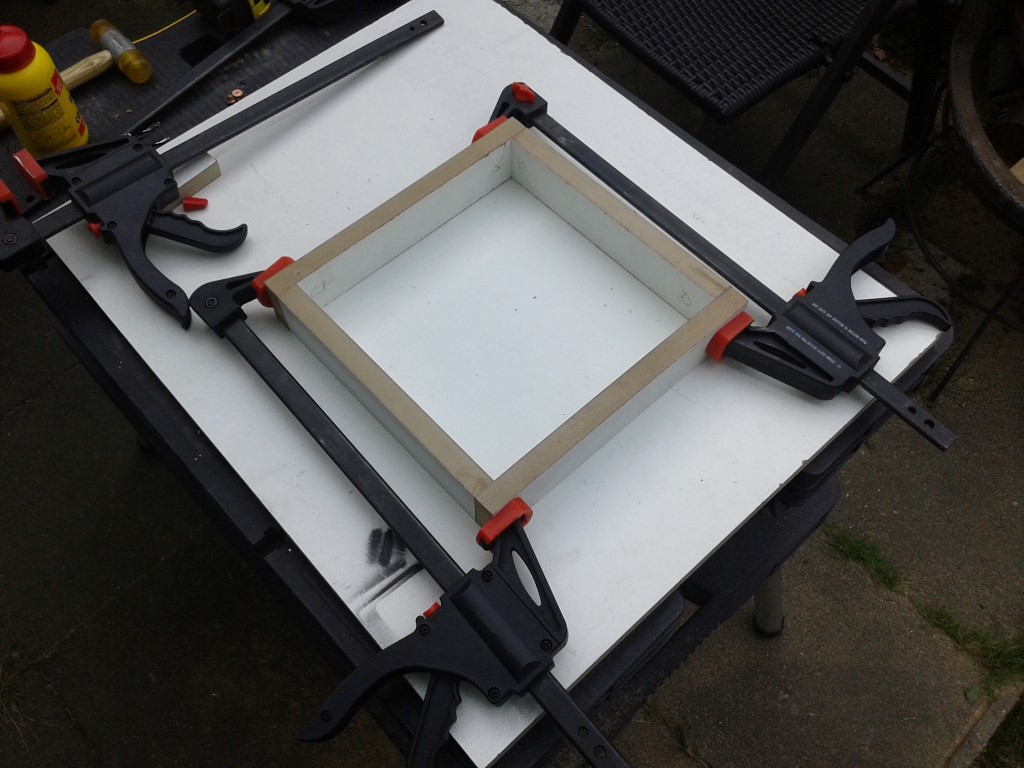 Dowels in the bottom, ready to glue. 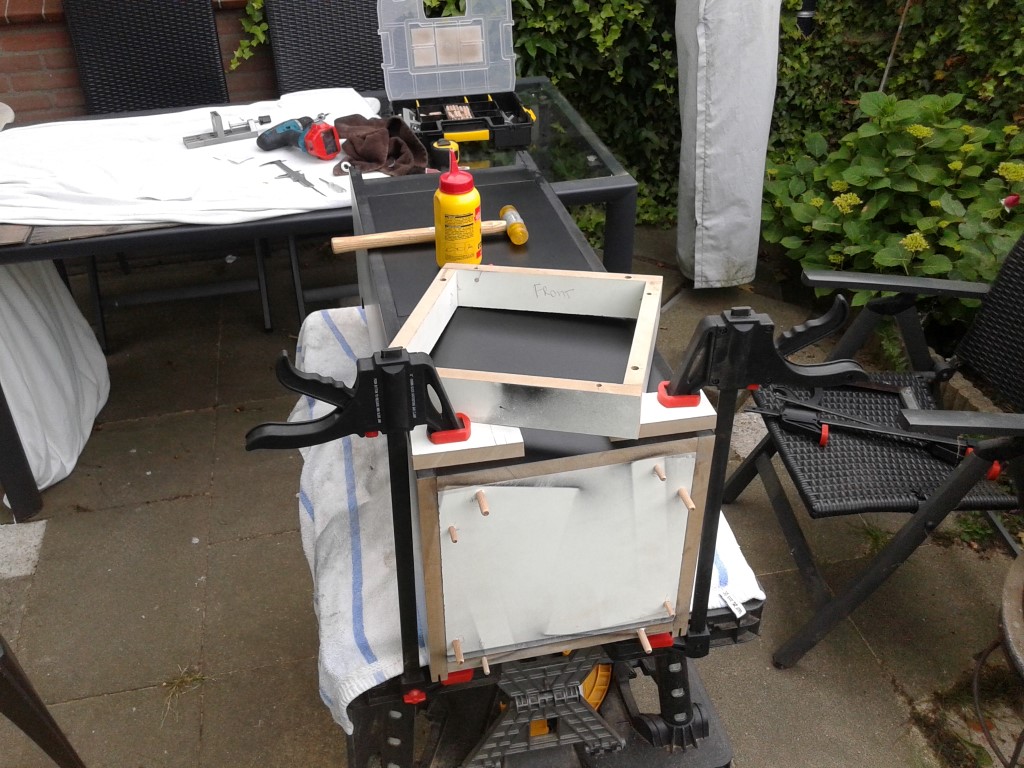 Hmmm... something does not look right.... :roll:  Damn!, i lined up the base with the front of the cabinet instead of the back :twisted: Same fix as the first mistake, saw off the dowels and sand flush 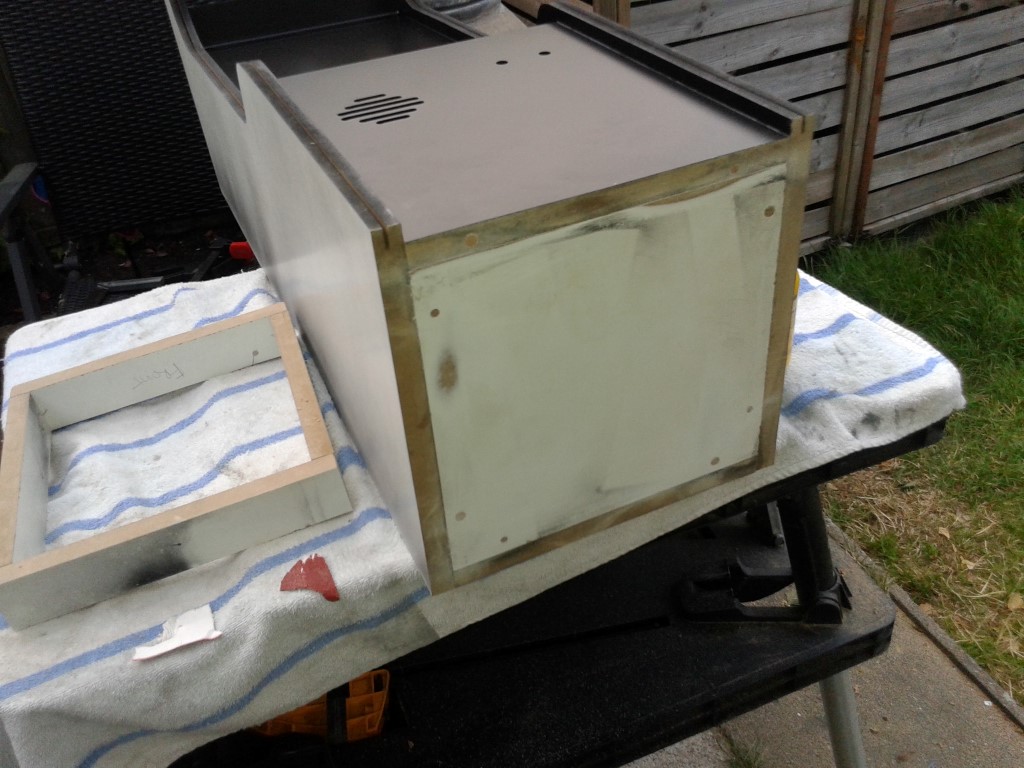 Let's try that again, but now in the right position 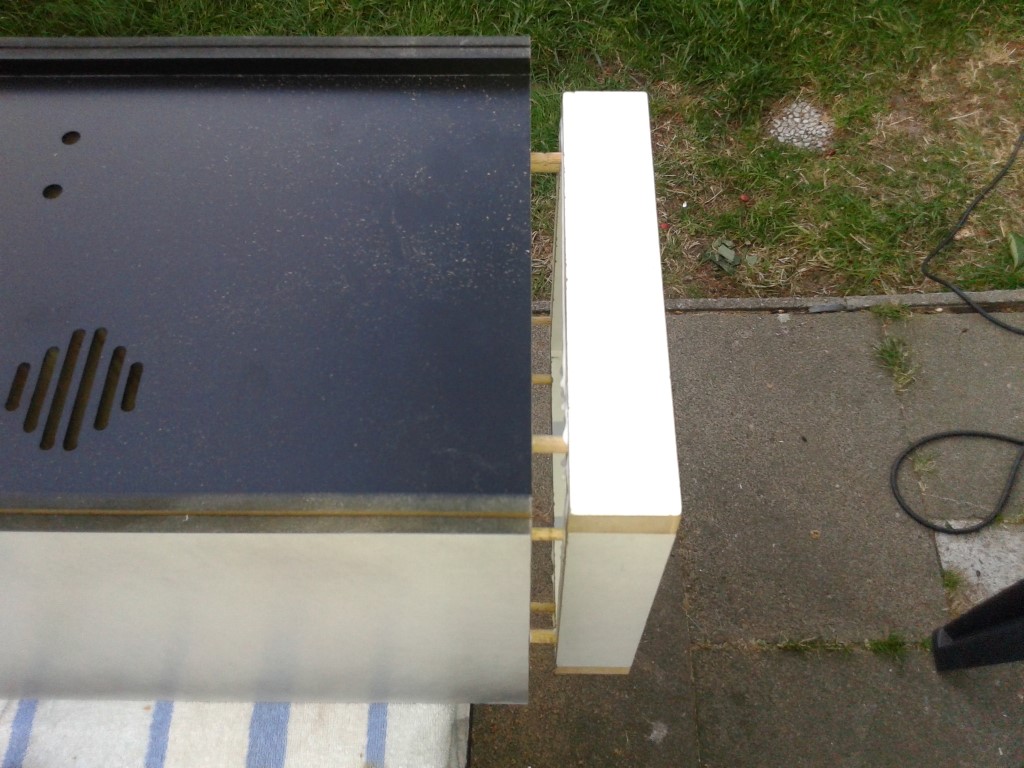 That looks better 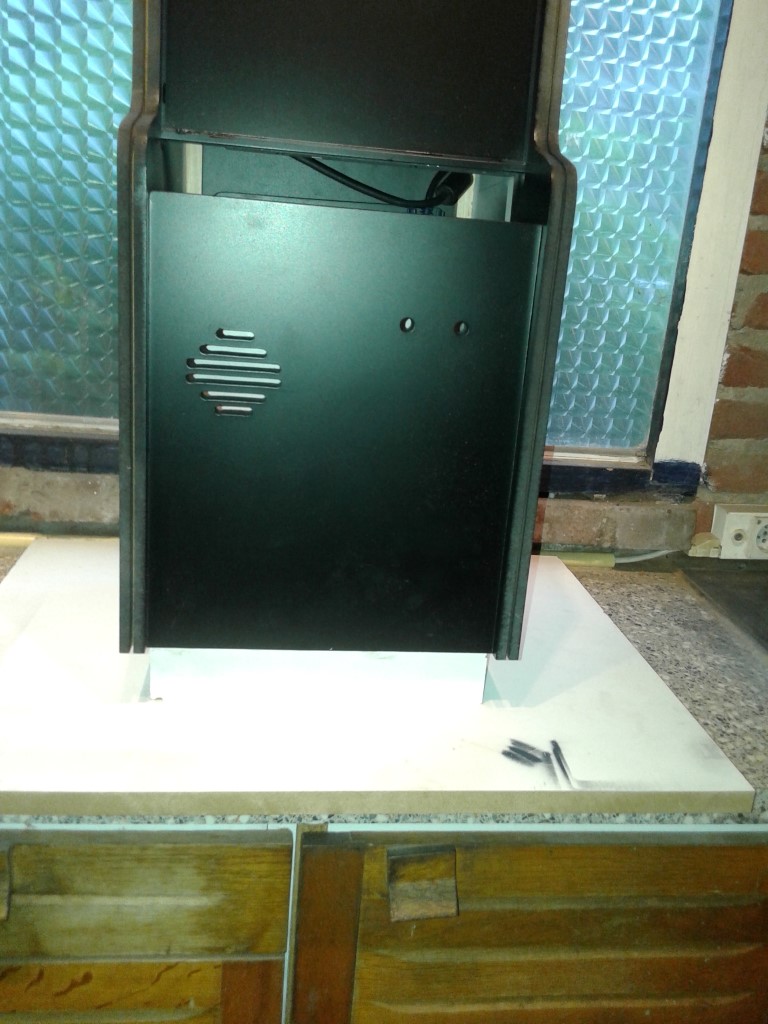 Next post i will adress an issue i stumbled over.. I need to go MacGyver style on that one.. |
|
|
|
|
8
|
Arcade and Pinball Discussions / General Arcade and Video Game Discussions / Re: Ice Cold Beer 1/2 Scale Repro Scratch build
|
on: November 15, 2015, 02:58:55 am
|
Let's prepare the cabinet for some paint. The sides will get a woodgrain foil over the complete surface, so i only need to paint the inside, front, top and back. Monitor masked off with paper, just the screen though, the metal frame i want to have painted.. 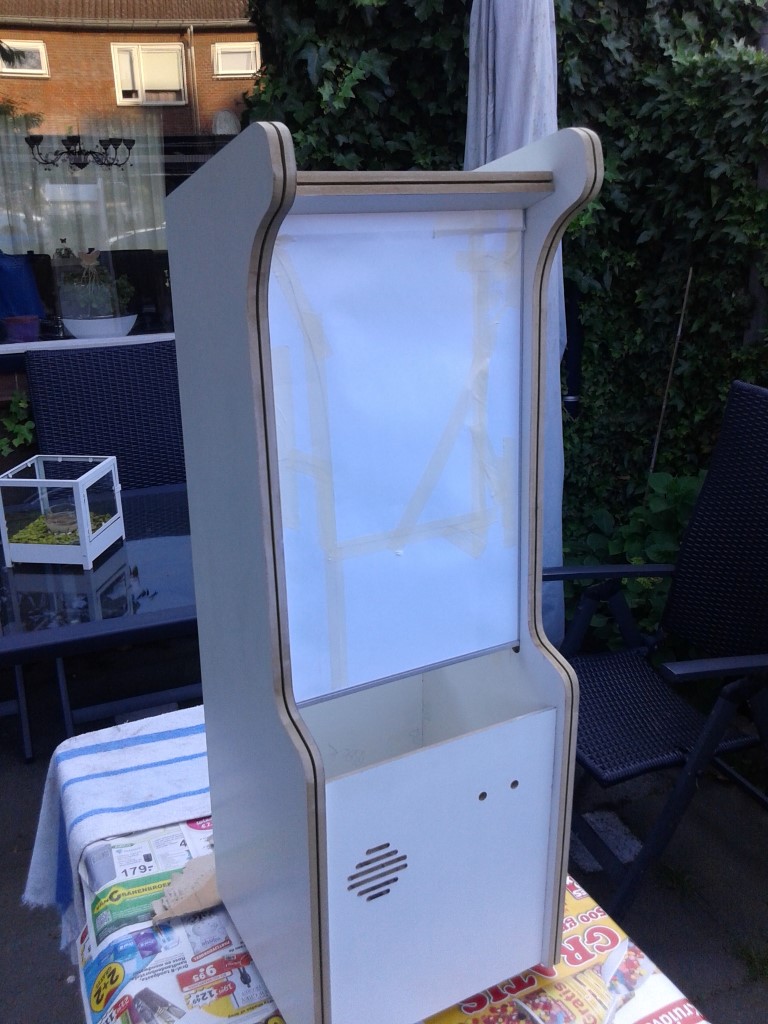 Same for the back of the monitor, masked off. 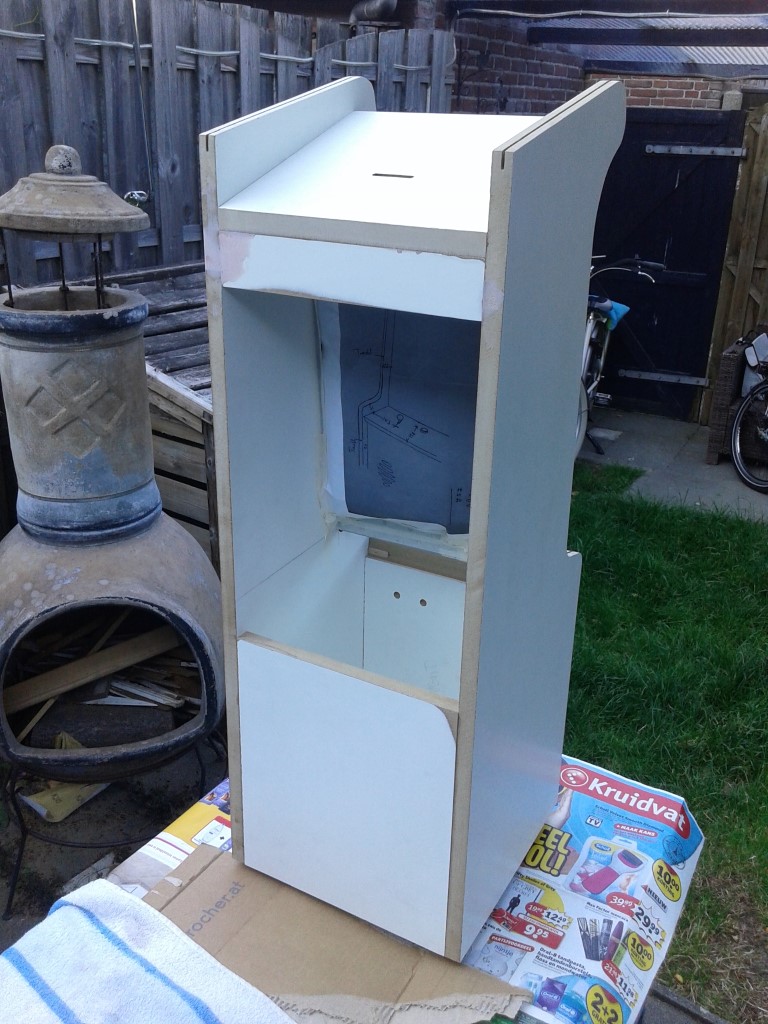 First a layer of primer, i used spray paint for everything. 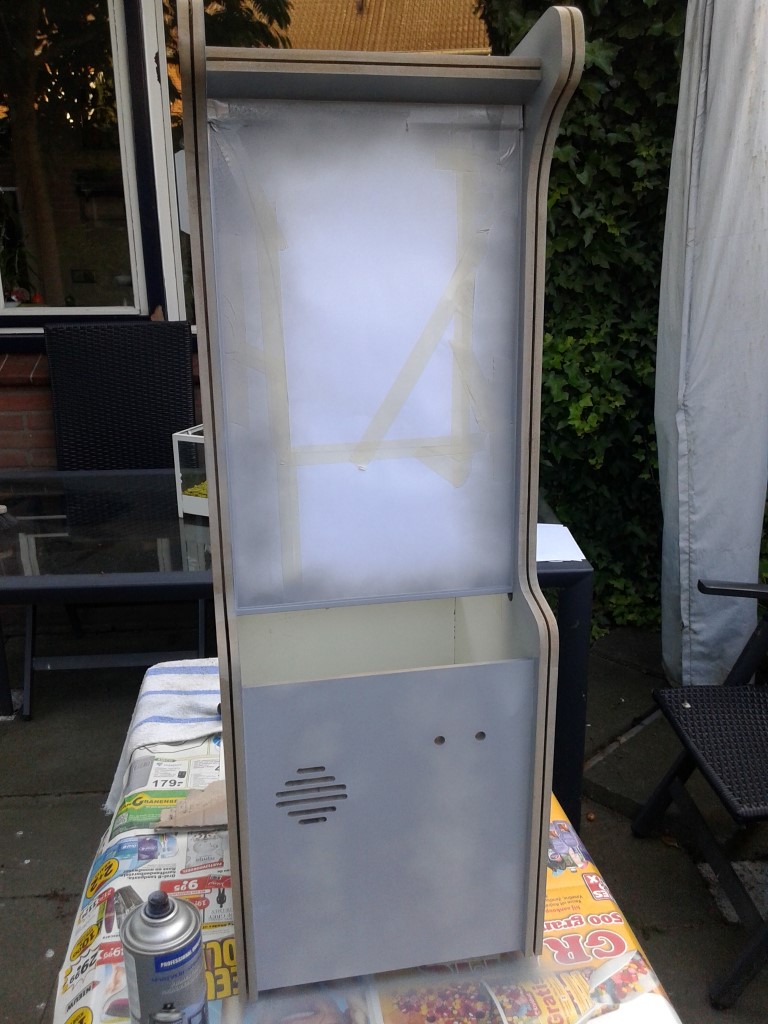 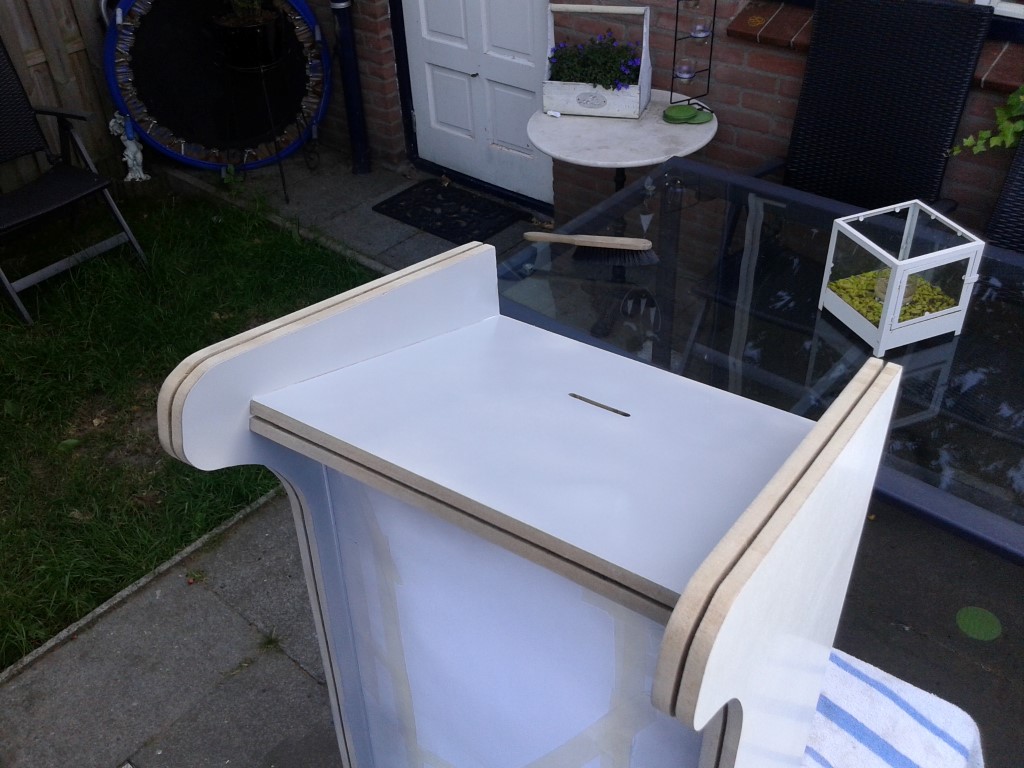 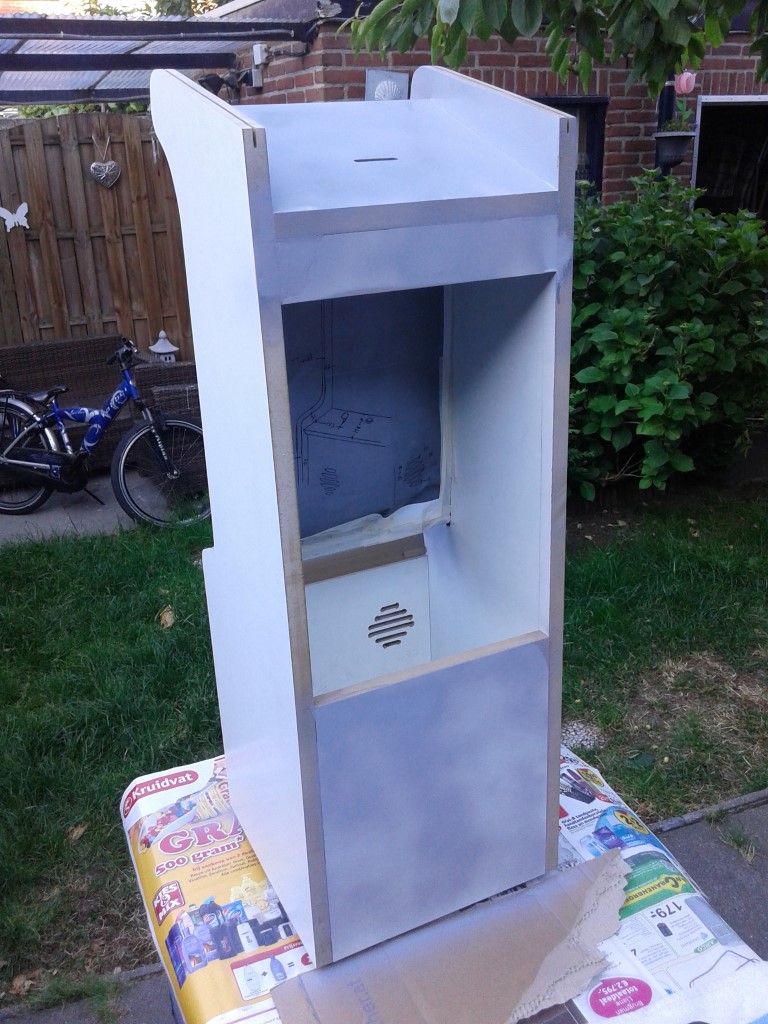 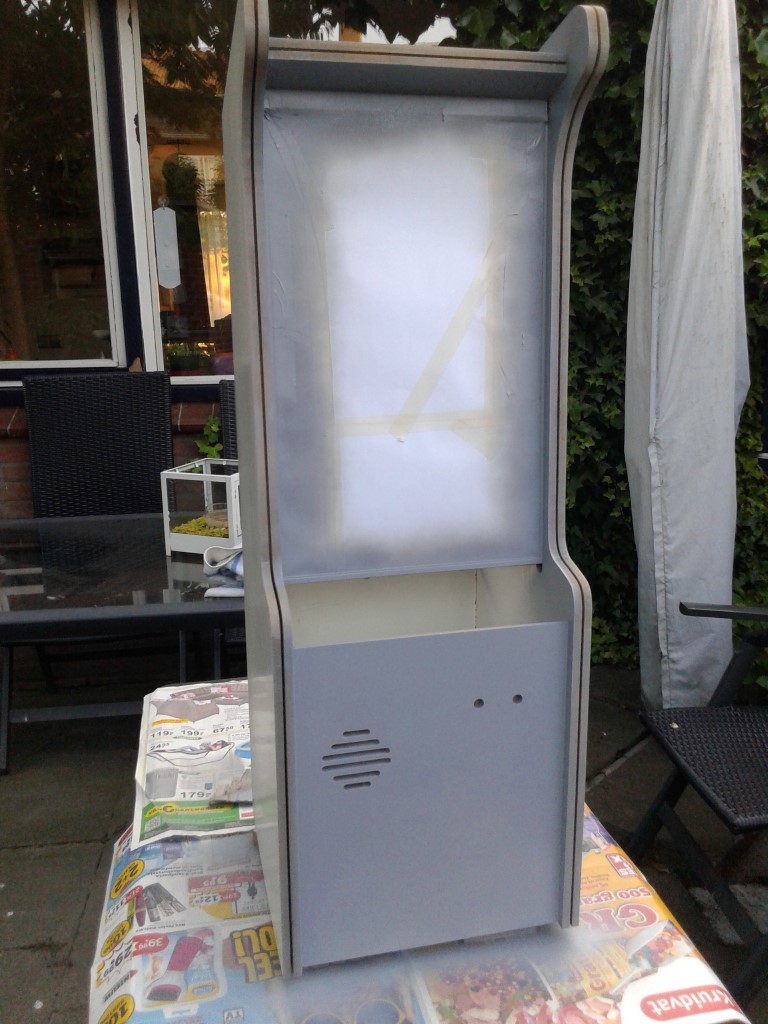 After drying, i sprayed it with black paint.. 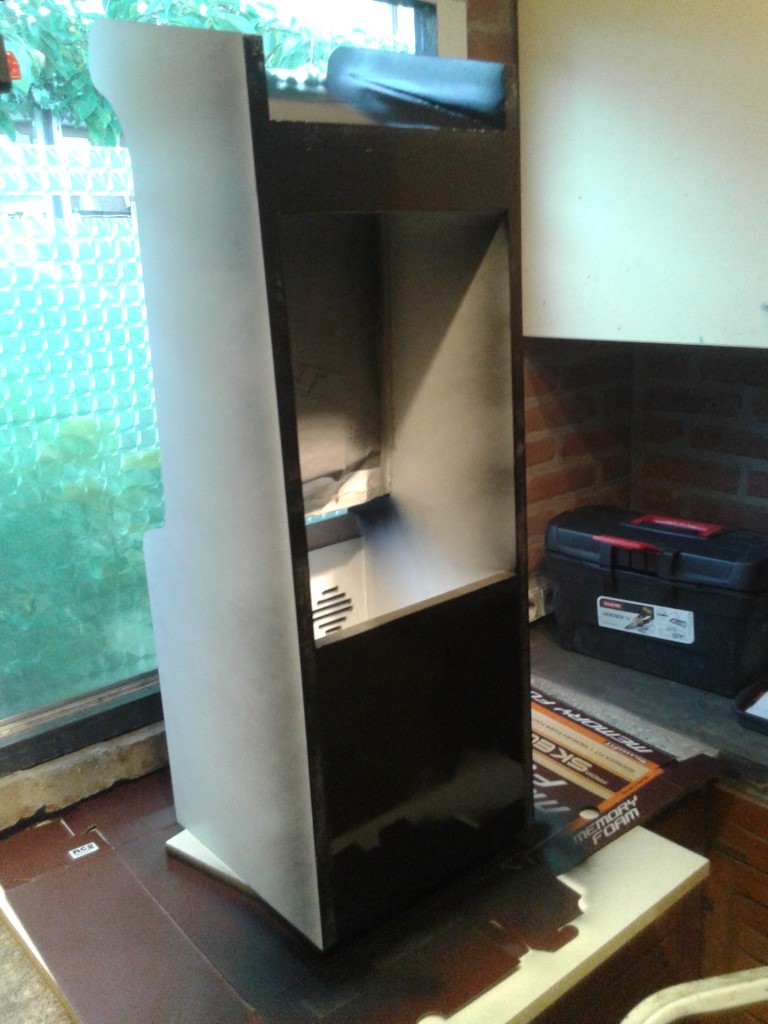 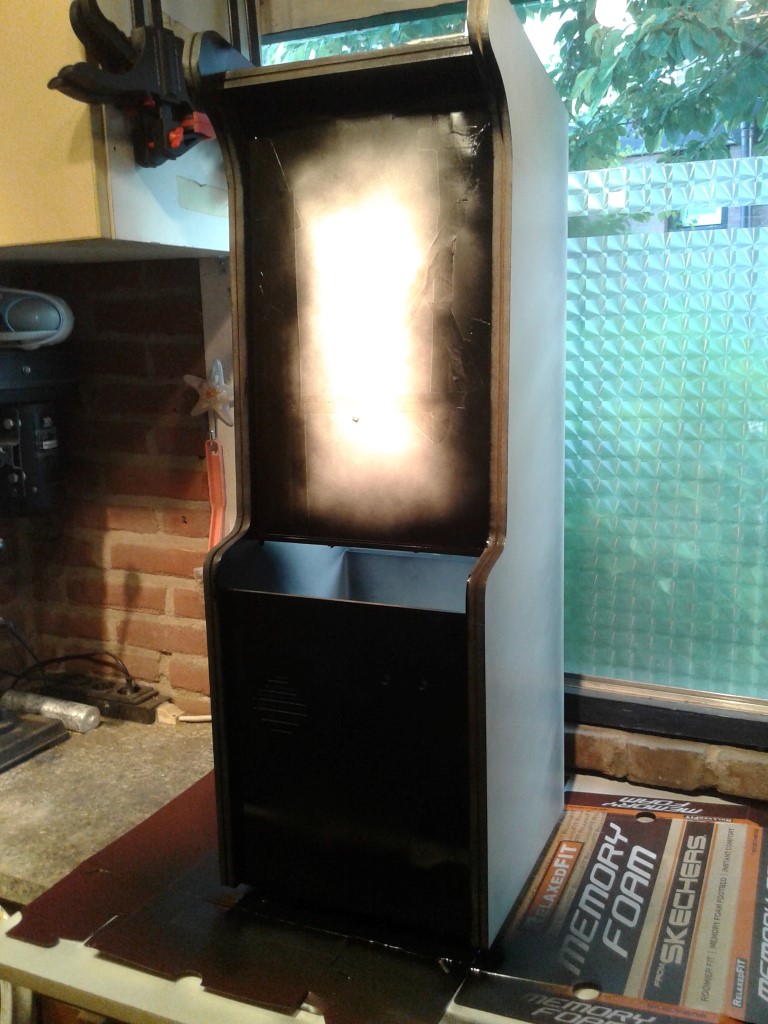 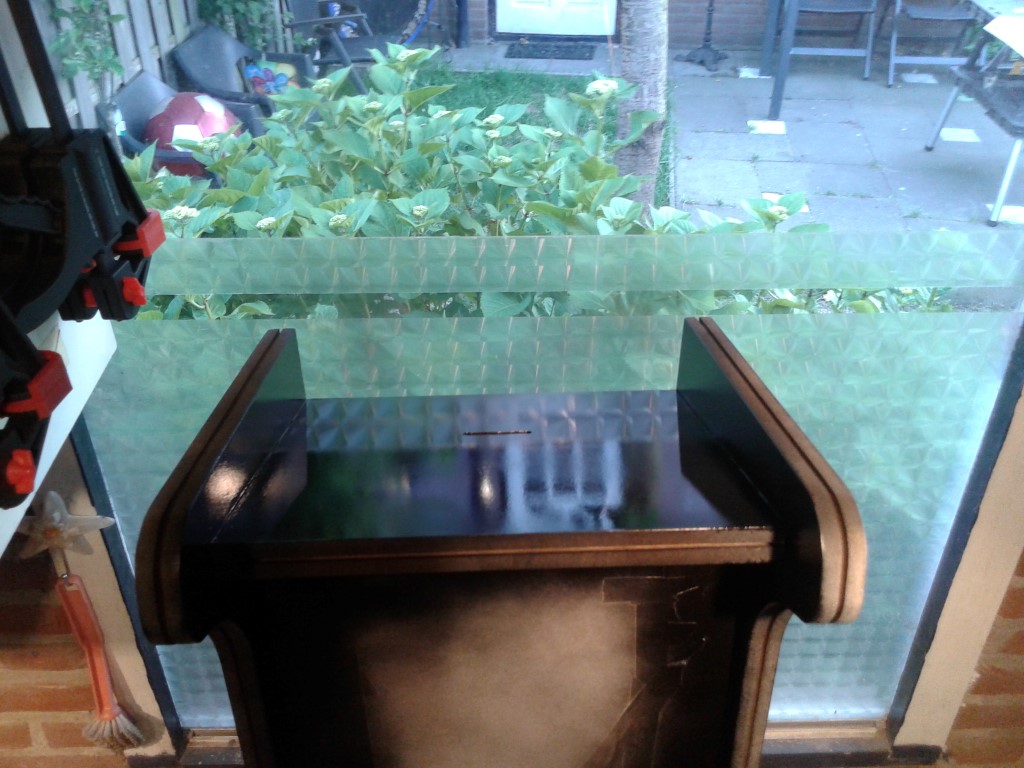 created a panel for the back door.. 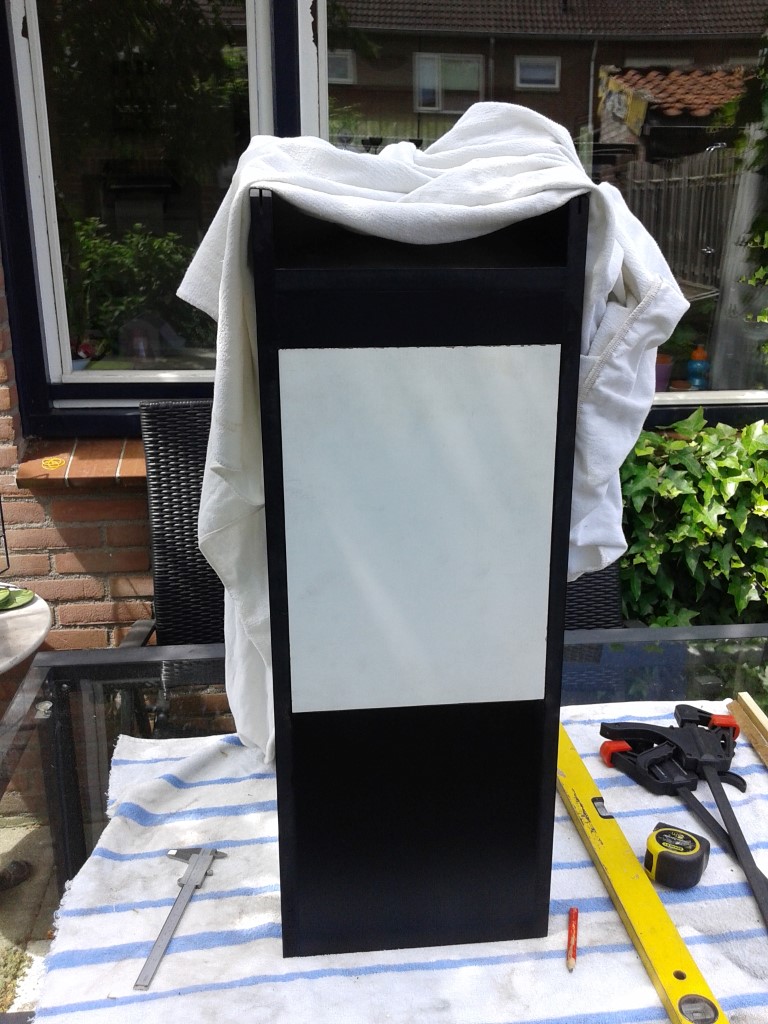 glued some studs in there to support the back door.. 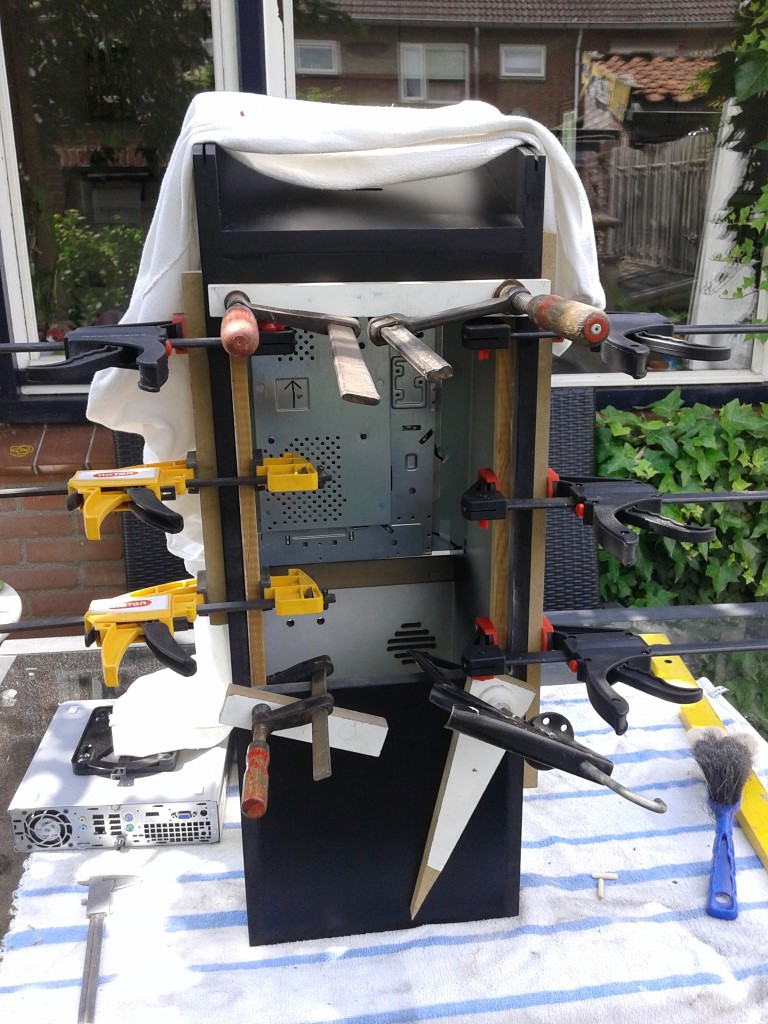 drilled the hole for the lock, from the back a bigger hole for the nut of the lock 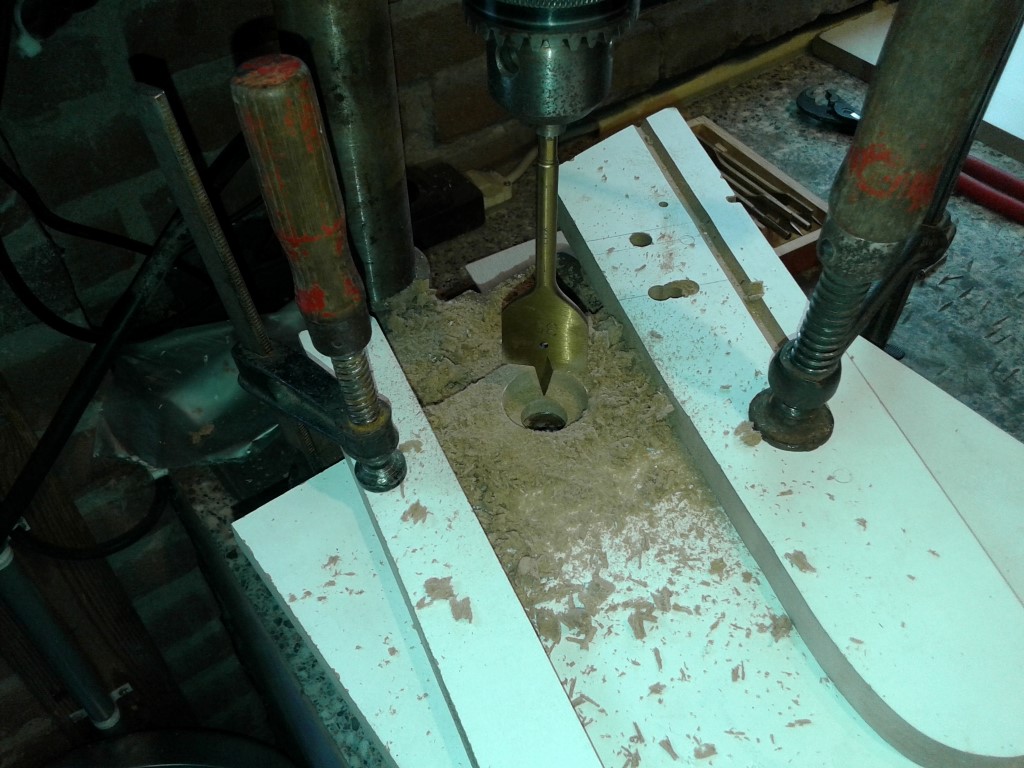 That should work 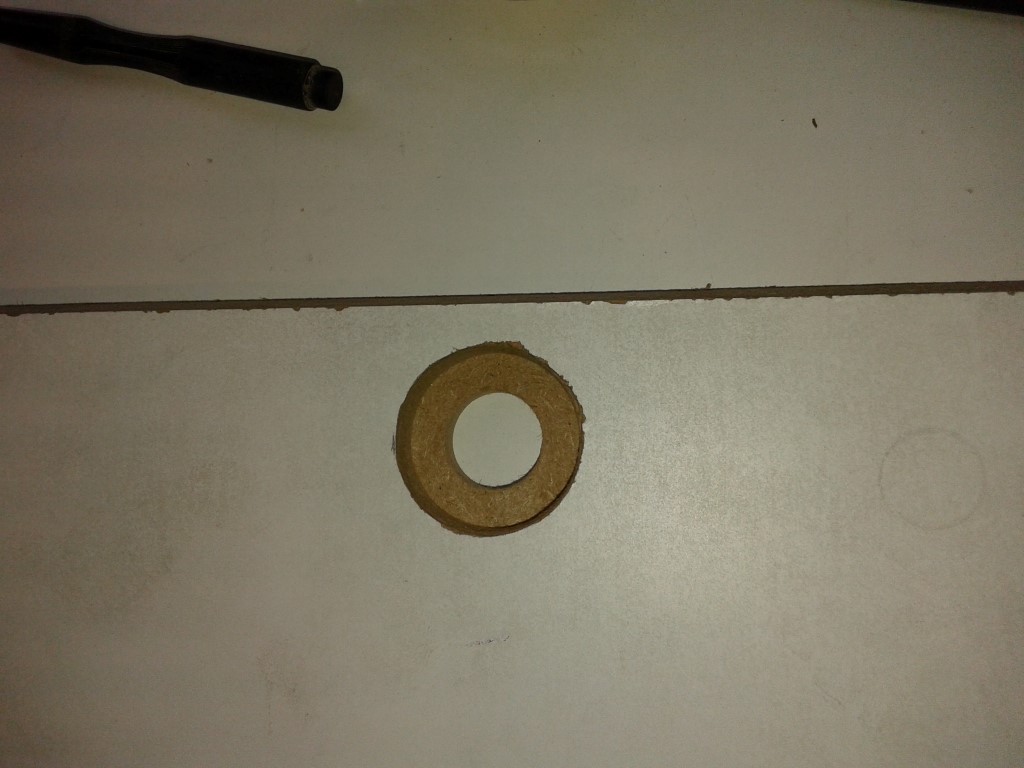 Lock in place.. 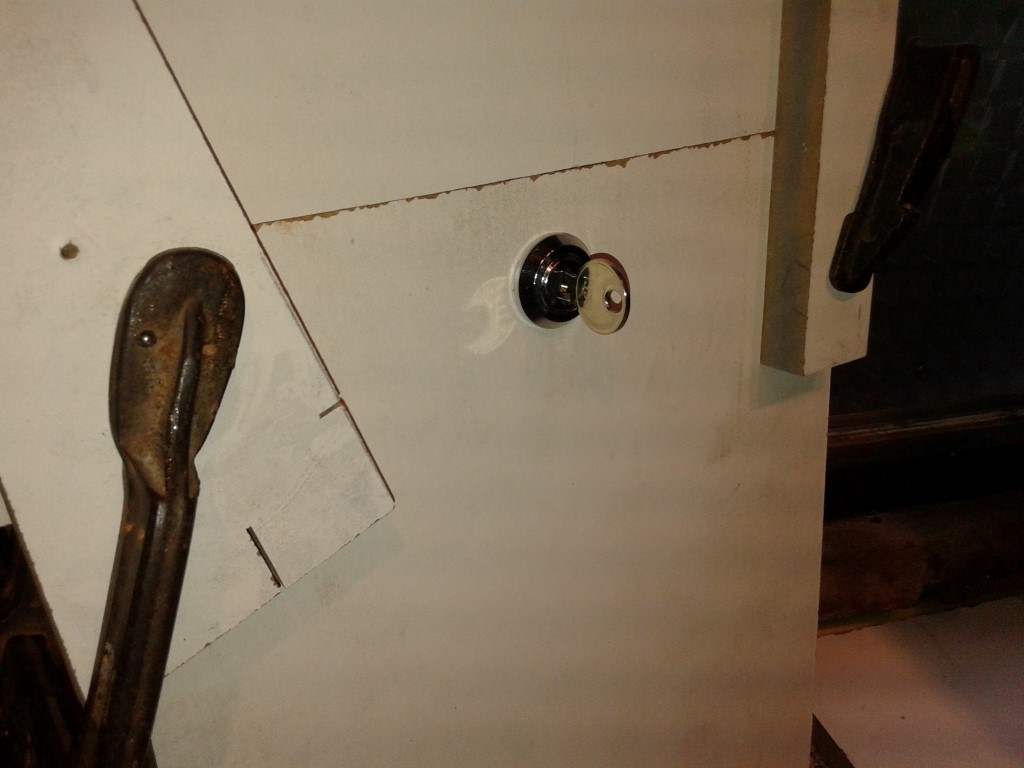 Works perfectly ! 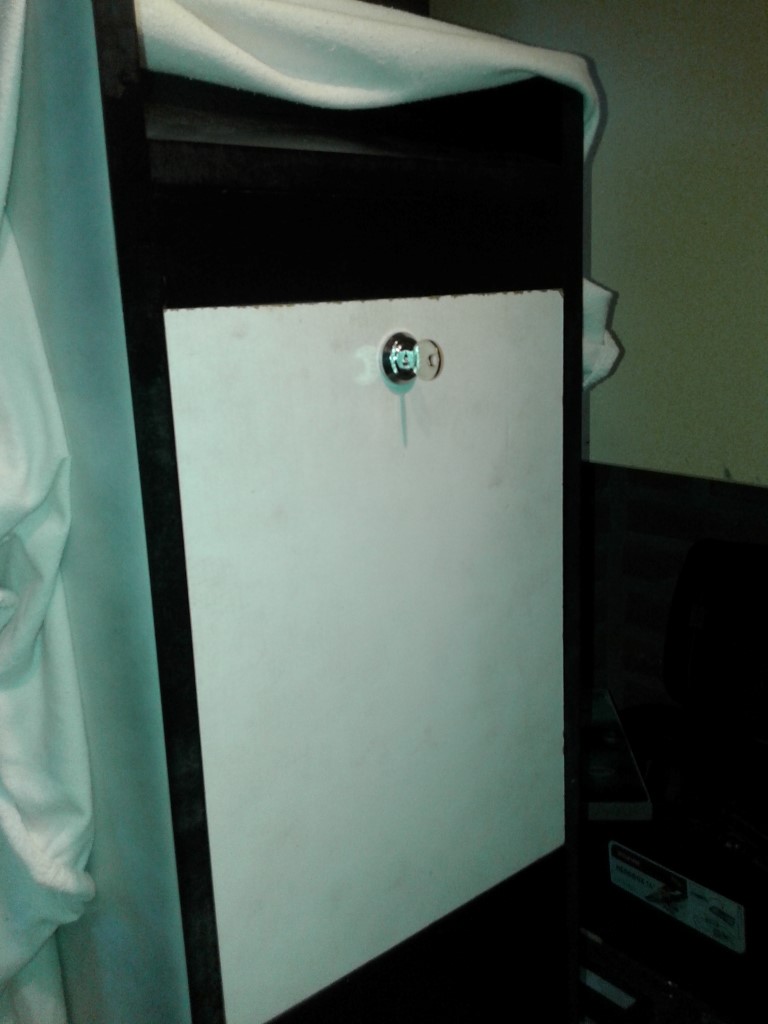 spraypainted that also with primer and then black.. 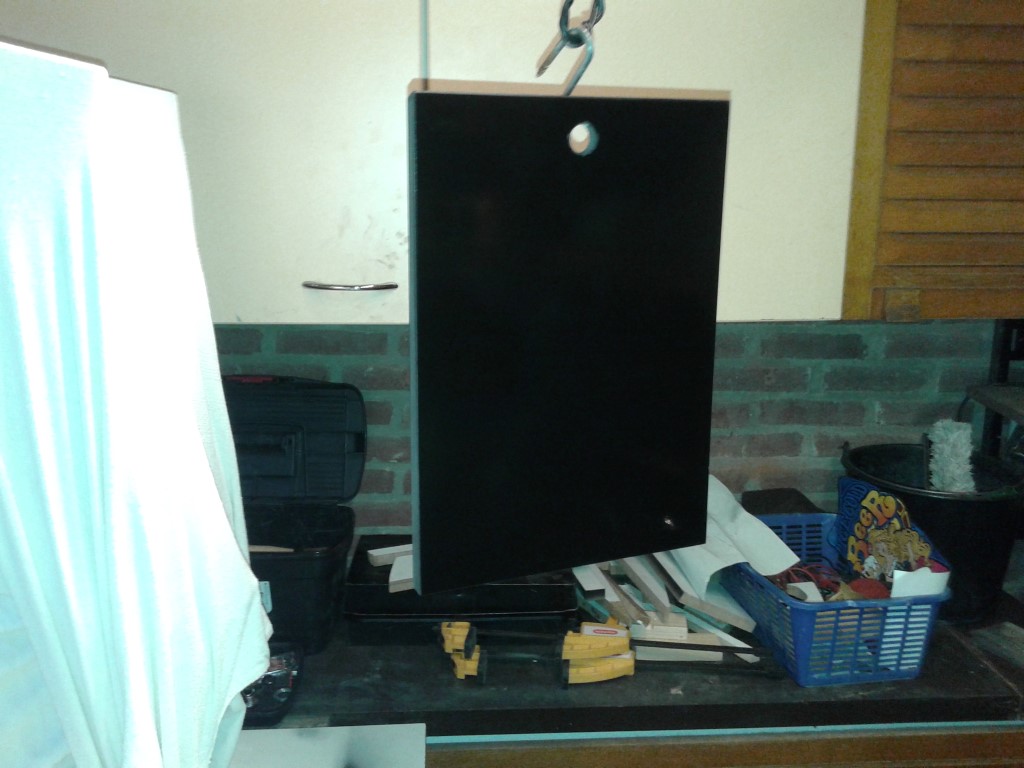 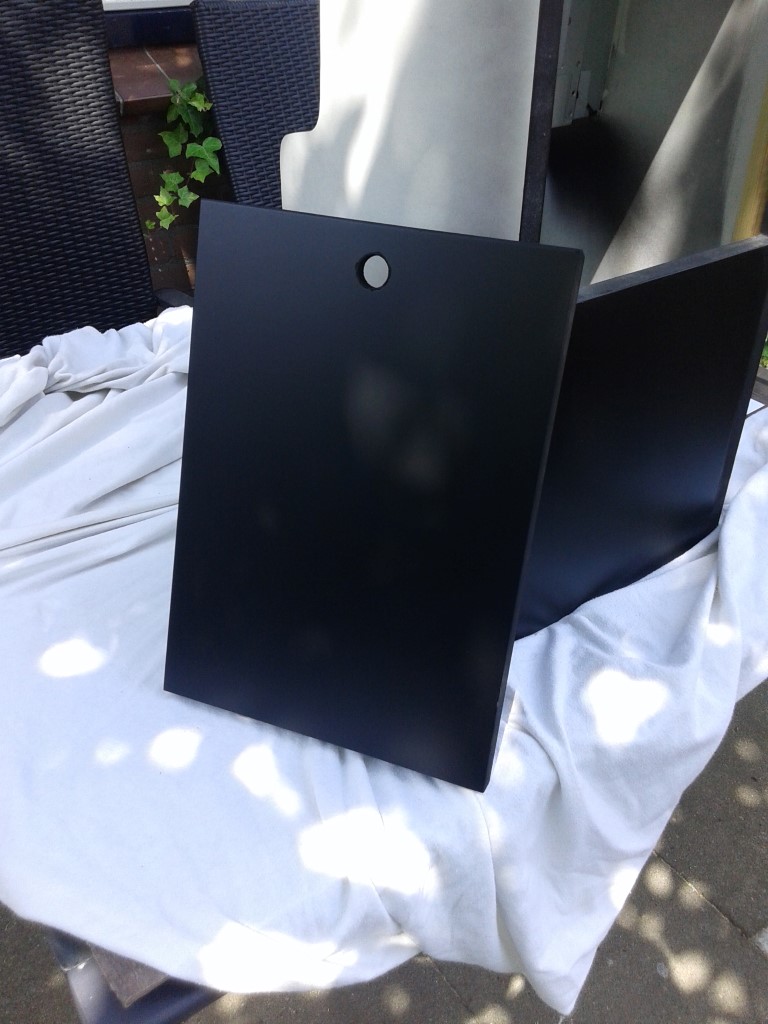 and after drying, lock installed and door in place.. 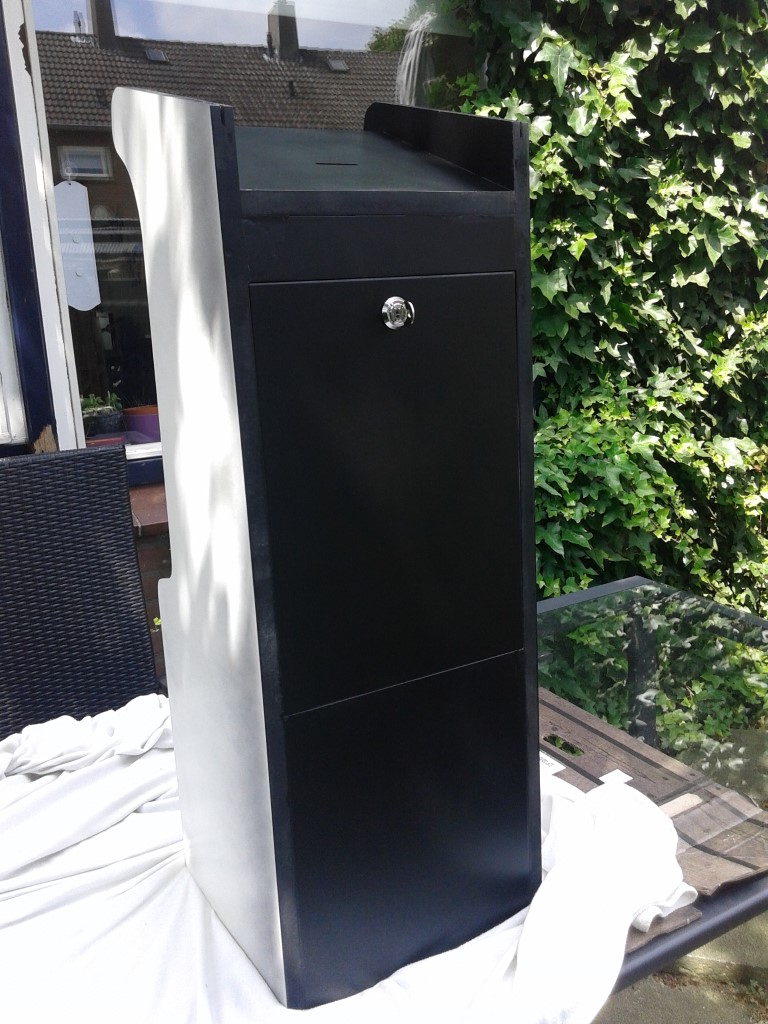 Next up, install the heart of the game. |
|
|
|
|
9
|
Arcade and Pinball Discussions / General Arcade and Video Game Discussions / Re: Ice Cold Beer 1/2 Scale Repro Scratch build
|
on: November 15, 2015, 02:53:08 am
|
Time to install some wires in this thing. Solder equipment ready, Let's go ! 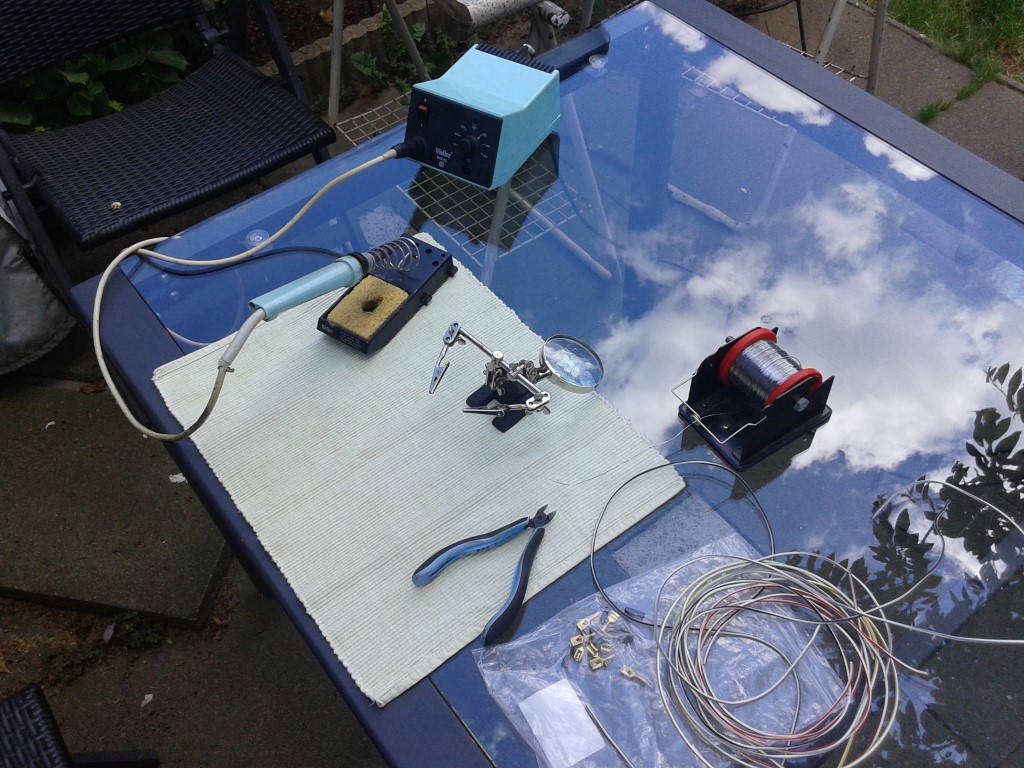 Did i already told you guys that i hate the crimp on spade connectors ? No ? well.. i do ! For some reason they always come loose when i use them. So i decided to buy "copper solder" variants.. 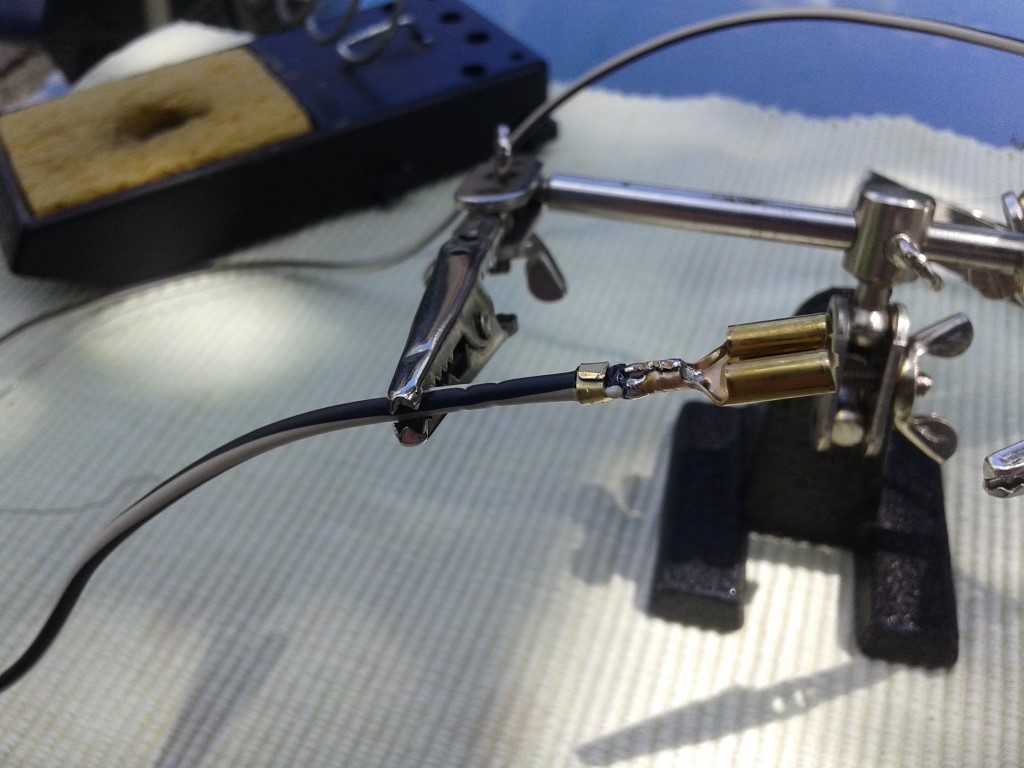 Finishing it up with some heatshrink, and a guaranteed good connection has been made.. 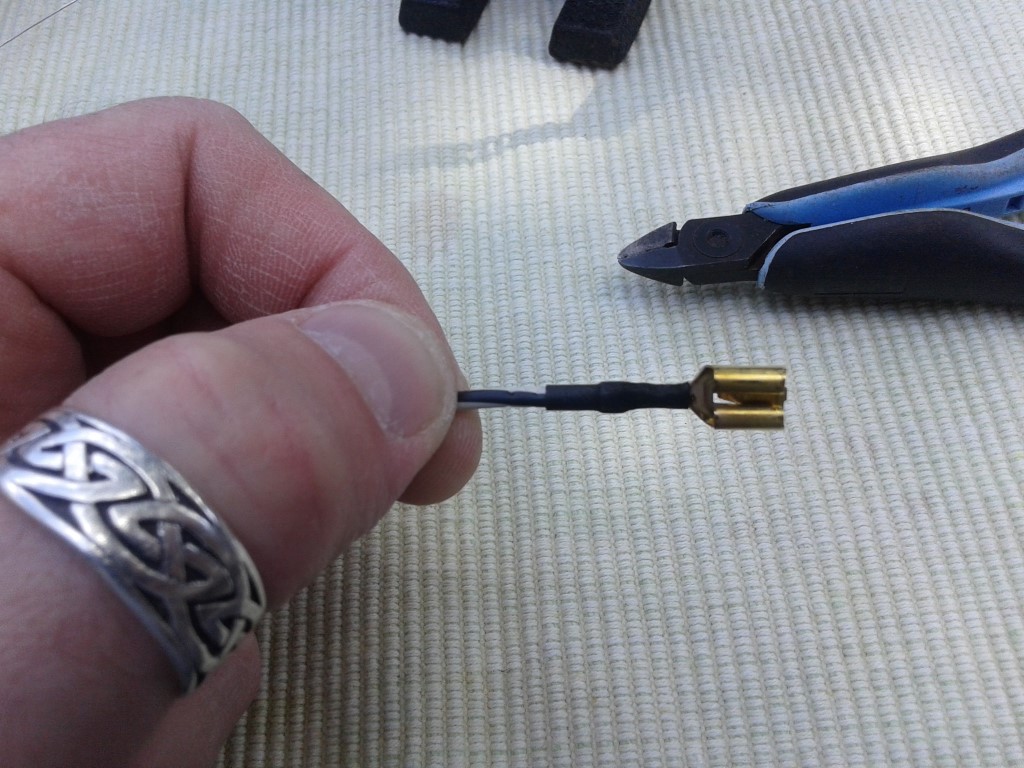 As the original has a flashing start button, i was thinking to recreate that. I could not find a small red translucent button like the original, so i settled with a chrome one with a blue red LED ring 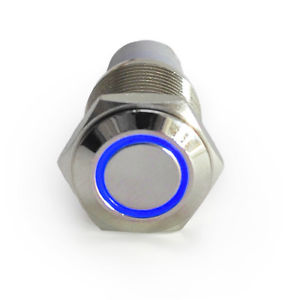 Now i needed to find a way to make that blink.. As i am not an electronic wizard, i contacted Ian Kellog over at the John's Arcade Forum. He and another member (Bloodycactus) gave me some directions on how to create a simple cirquit that makes a led flash. The solution is based upon a 555 timer IC and some caps. Thanks again to these guys. Ofcourse i could ask it to the usual suspects here, but then again, it was a secret project 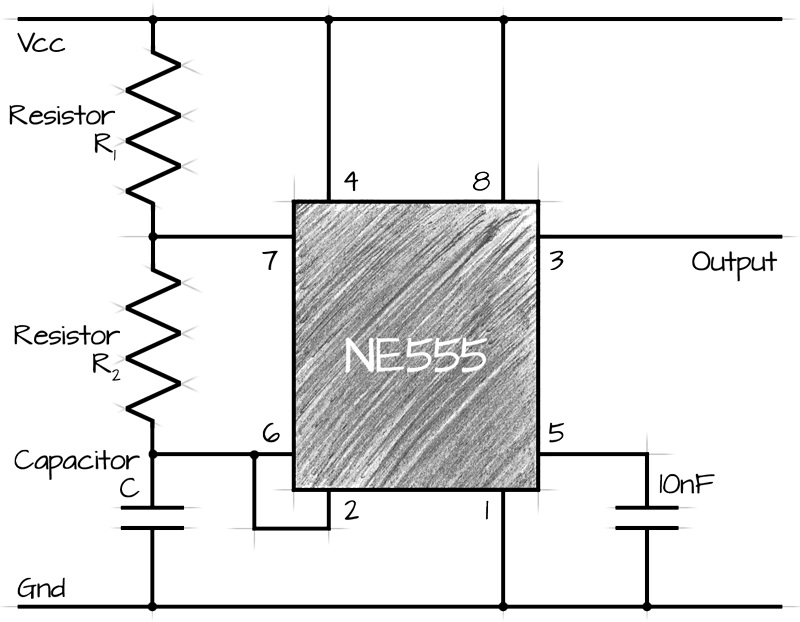 As said, i am not an electronics wizard, so i tried to "translate" that in something i can simply understand: 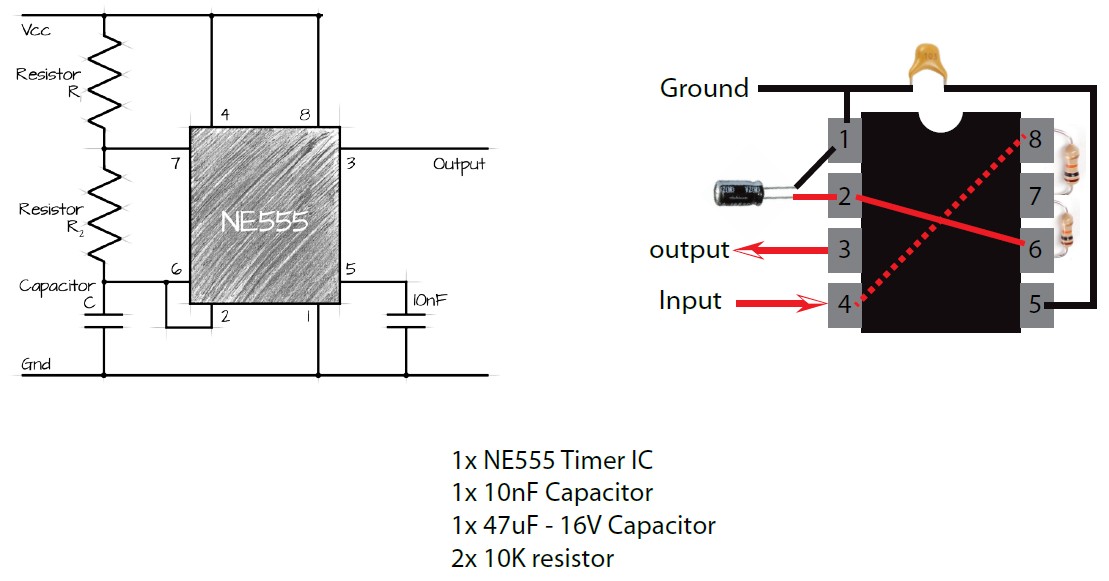 Placed the parts on Veroboard, and made the connections. Hooked up a 9V battery to test.. 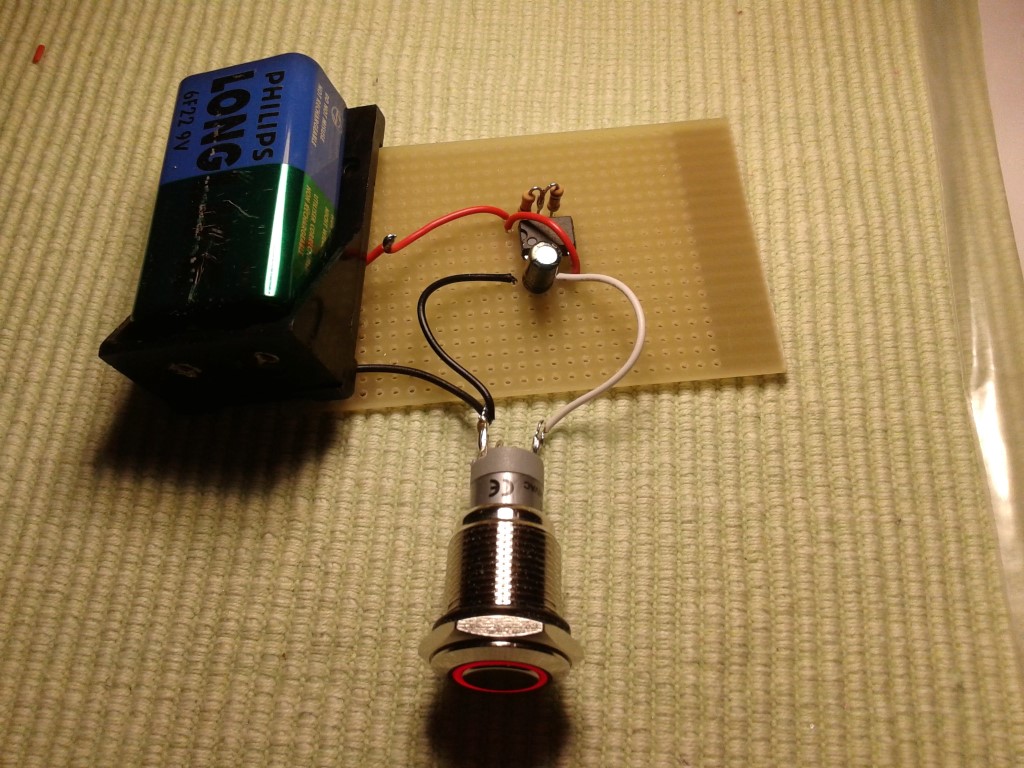 It works ! :spaceace: 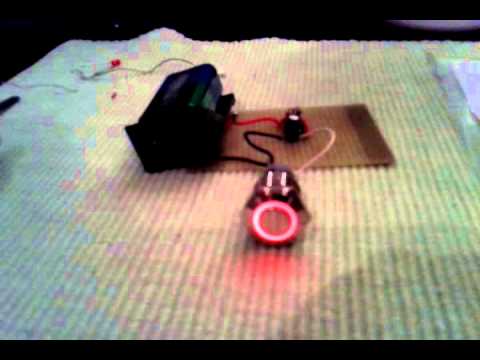 Next up, controlpanel work. Let's create some brackets for the controlpanel. As there is not enough space under the control panel, i need to trim the brackets. 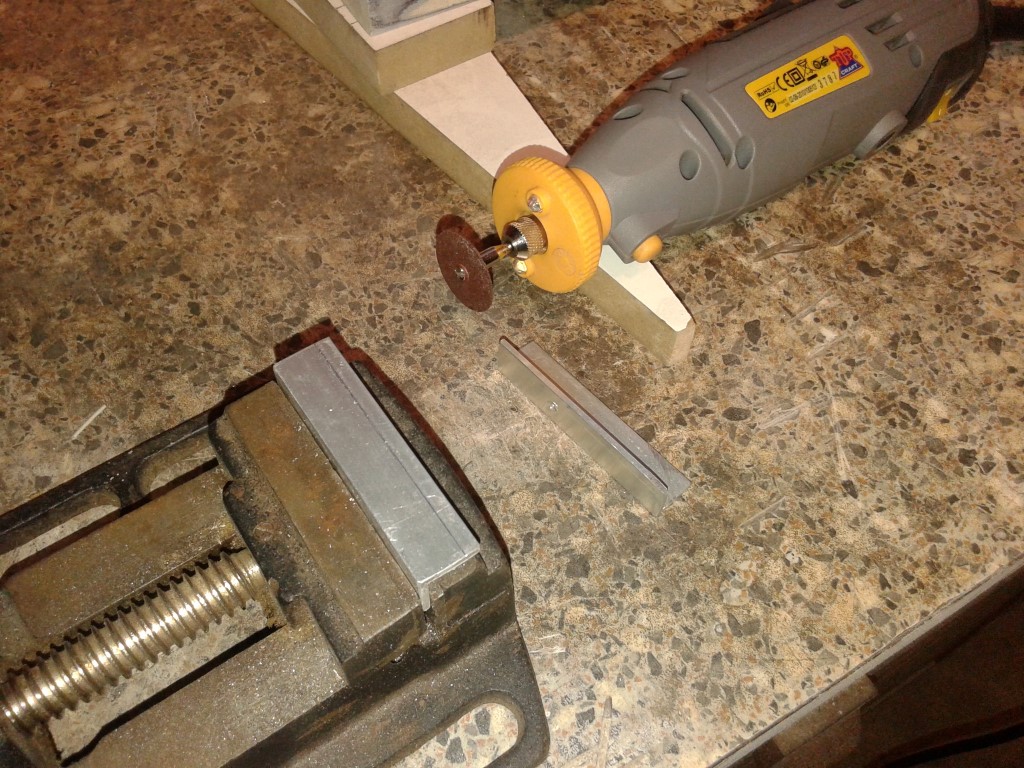 Pre-drilled and countersinked the holes.. 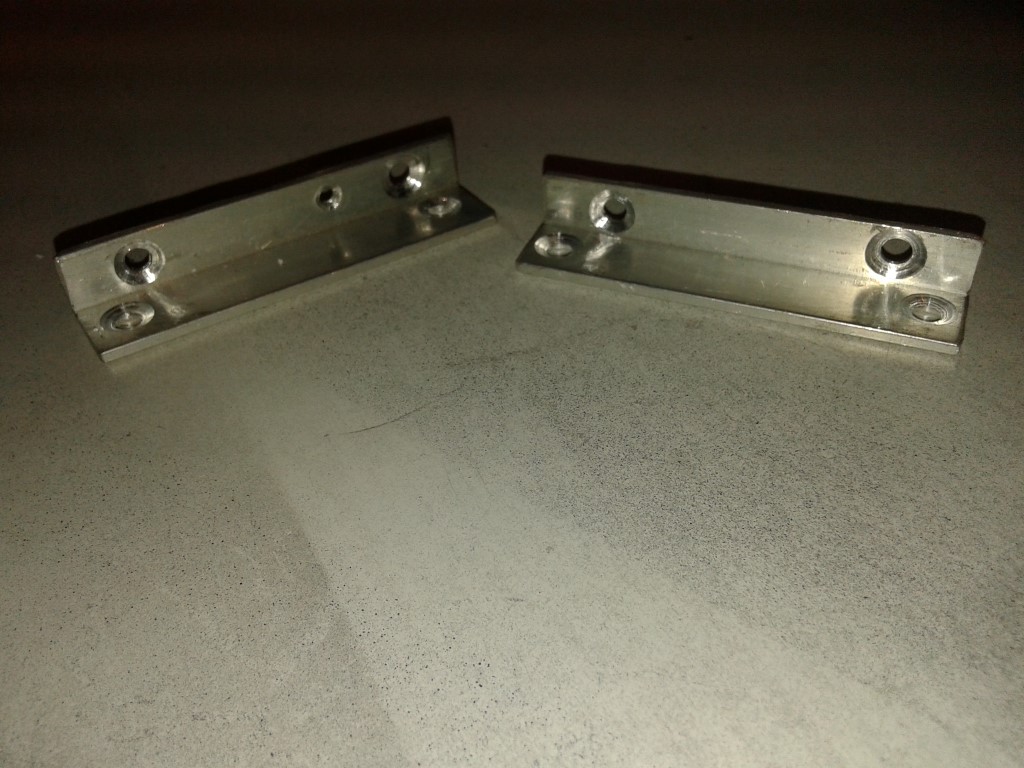 Some pieces of scrap wood clamped up and installed the brackets to the controlpanel. 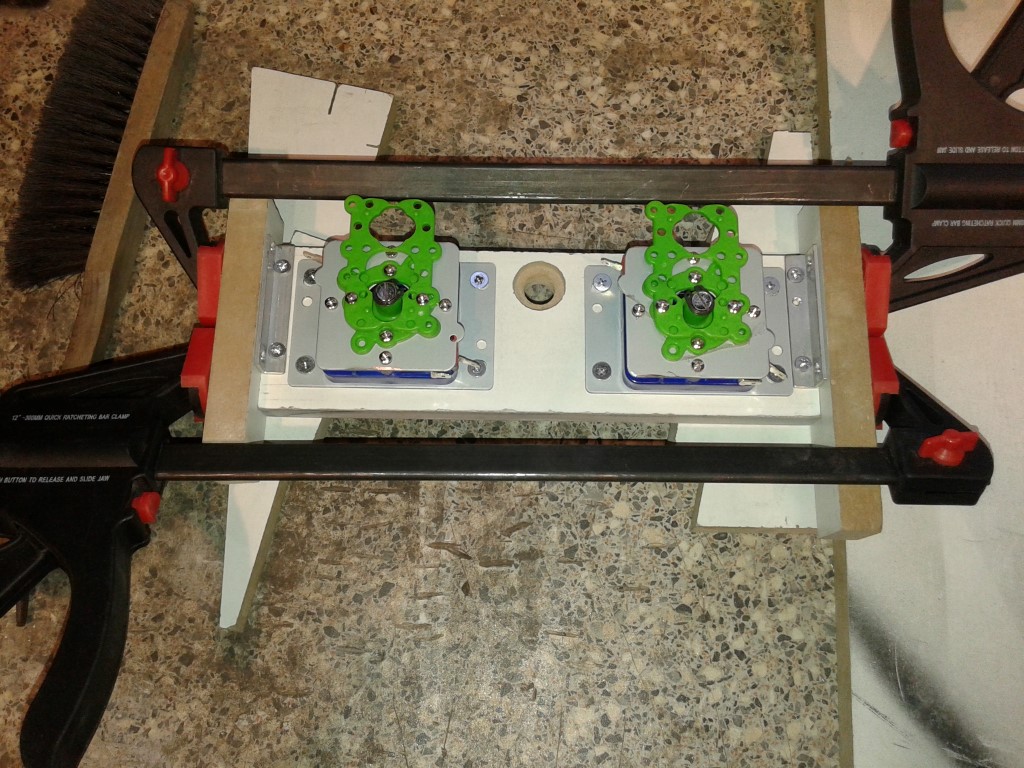 After positioning and marking the holes needed for the panel, i pre drilled the screwholes. 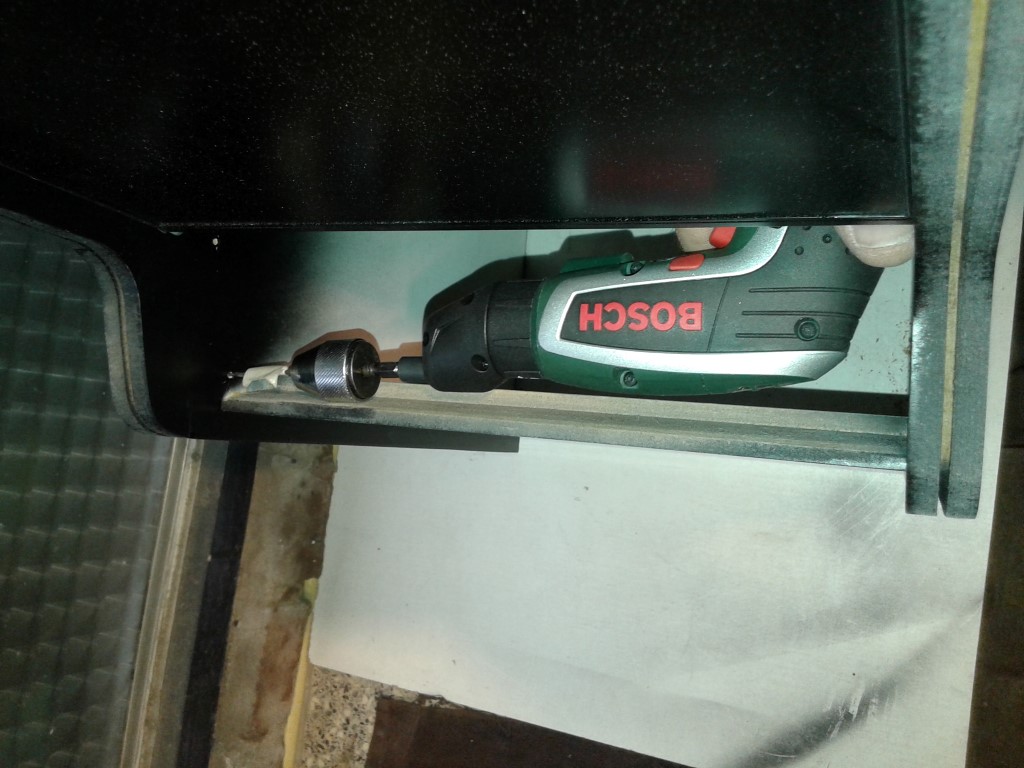 Panel in place with wires neatly tucked away.. 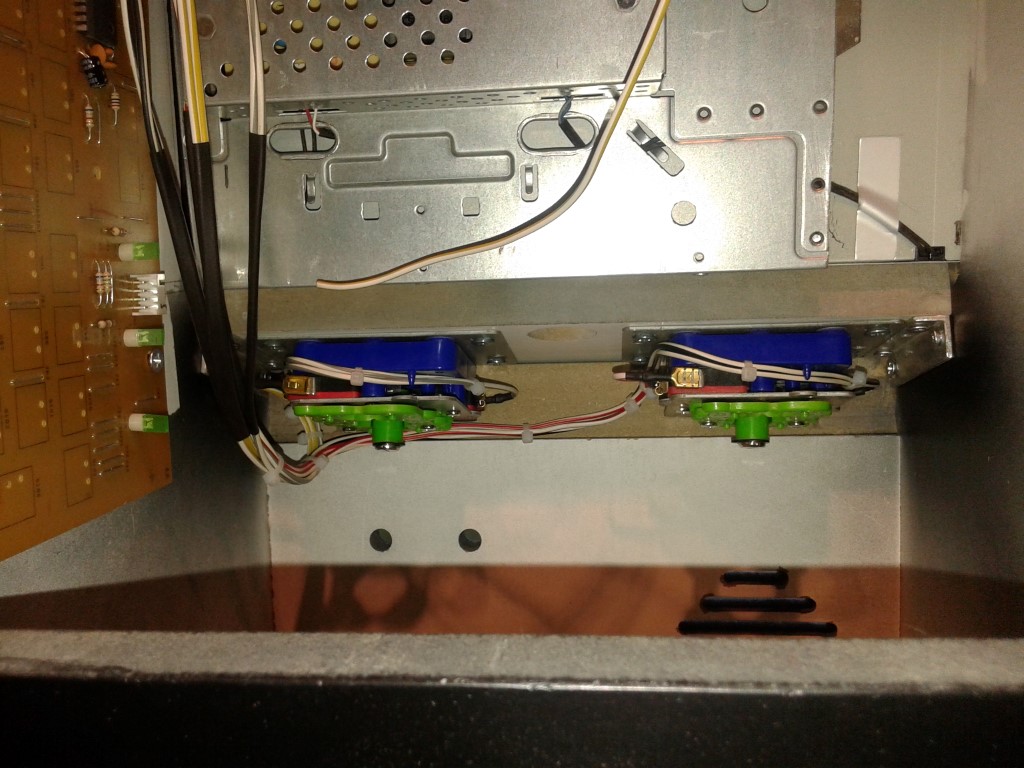 I bundled the pairs together with heatshrink tube.. 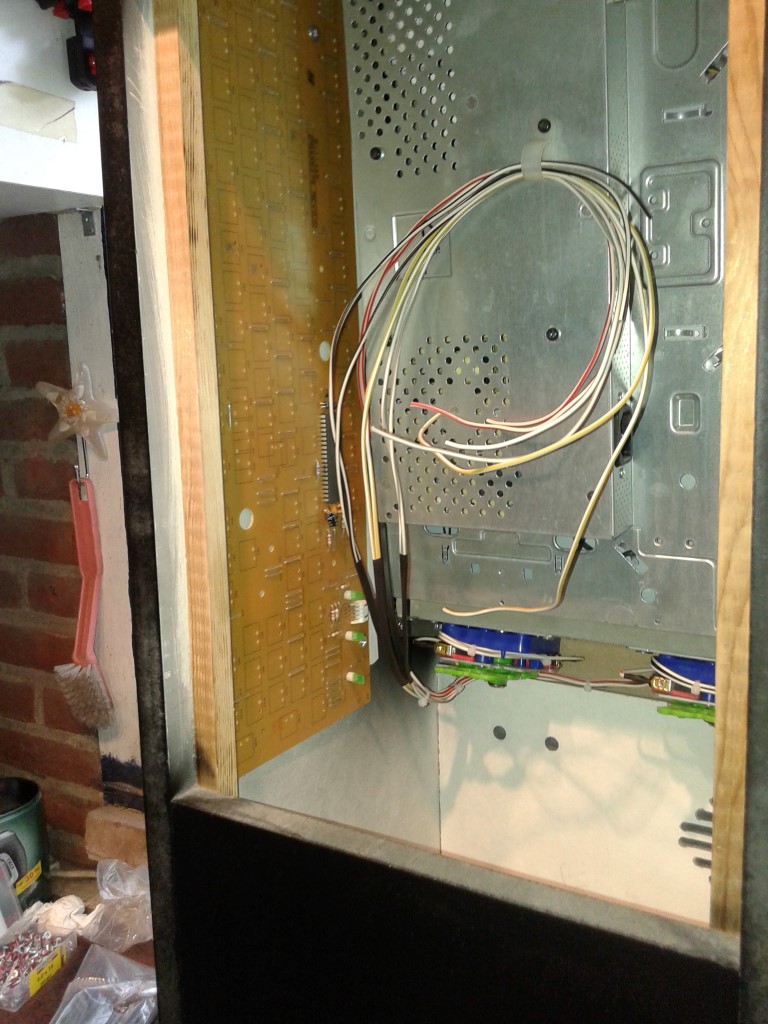 And soldered them to the correct spots on the keyboard pcb. 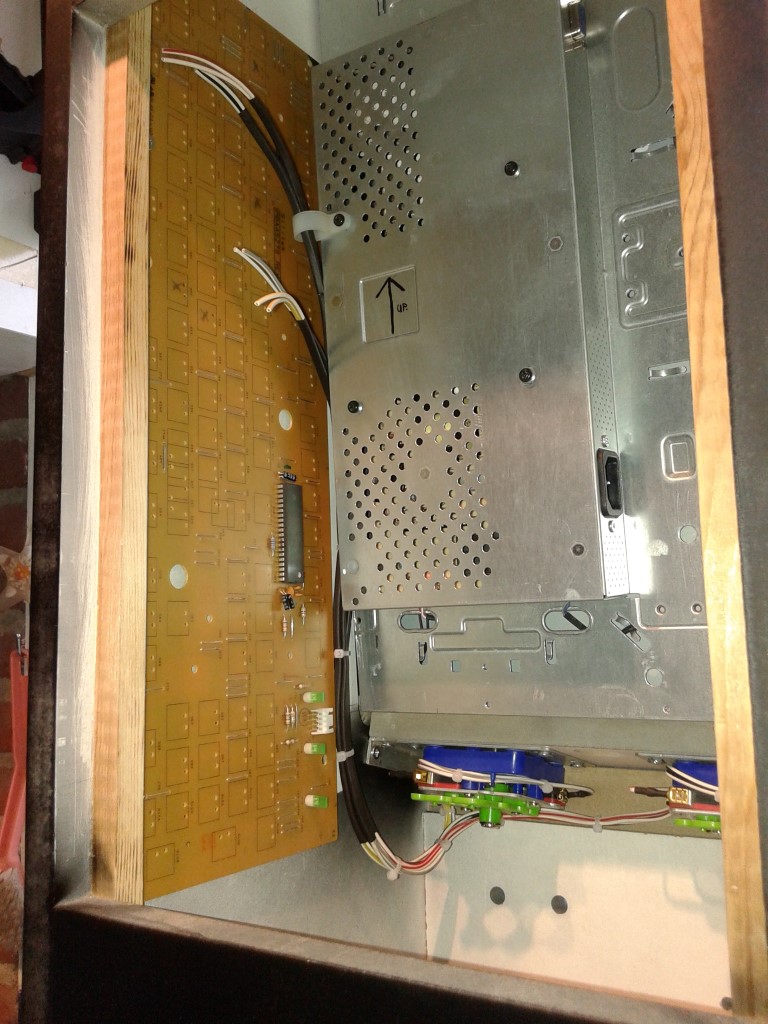 The LED Flasher works also on 5V, so i traced out a 5V rail on the keyboard pcb. 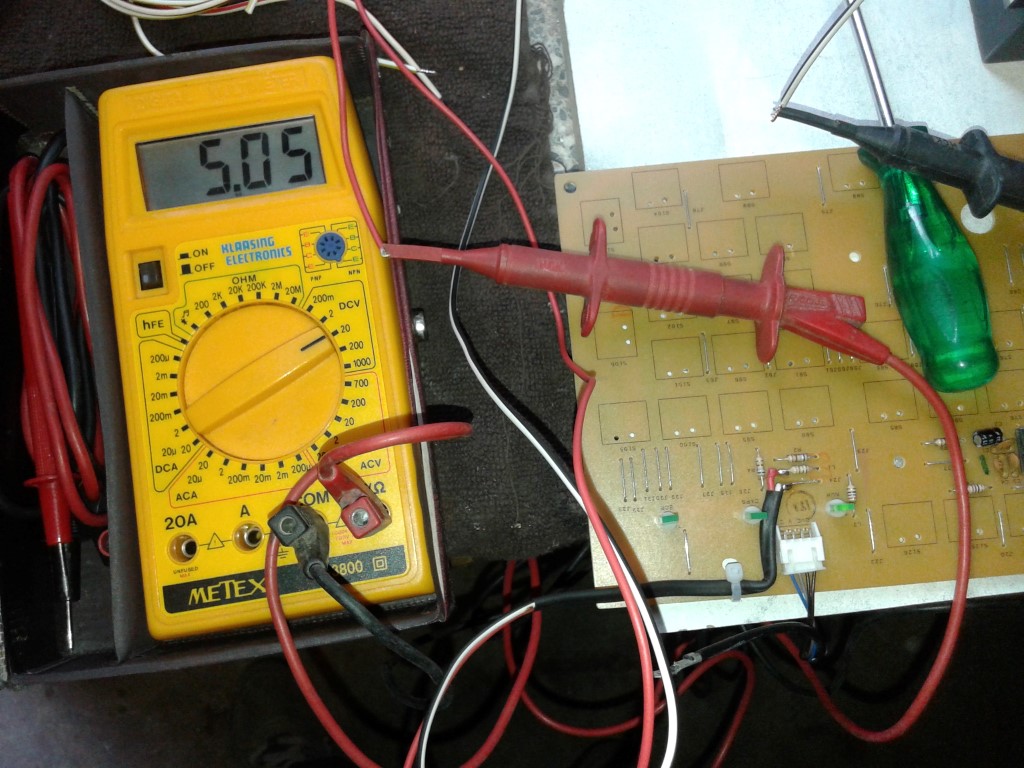 Solderd the start and credit button wires to the keyboard pcb.. 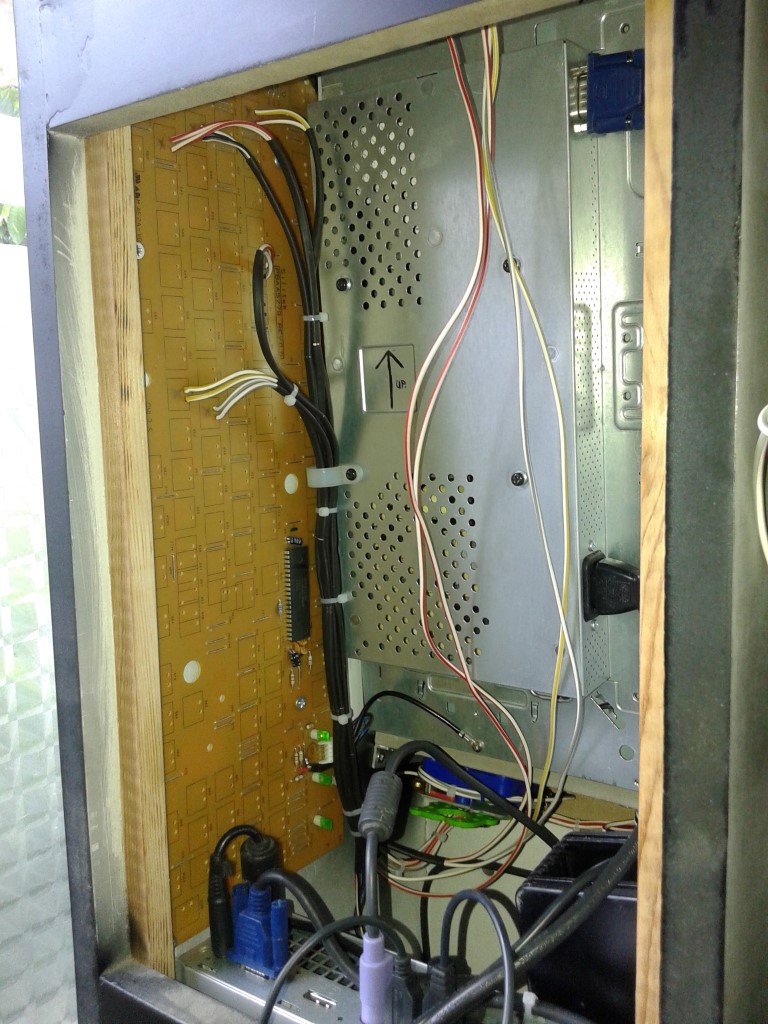 As the keyboard has 3 LED's, why not use 2 of them to function as coindoor lights .. 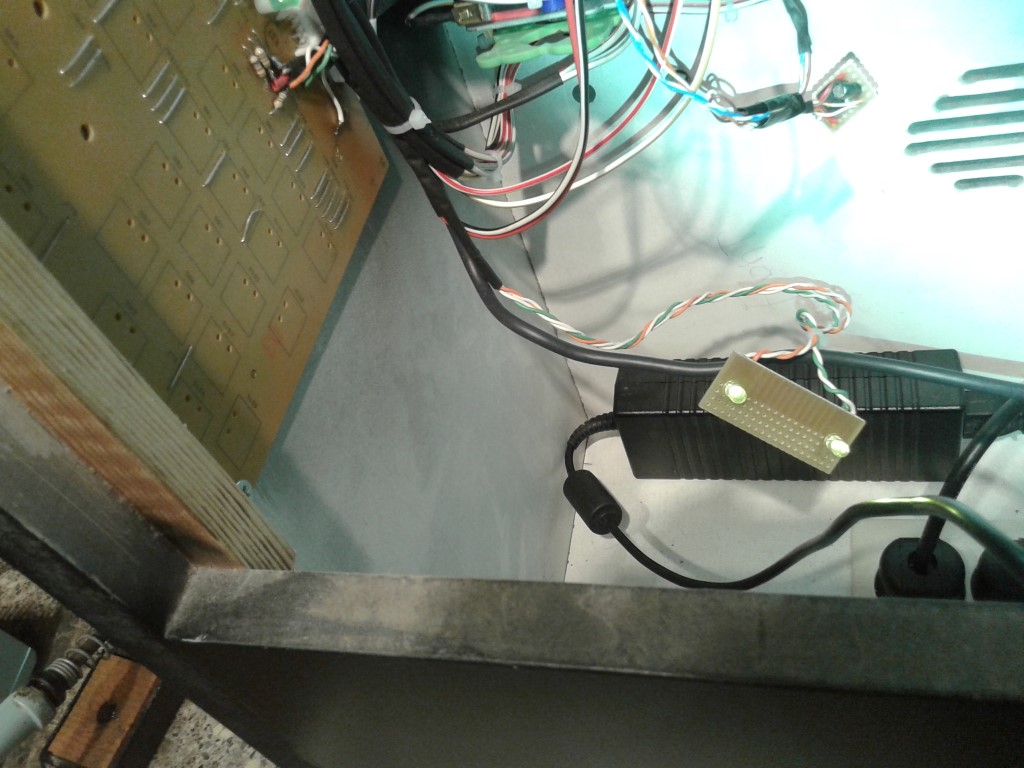 solderd them on a piece of leftover Veroboard with the right spacing, and now i can simply install that to the back of the front panel.. 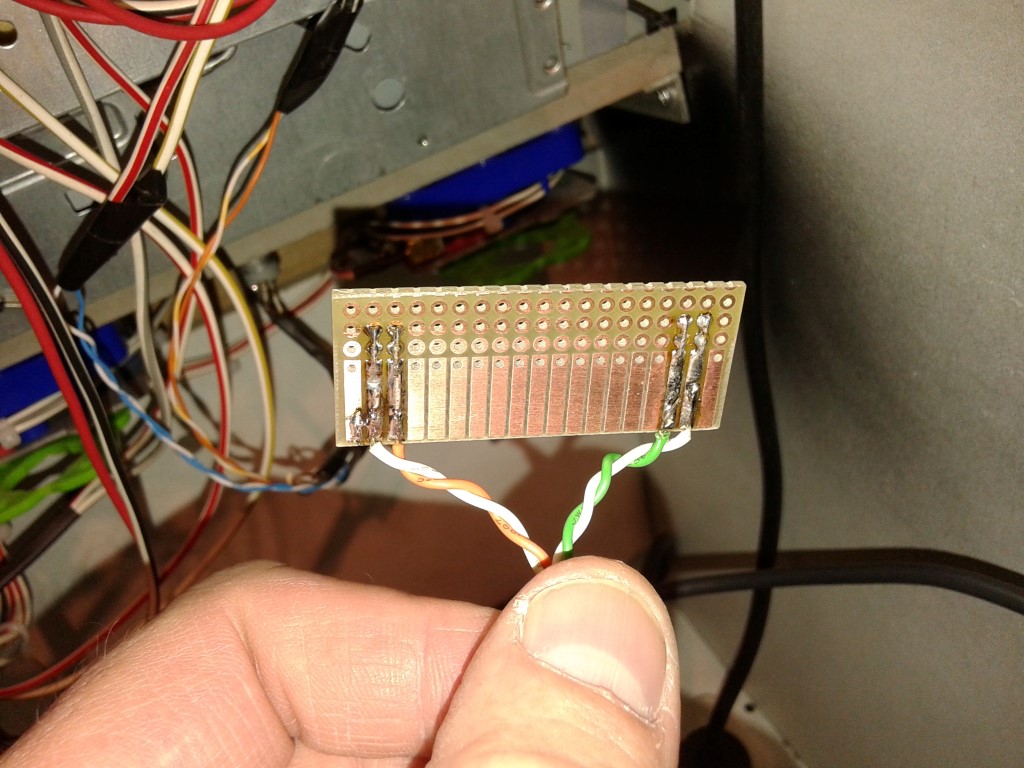 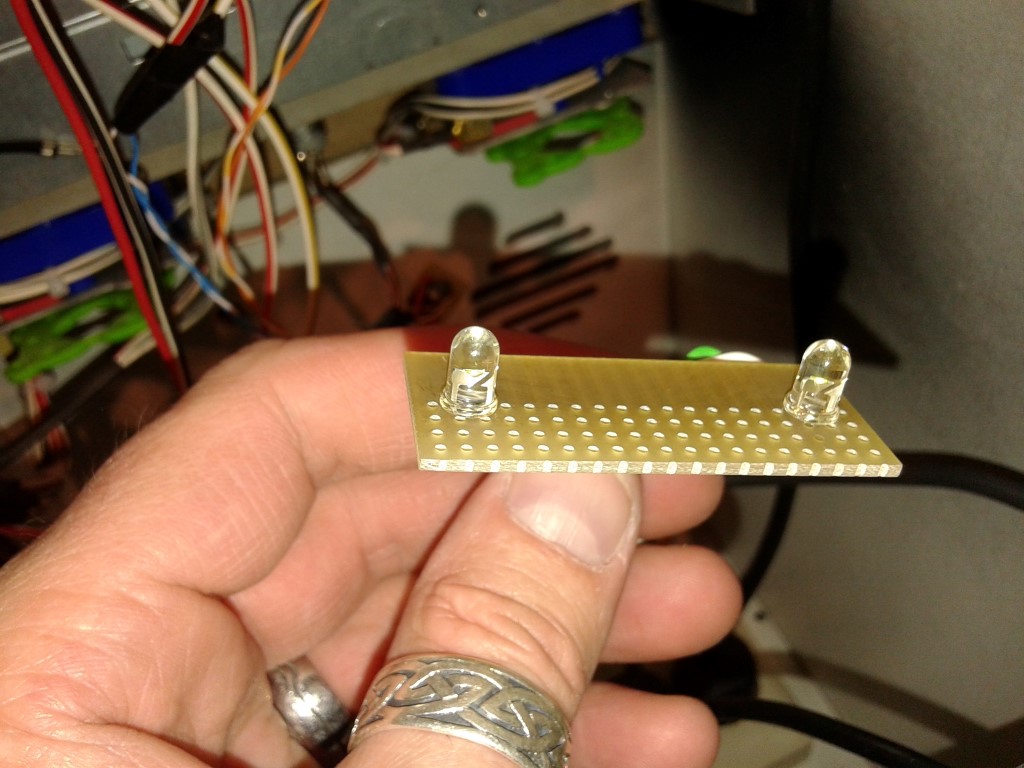 Test fit to see if all is ok.. 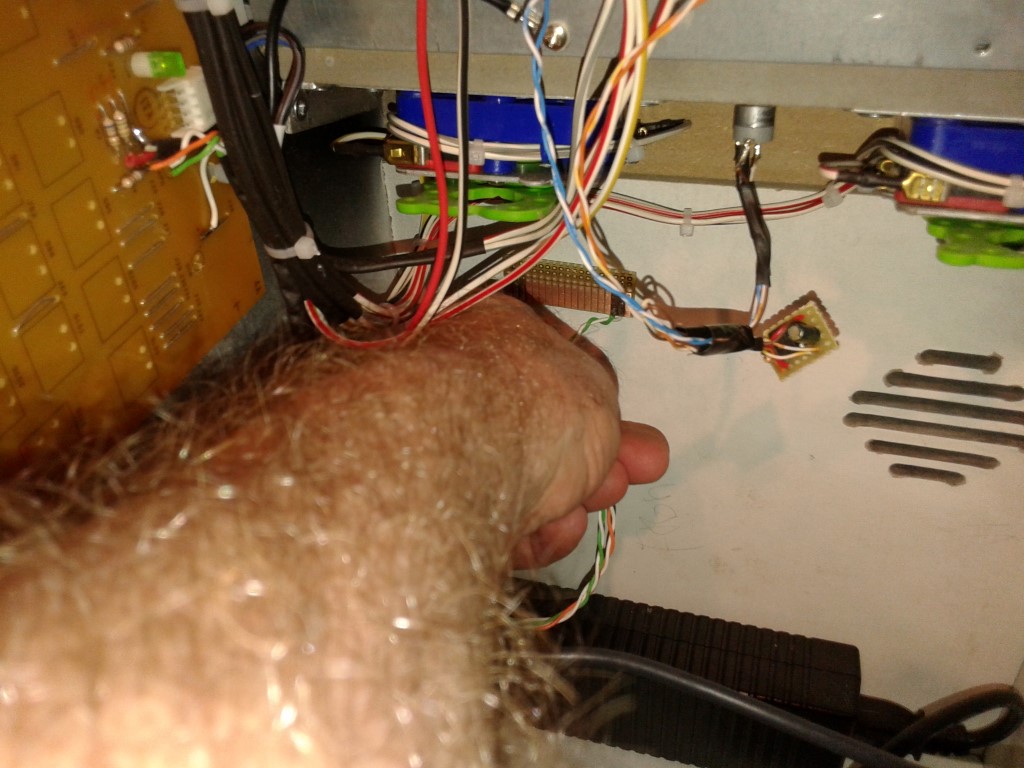 Ladies and gentlemen, we have lights ! 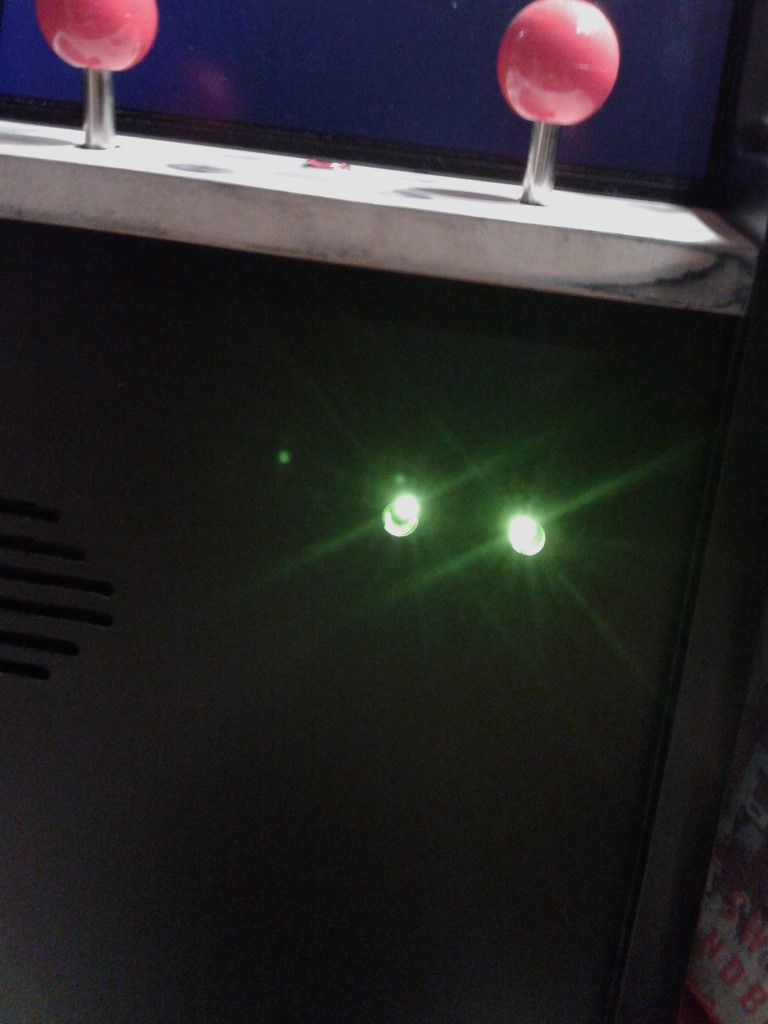 Next time, painting the cabinet. |
|
|
|
|
10
|
Arcade and Pinball Discussions / General Arcade and Video Game Discussions / Re: Ice Cold Beer 1/2 Scale Repro Scratch build
|
on: November 15, 2015, 02:46:29 am
|
Now that the control panel is basicly done, its time to move on to some details. Again thanks to Michael for providing me accurate measurements ! 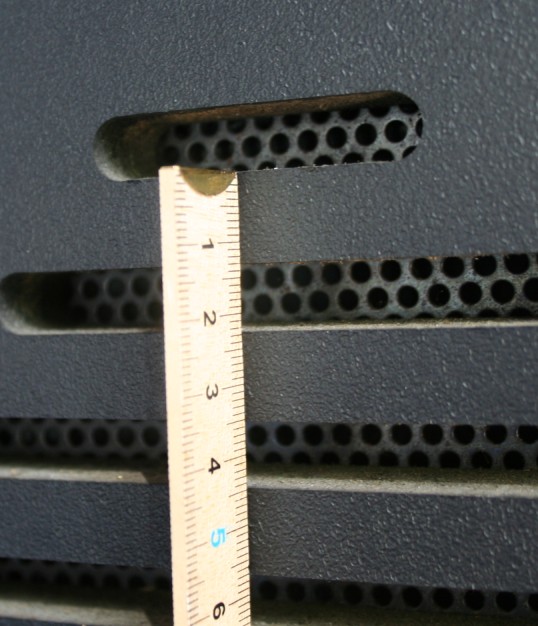 Transfered the sketch into Illustrator..  and transfered the illustrator drawing over to the front panel. 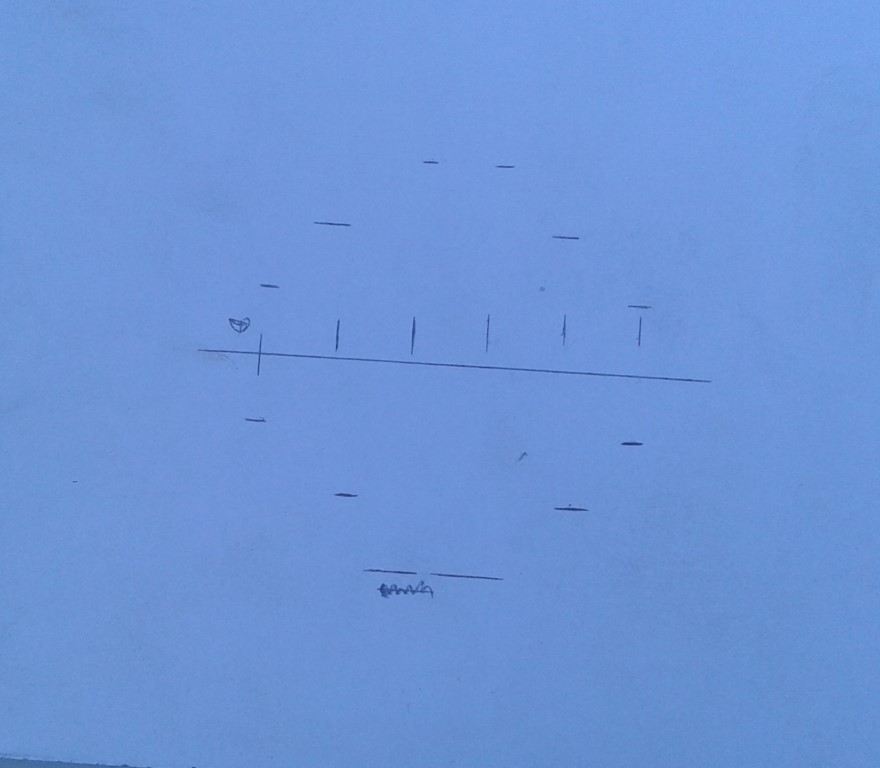 drilled the start and endings of the holes and sawed them out. 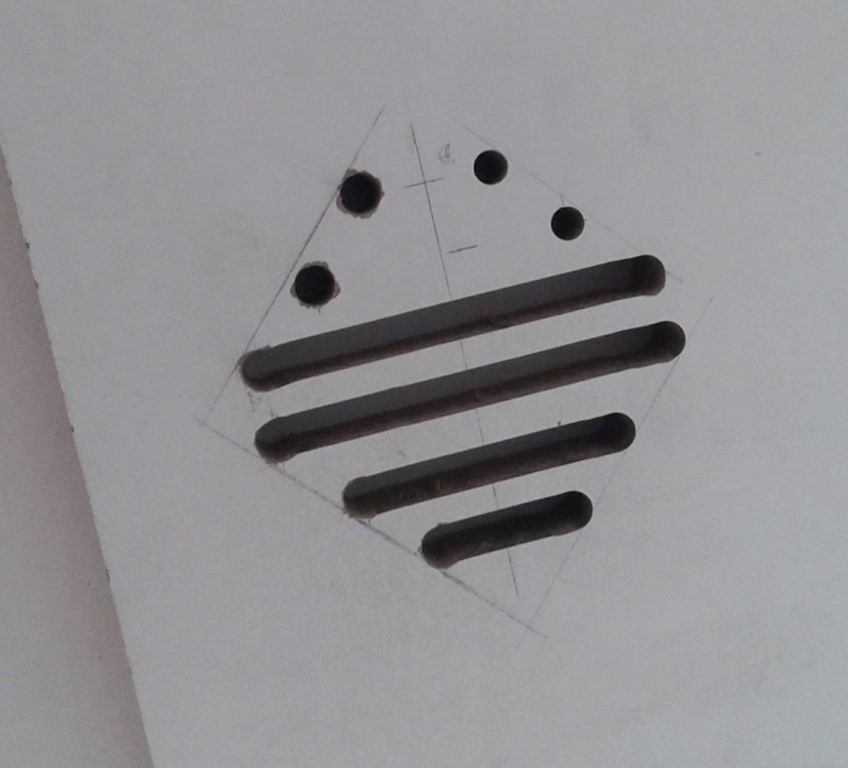 placed a paper scaled print-out of the coindoor there to see how it looks.. That starts to look like the Original  Next up; Tmolding.. 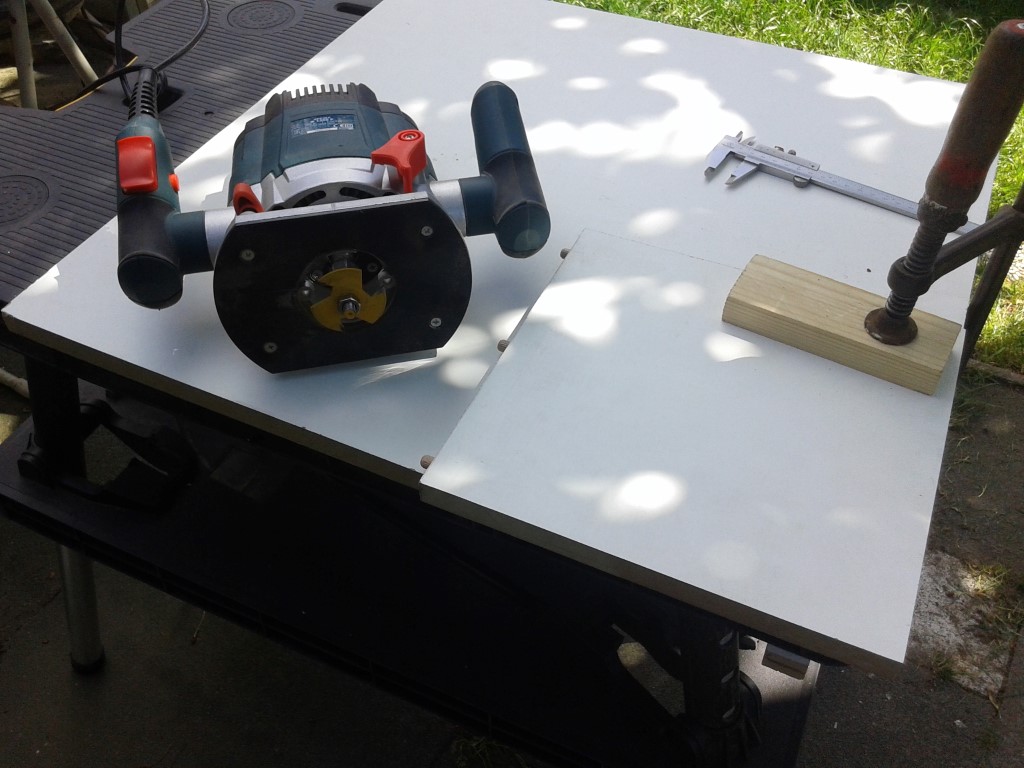 Roofpanel front Tmolding slot cut.. 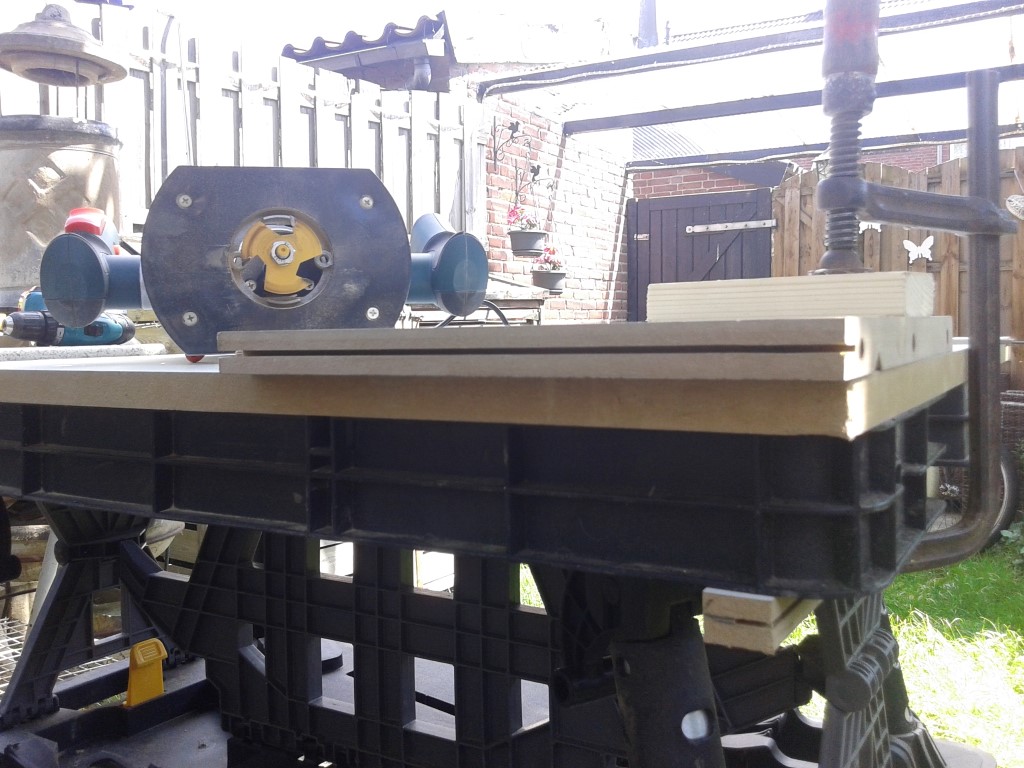 Test fit of the Tmolding i bought. Yes i know, Ice Cold Beer has textured Tmolding original, but i could not get that on time in the small quantity i needed. ;) 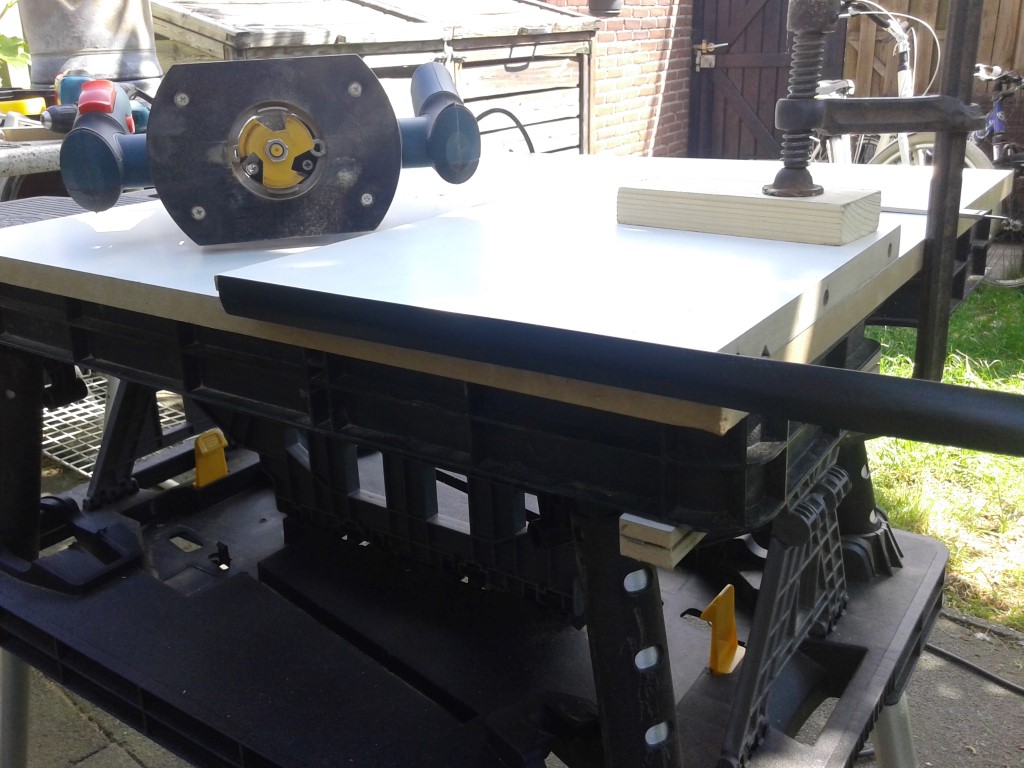 Here i clamped a guide so that the groove will be less deep. Otherwise i would cut off that part as there is the slot for the monitor and the wood is not really thick there..  After thats done, its time to assemble it permanent. I glued all holes and inserted the dowels.. 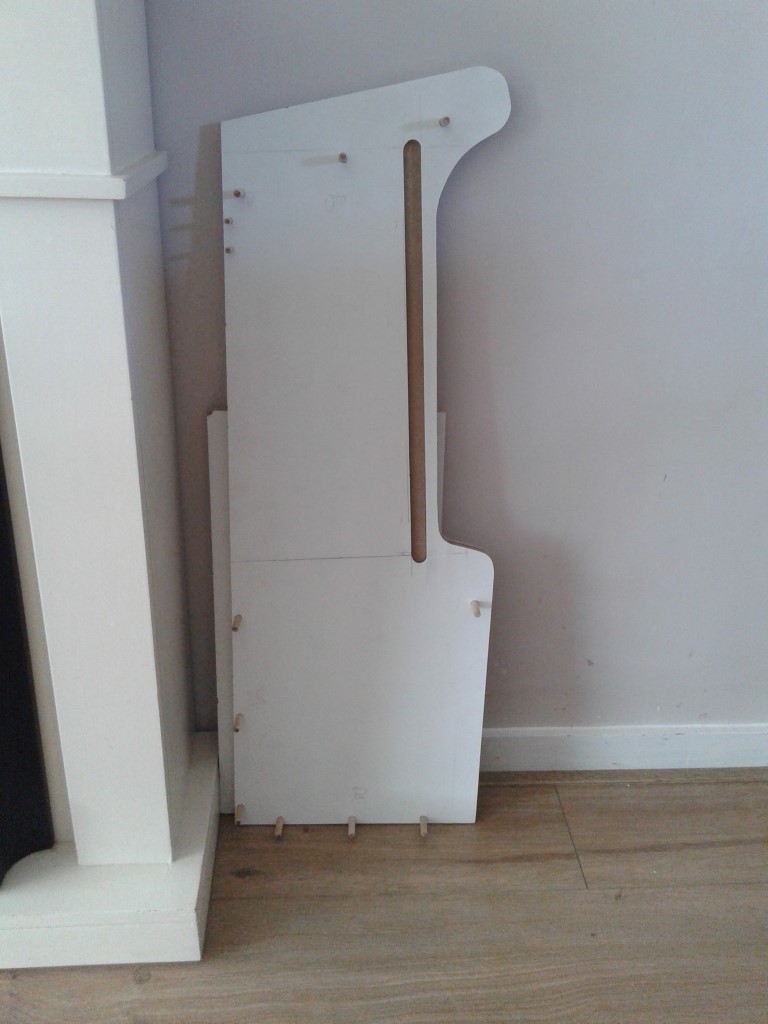 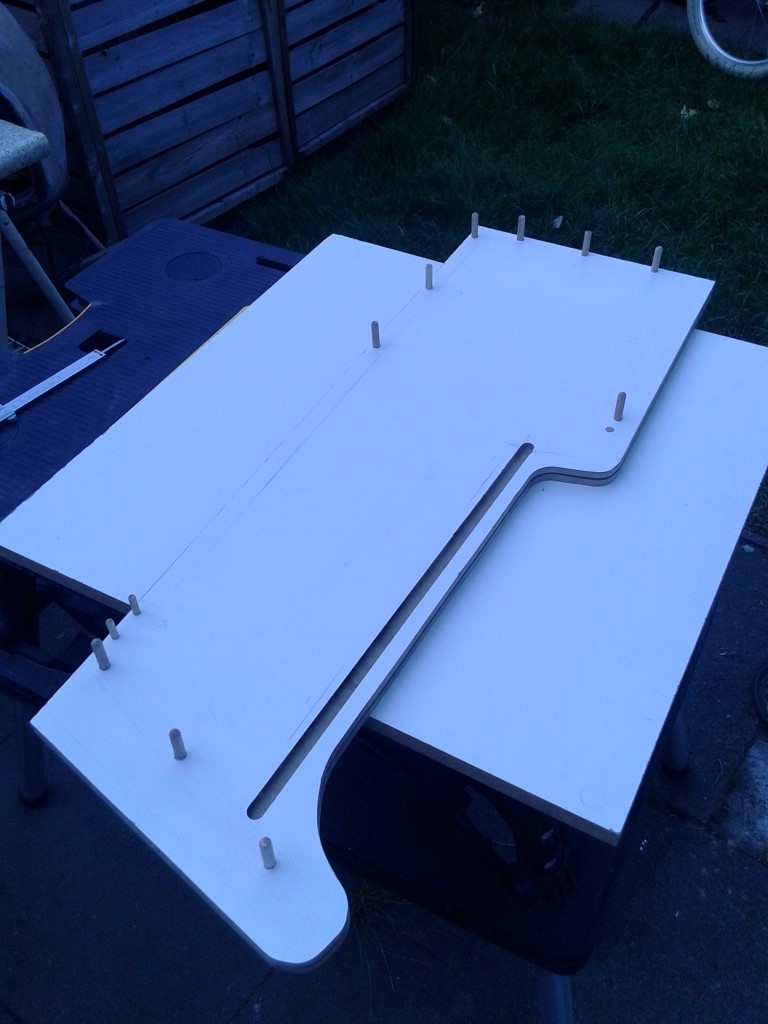 Then i also glued the sides of the panels and clamped everything together. 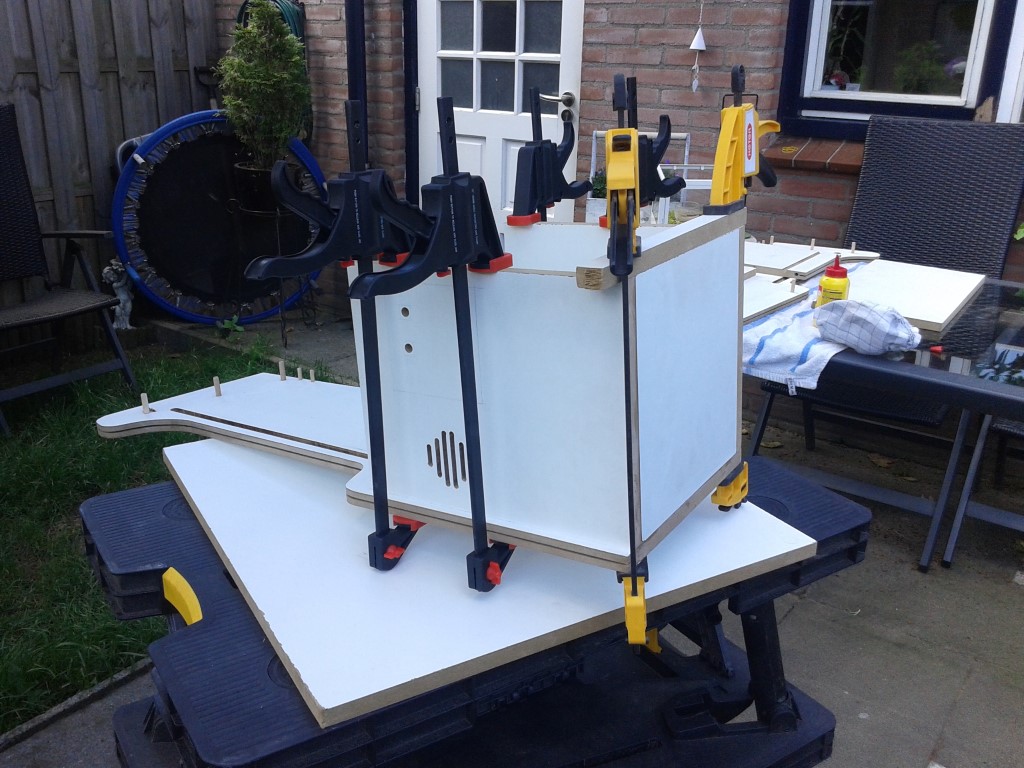 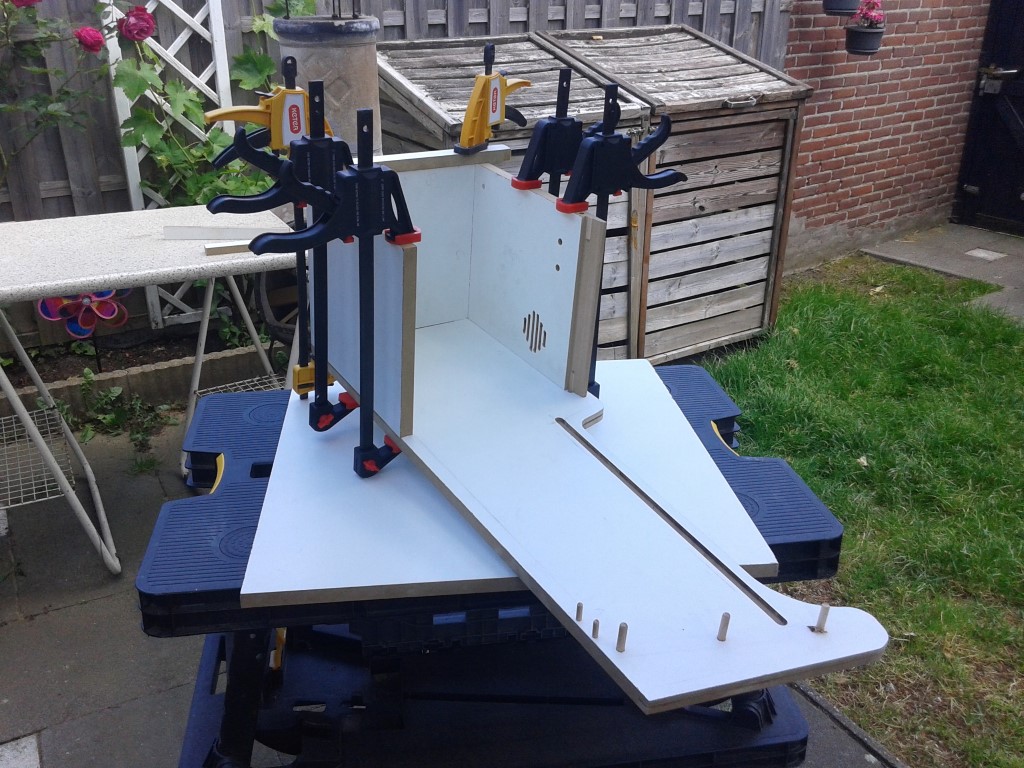 Cabinet all together and drying, and in the mean time my little helper created also something which he wants so show you guys 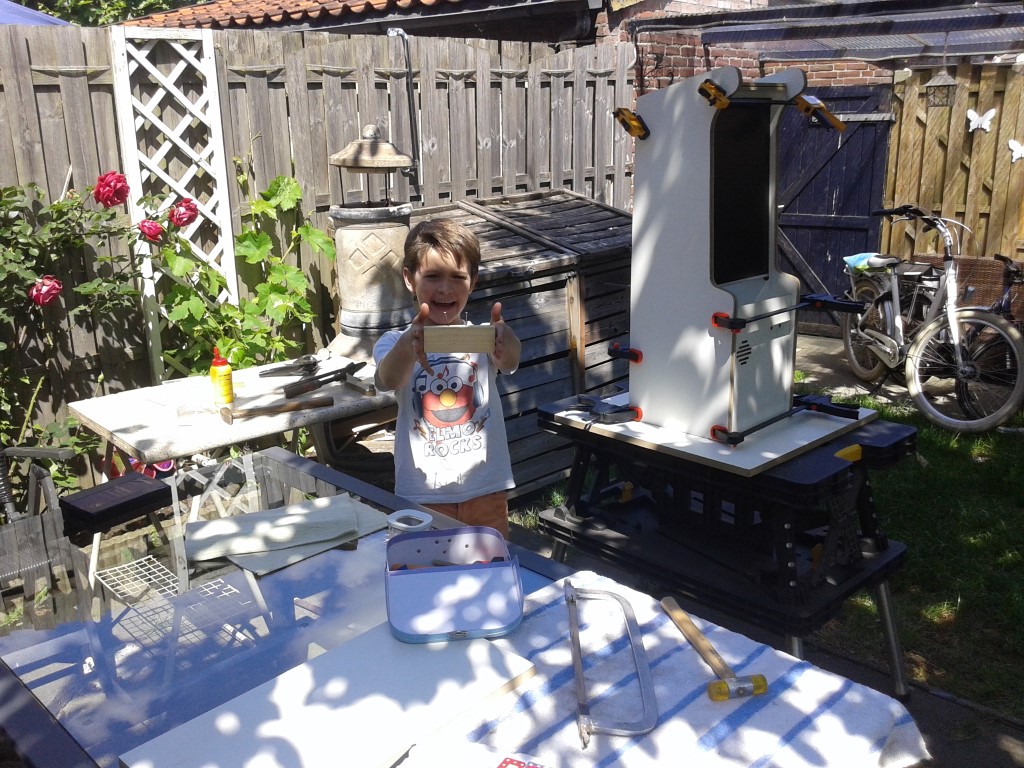 Now that everything is put together permanently, its time to test the monitor.. Guess who volunteered for that task 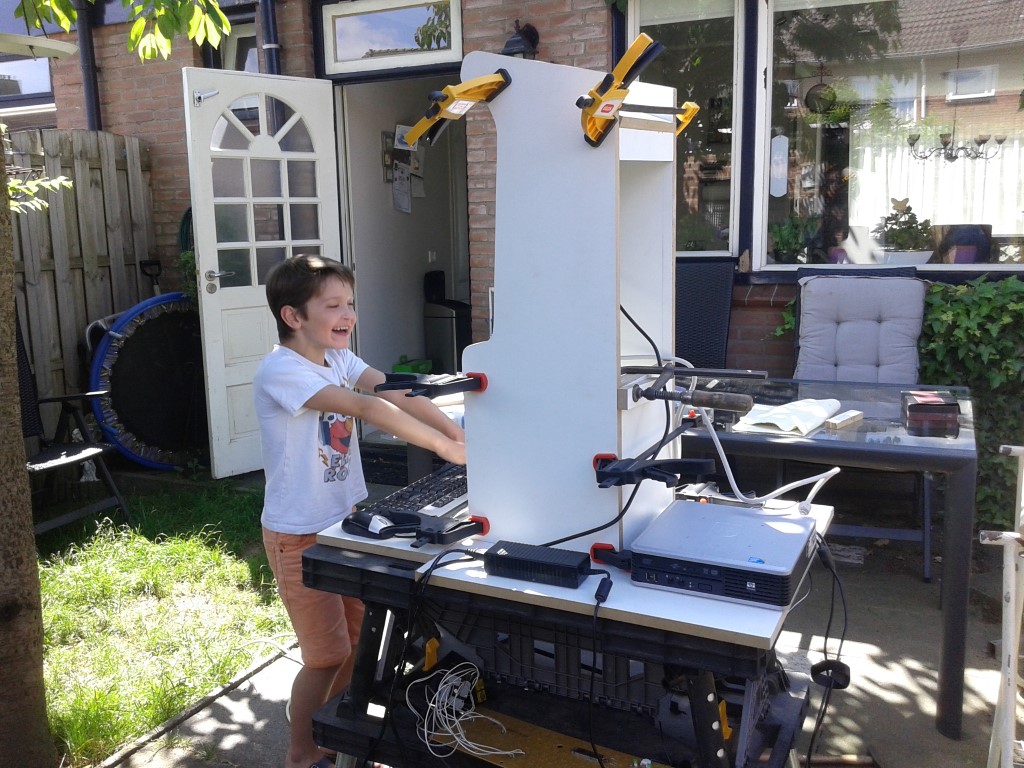 As it will also function as a piggybank, we need a way to enter coins / bills.. 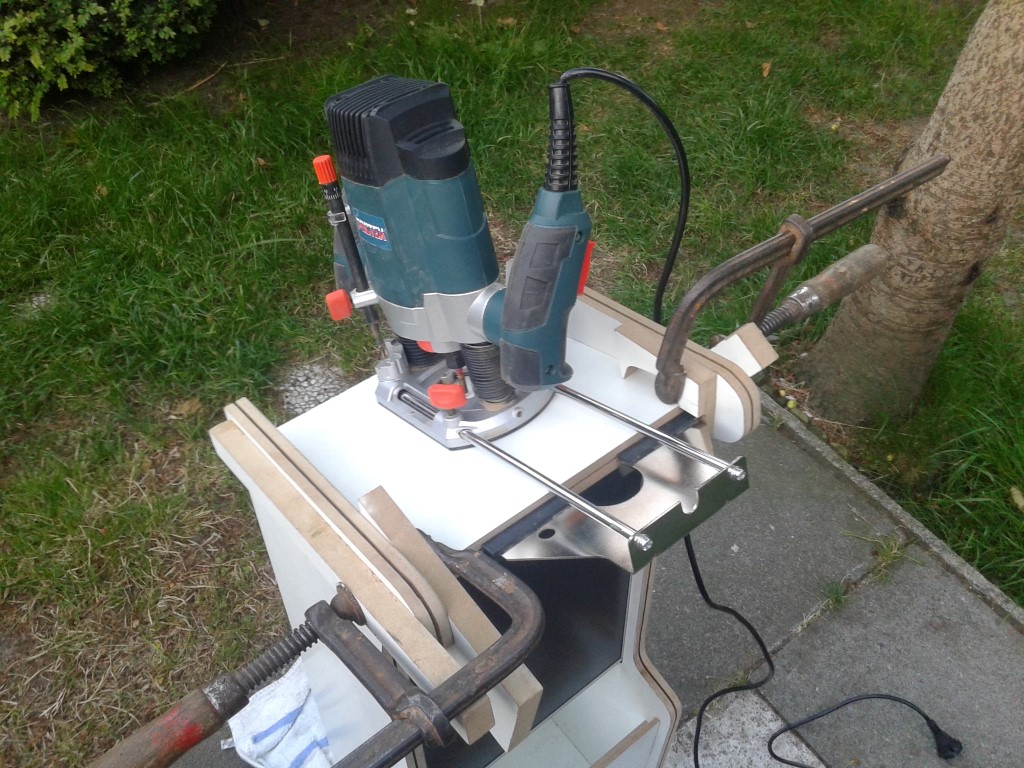 slot cutted in the roof panel.. 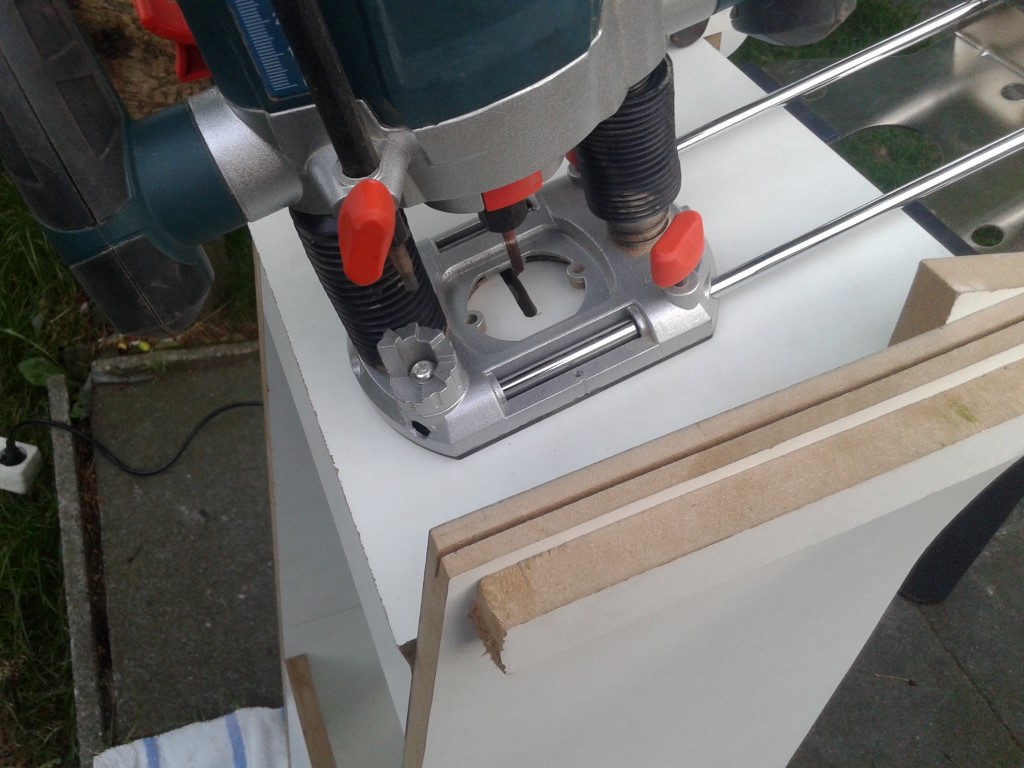 nice and centered.. 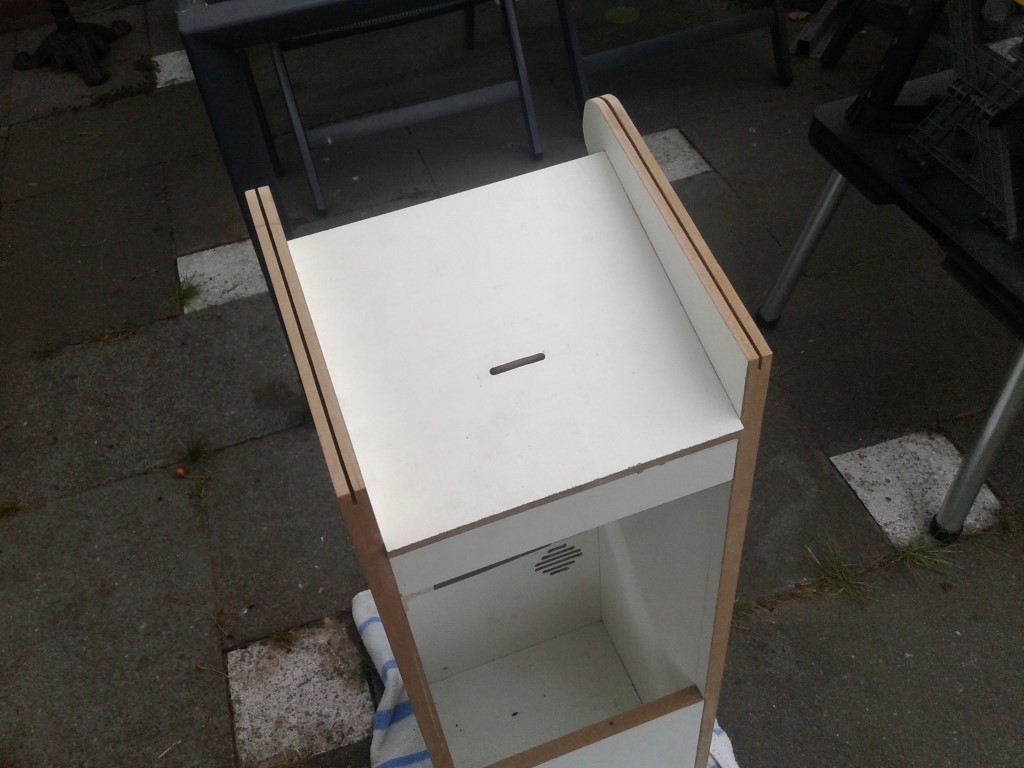 I tried to shave off the part that was sticking out of the back from the roofpanel and i miscut a bit.. Its hard to shave that flush without a real straight guide, so i accidentely made a dent in the side.. 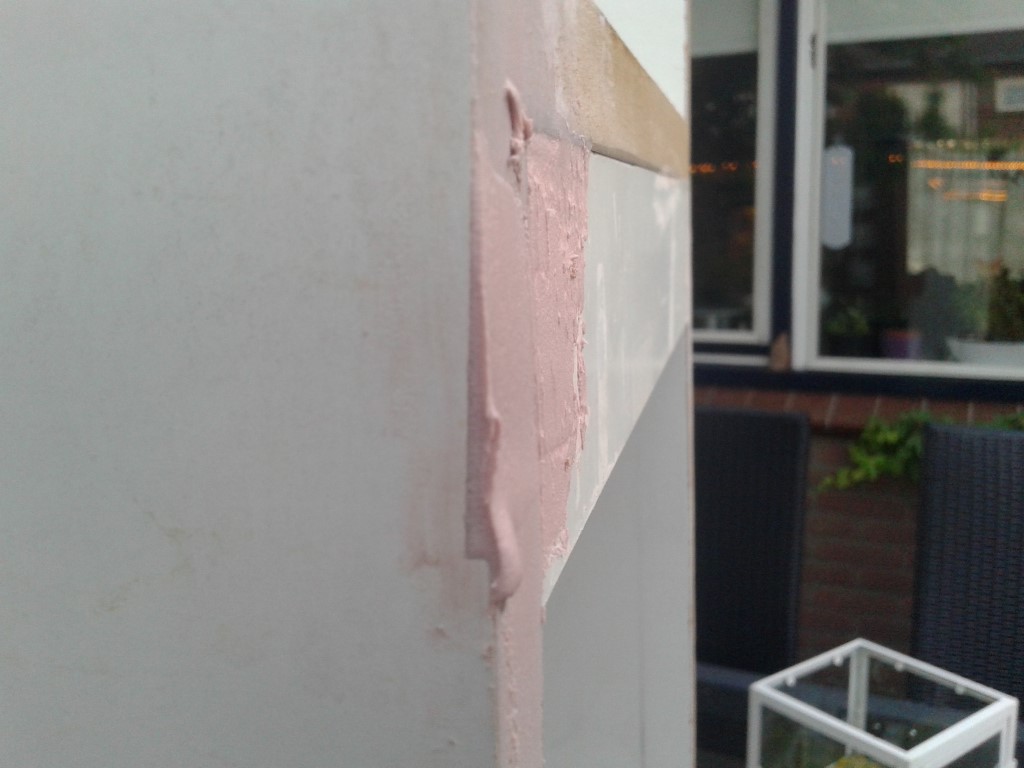 Fixed that with some bondo.. :wink: Up next, time for some electronics ! |
|
|
|
|
11
|
Arcade and Pinball Discussions / General Arcade and Video Game Discussions / Re: Ice Cold Beer 1/2 Scale Repro Scratch build
|
on: November 15, 2015, 02:44:36 am
|
Now that the cabinet is constructed, lets build the control panel.  I have printed the CPO on scale and use that to determine the position of the joystick holes. 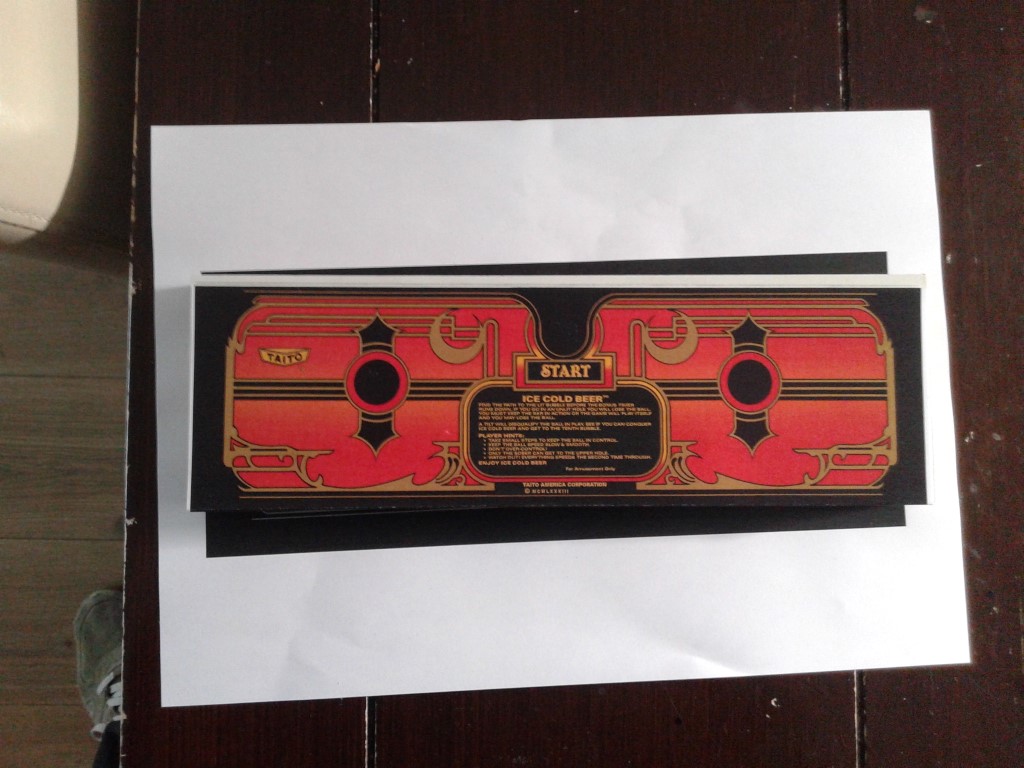 After that i drilled the holes and insterted one of the joystics to see if there is enough room left to the front in combination with the earlier shaved off front panel. 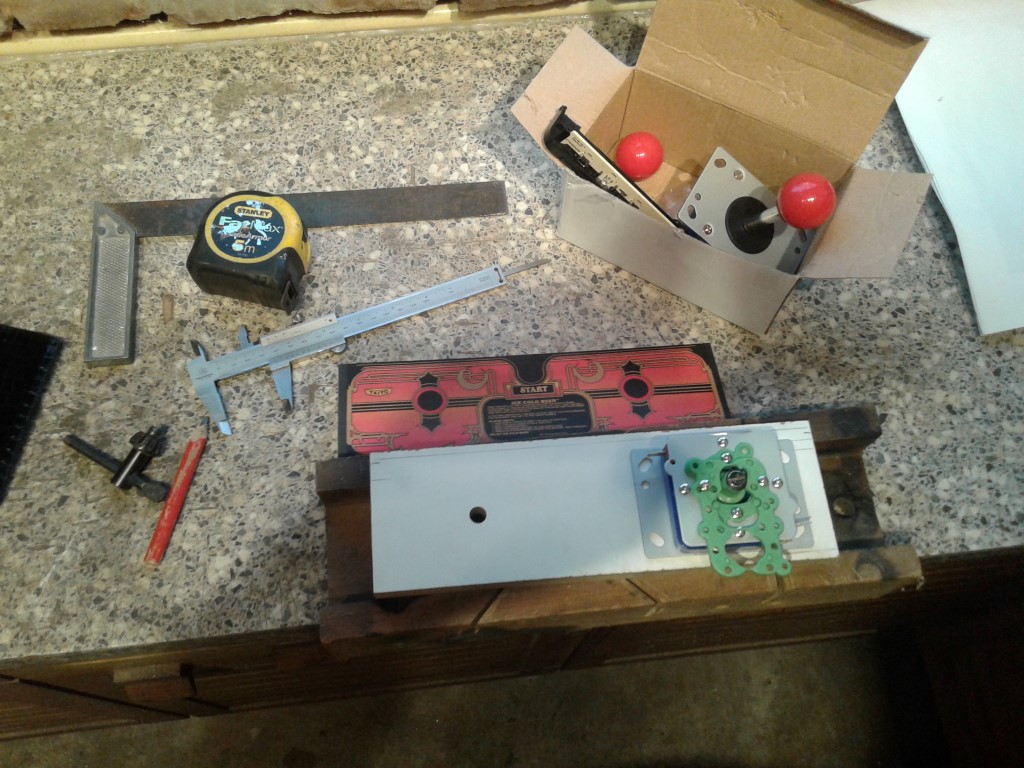 used a straight piece of wood to make sure that both the joysticks are lined up straight to eachother. 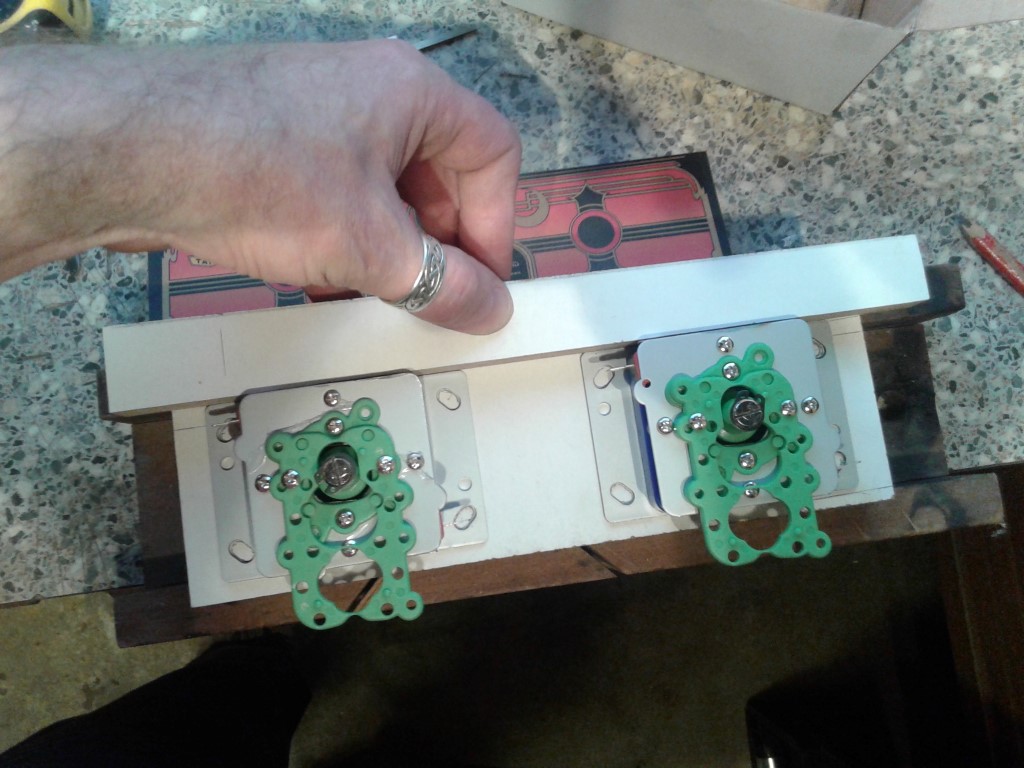 marked the holes with a pencil. 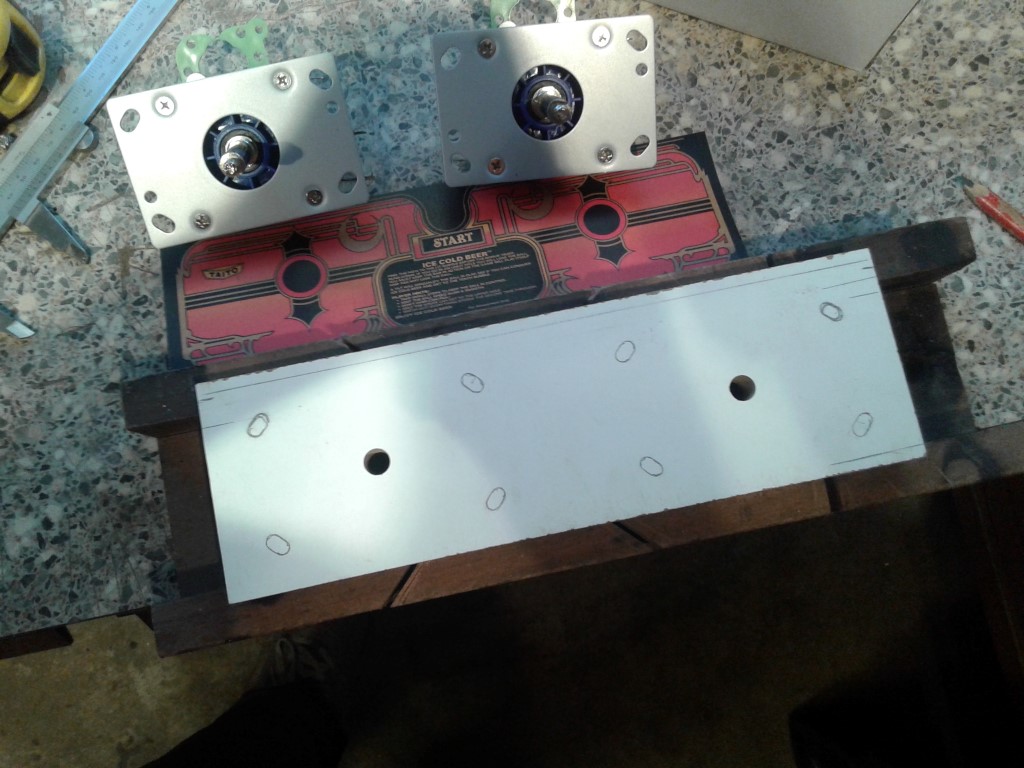 Then i used a carpenters square to map out the centers of the holes. 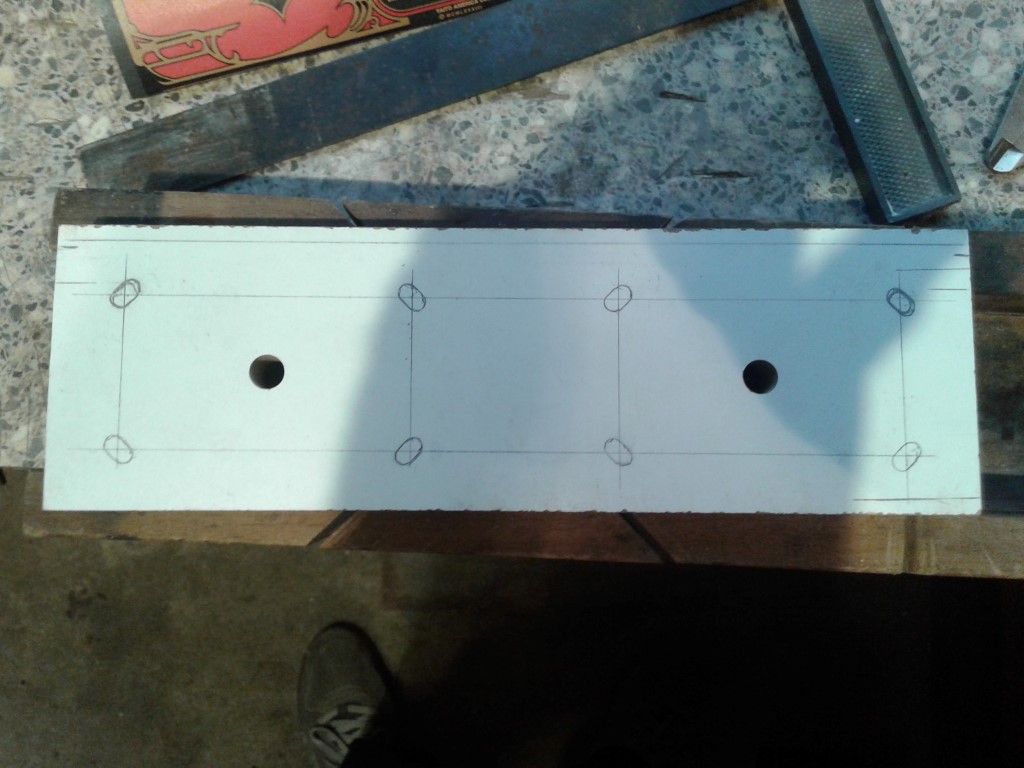 Measured the diameter of the bolts that go into the threaded captive nuts. 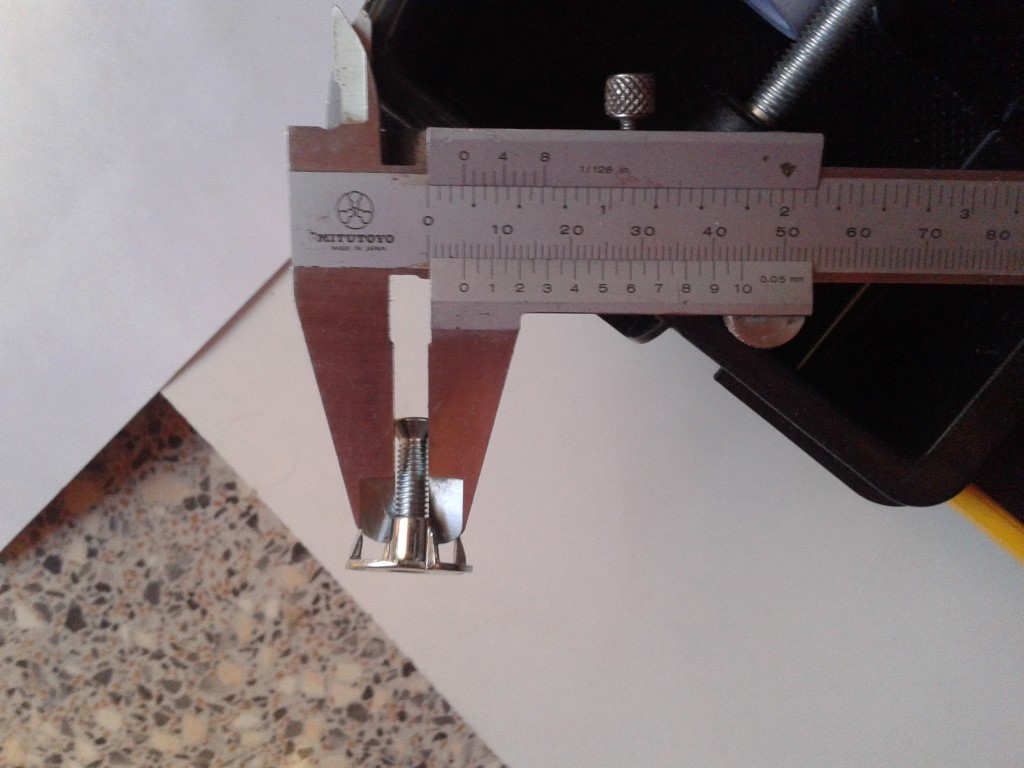 Drilled the holes with the same diameter. 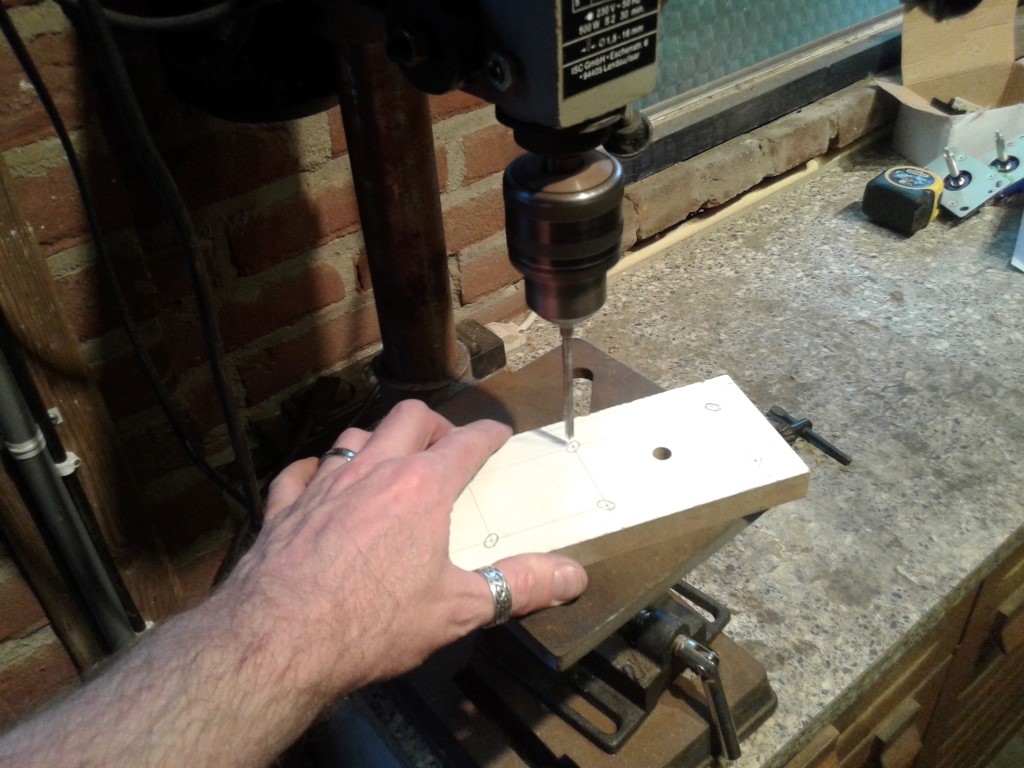 Then i measured the head of the captive nut because i want them to sink into the control panel. 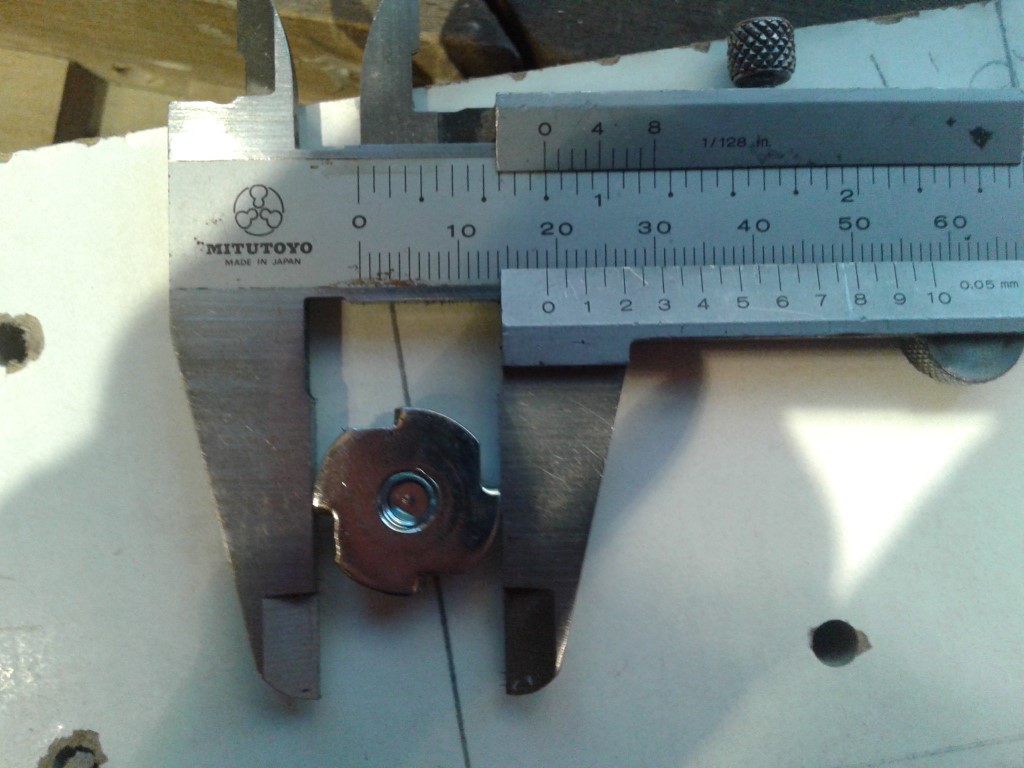 As i did not have a 19 mm. drill, i used a 20 mm. 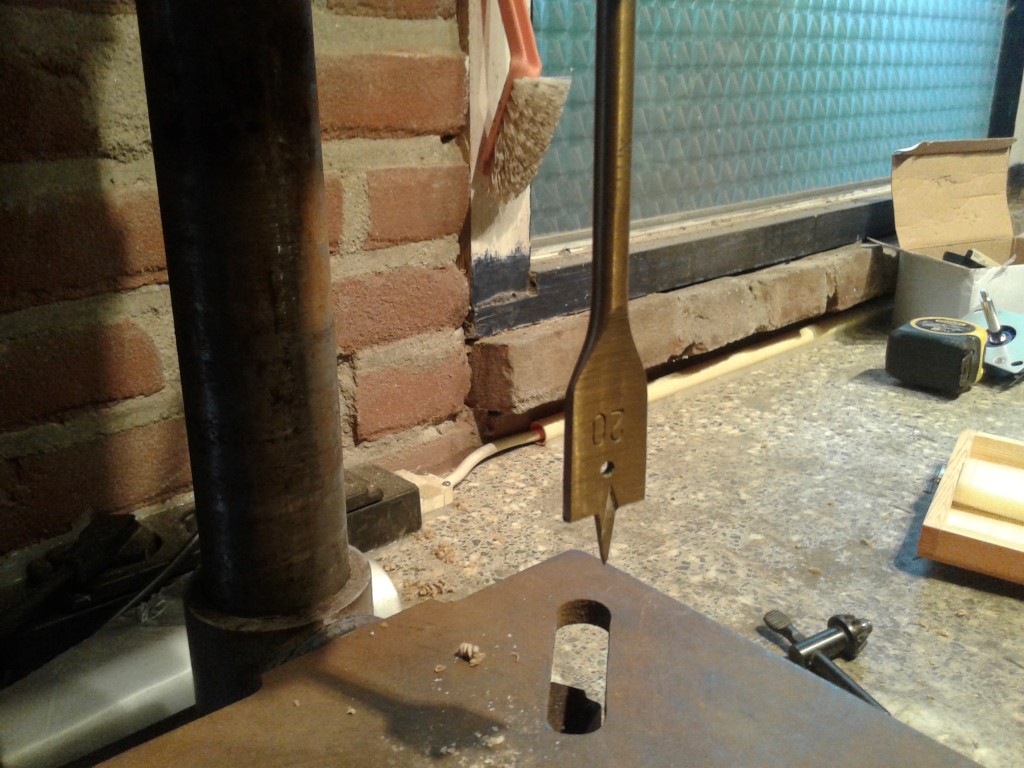 Measured the thickness of the head and set my drillpress stop a little deeper so that the captive nut will end up below the surface after installing. 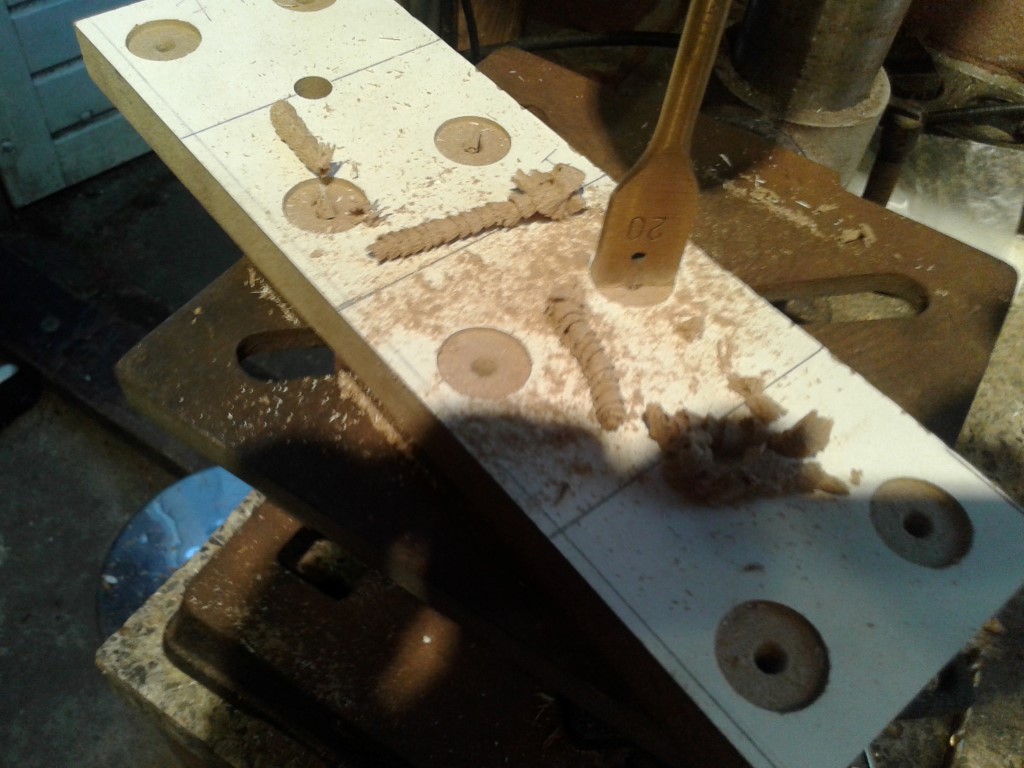 Here you can see that it fits nicely in detail. 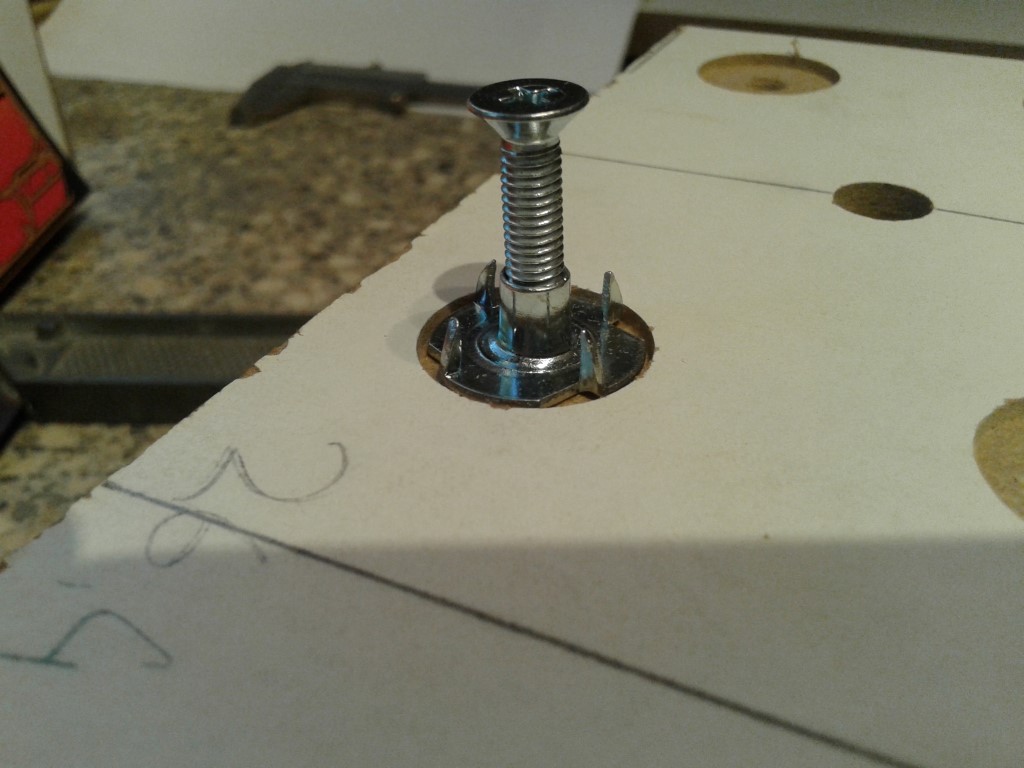 Then i measured how deep the captive nut would go into the wood. 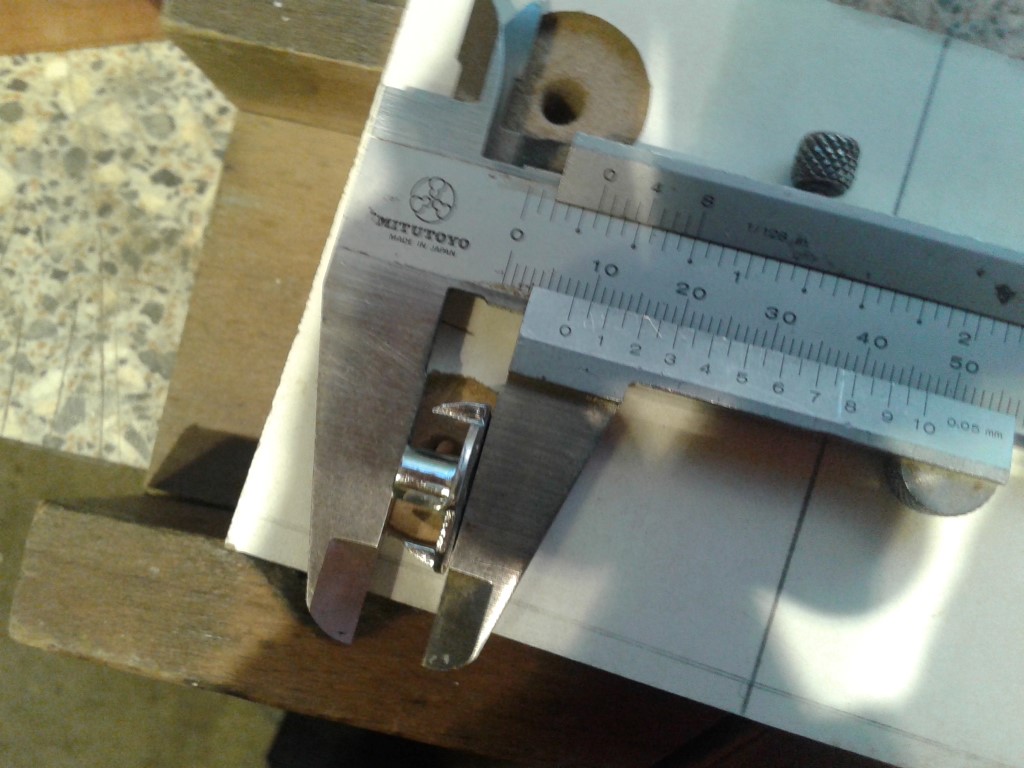 I need to drill this 1 mm. bigger than the hole that is there as the nut is thicker than the bold ofcourse. I could try to just squeeze it in with force, but this is nicer IMHO. 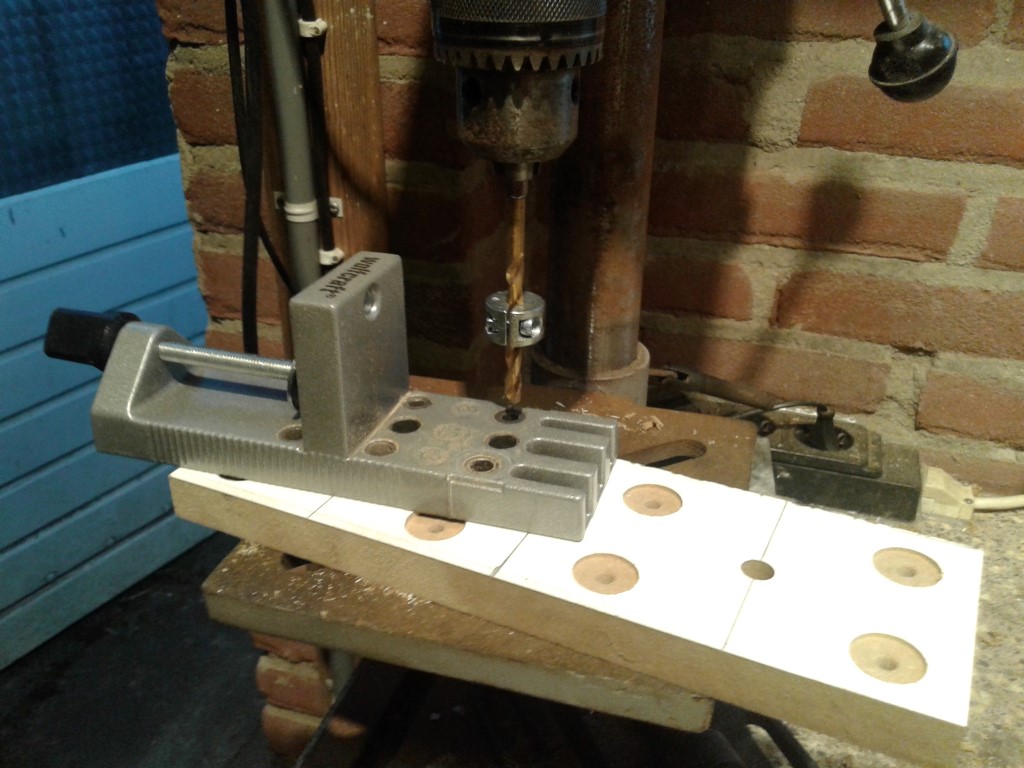 In detail. 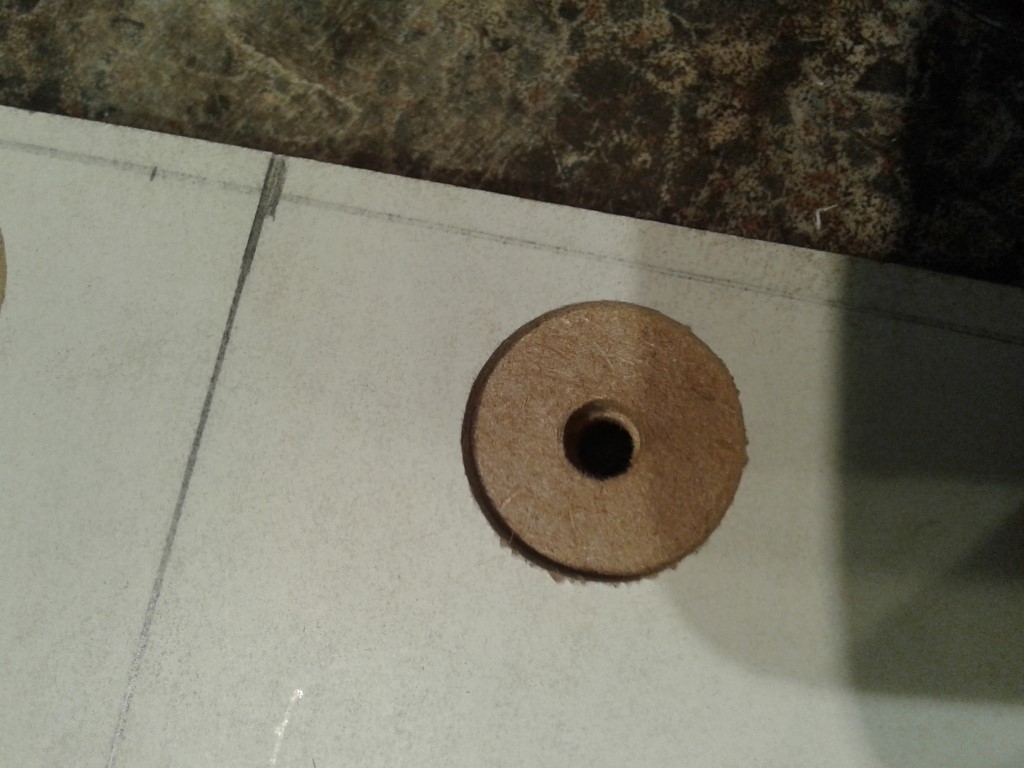 That fits like a glove 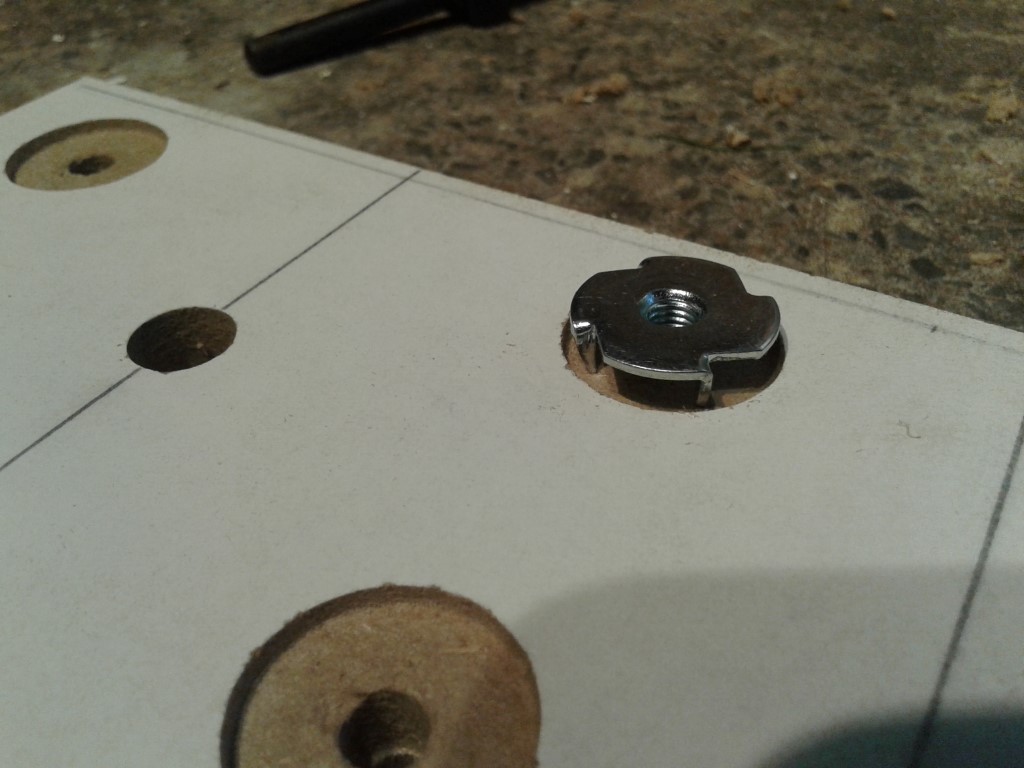 Now with the help of a ring and the bolt i pull the nut into the wood. 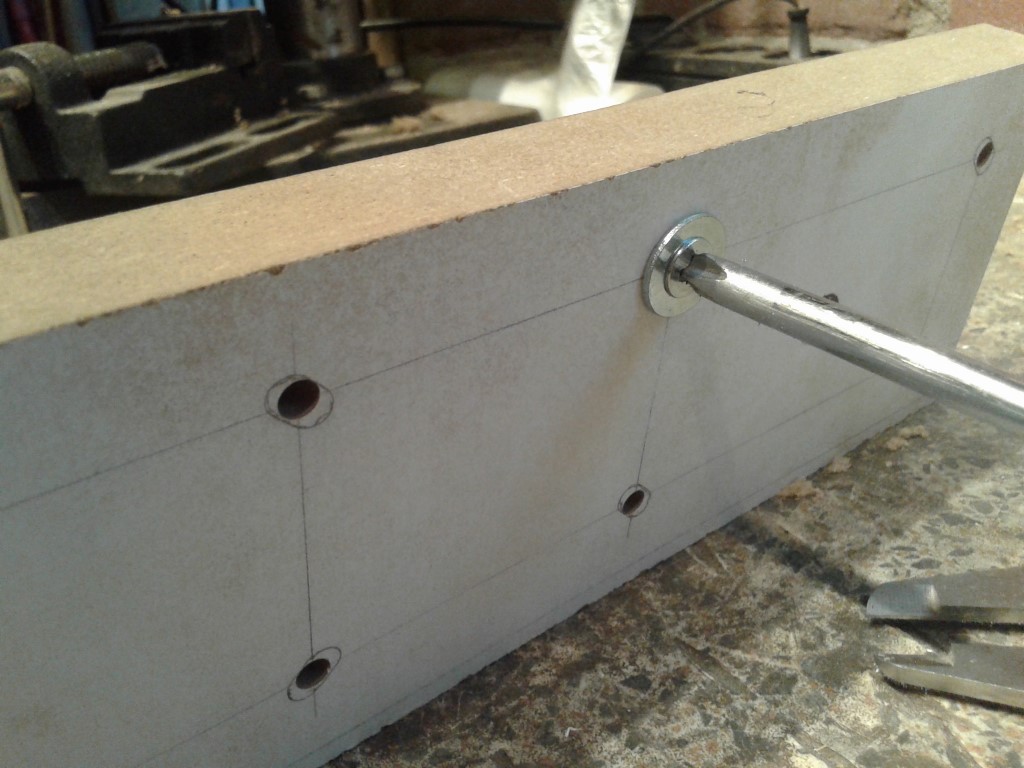 I totally tightened the bolt, and verified if the other side cleared the surface. 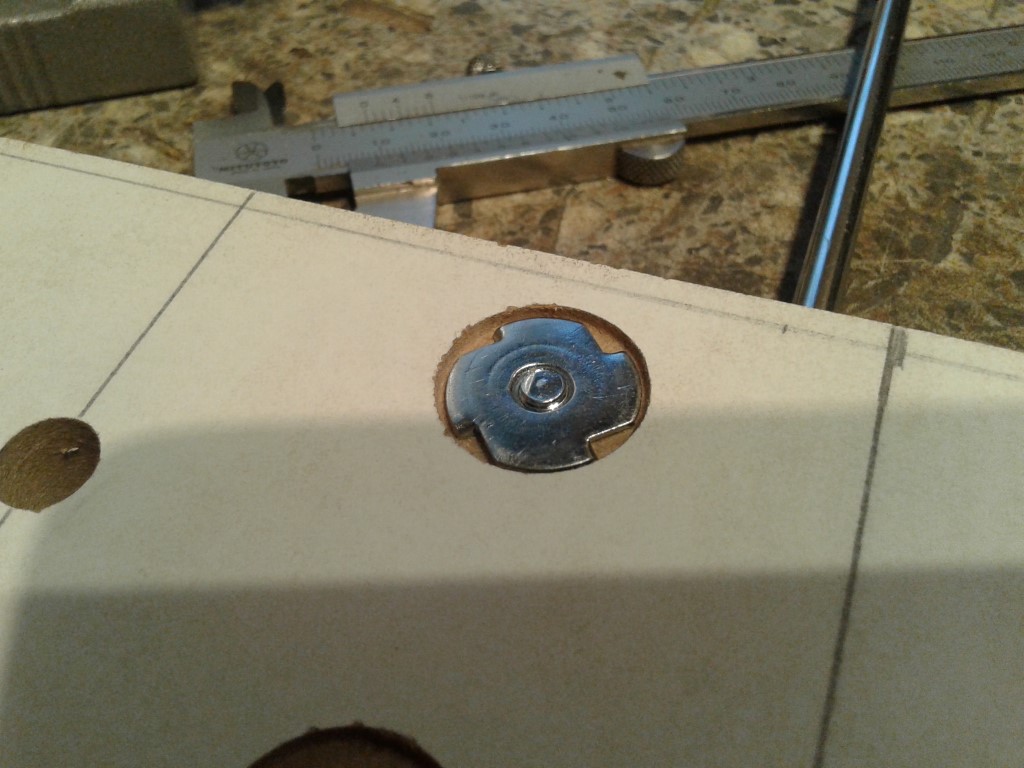 Let's try it with the joystick, as you can see, the bolt has an angled head and this makes the bolts going in less deep. 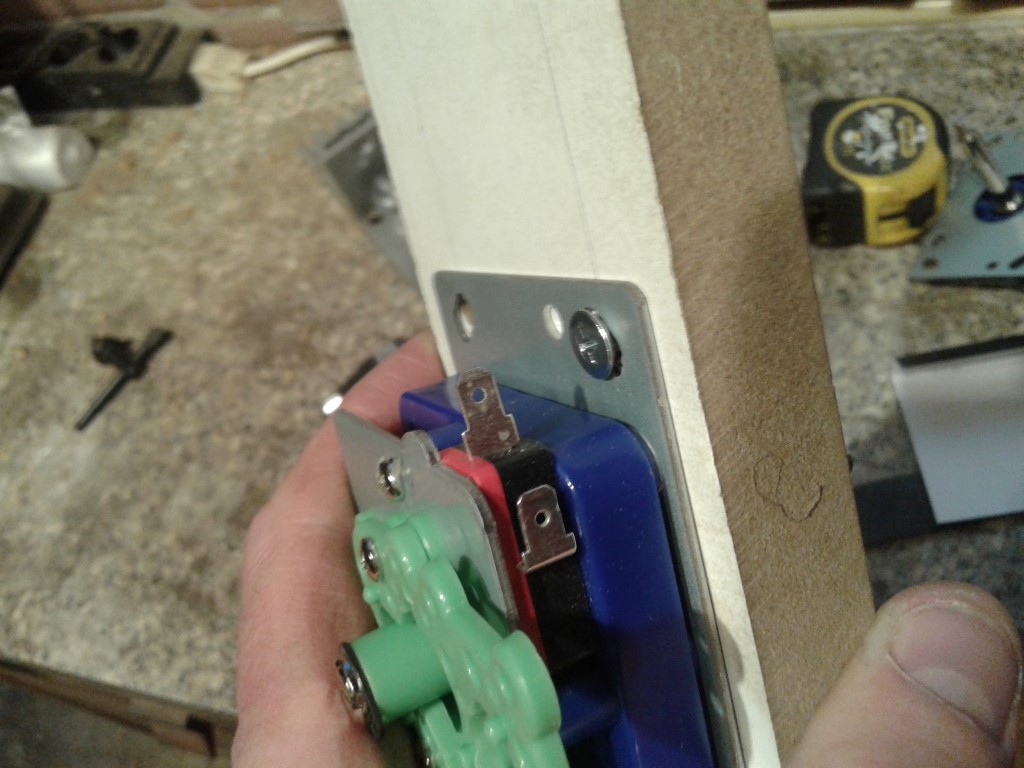 Which is perfect, because now the bolt clears the surface for sure, and i can bondo the holes.  Nice and flush, nothing sticking out of the top of the control panel. 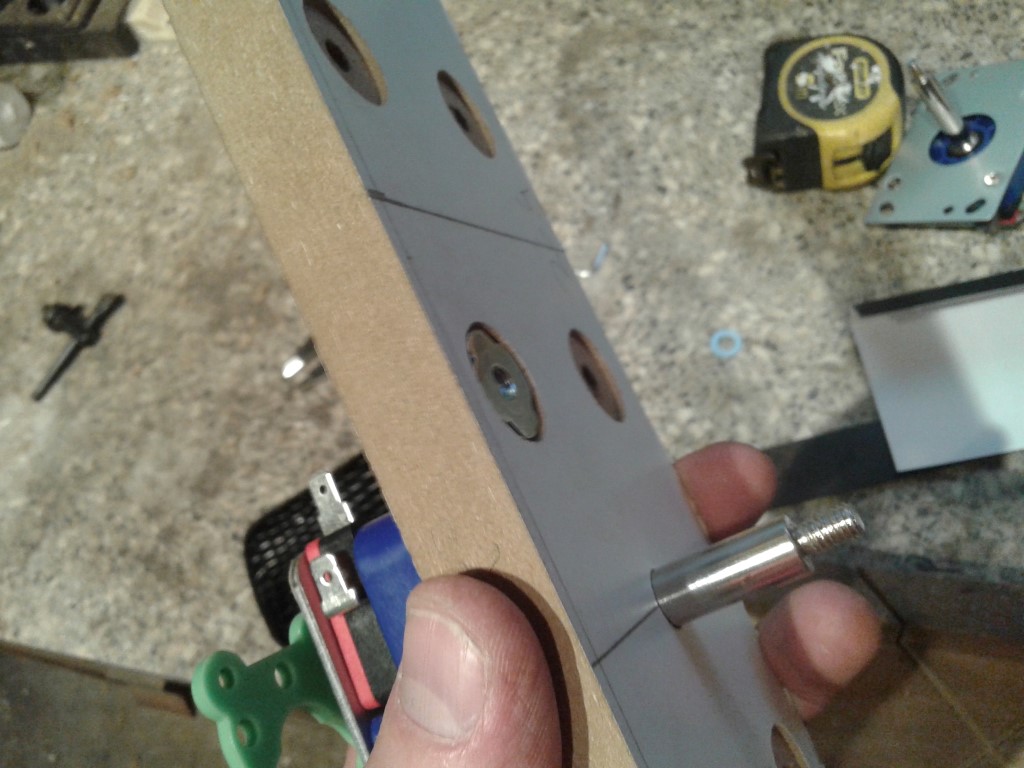 All nuts in place. 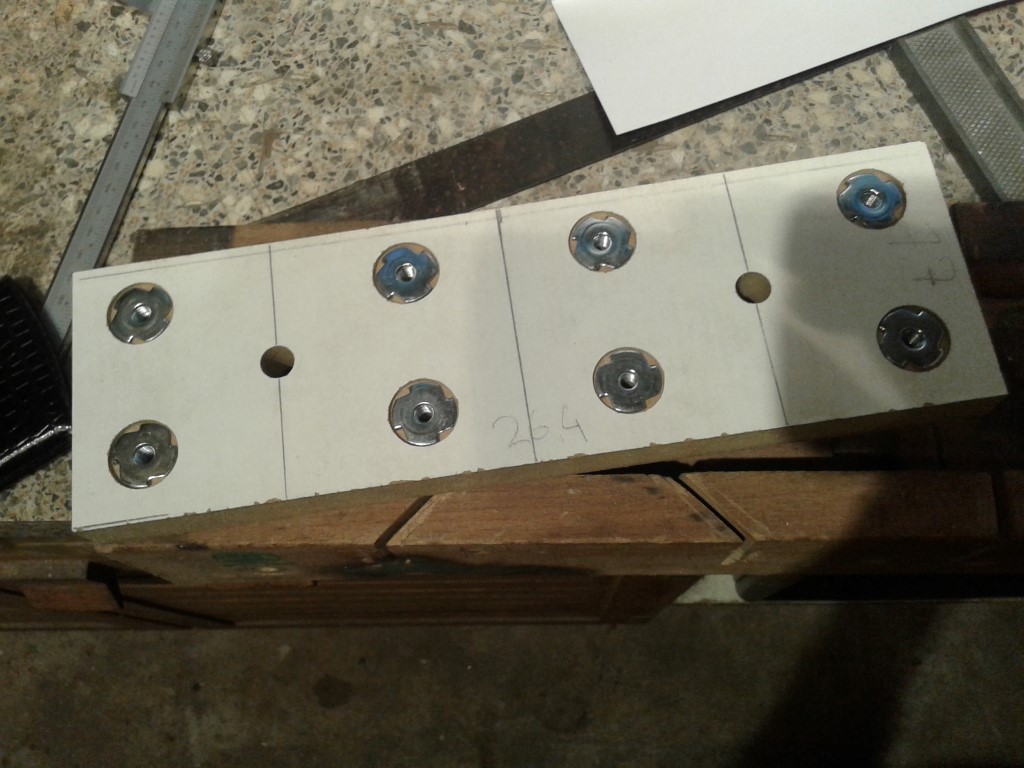 Now that that is done, lets see how far the hole need to reach on each movement. 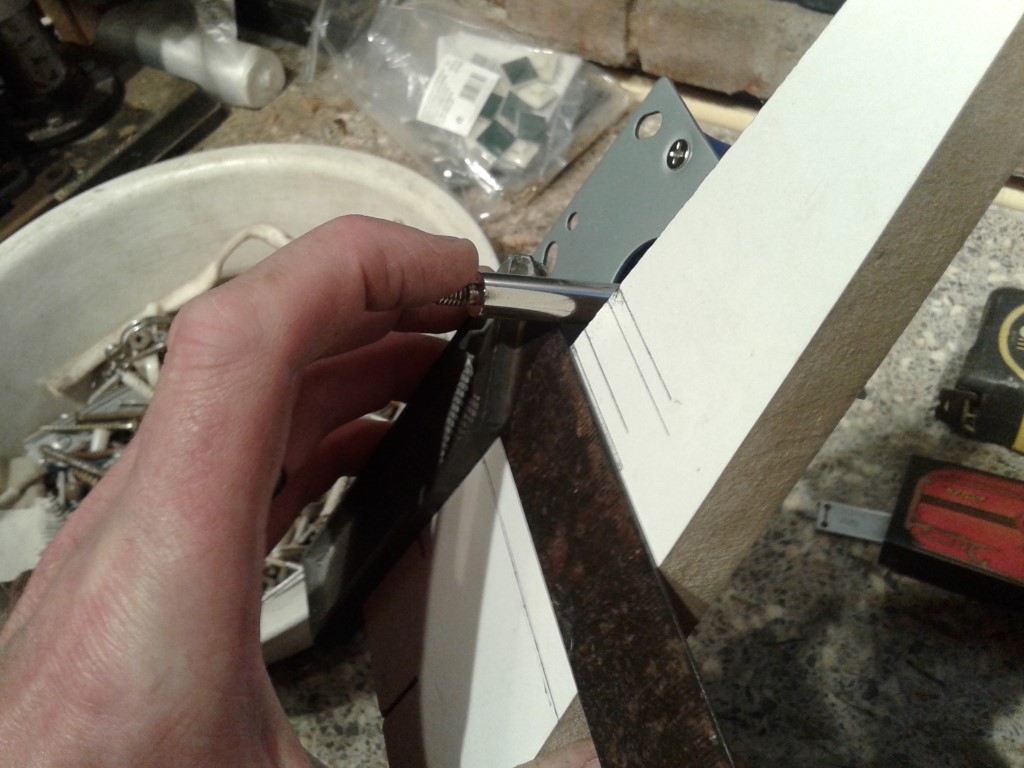 Thats what we need to have the joystick move to each side. 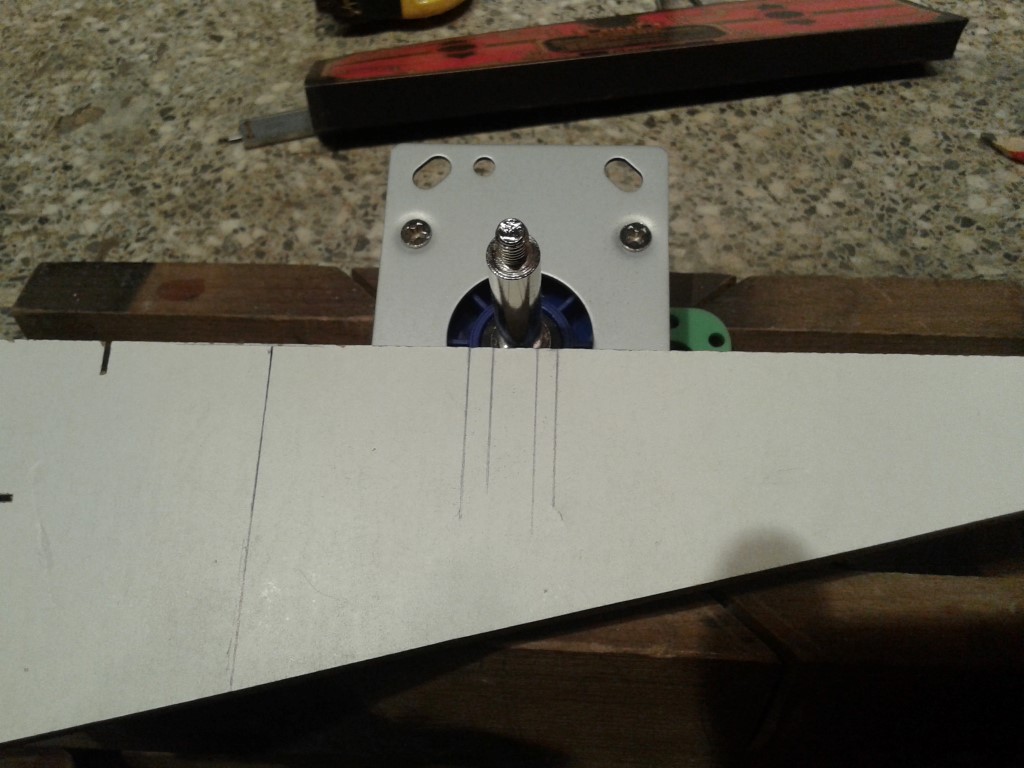 Drilled the part out with the drill press. 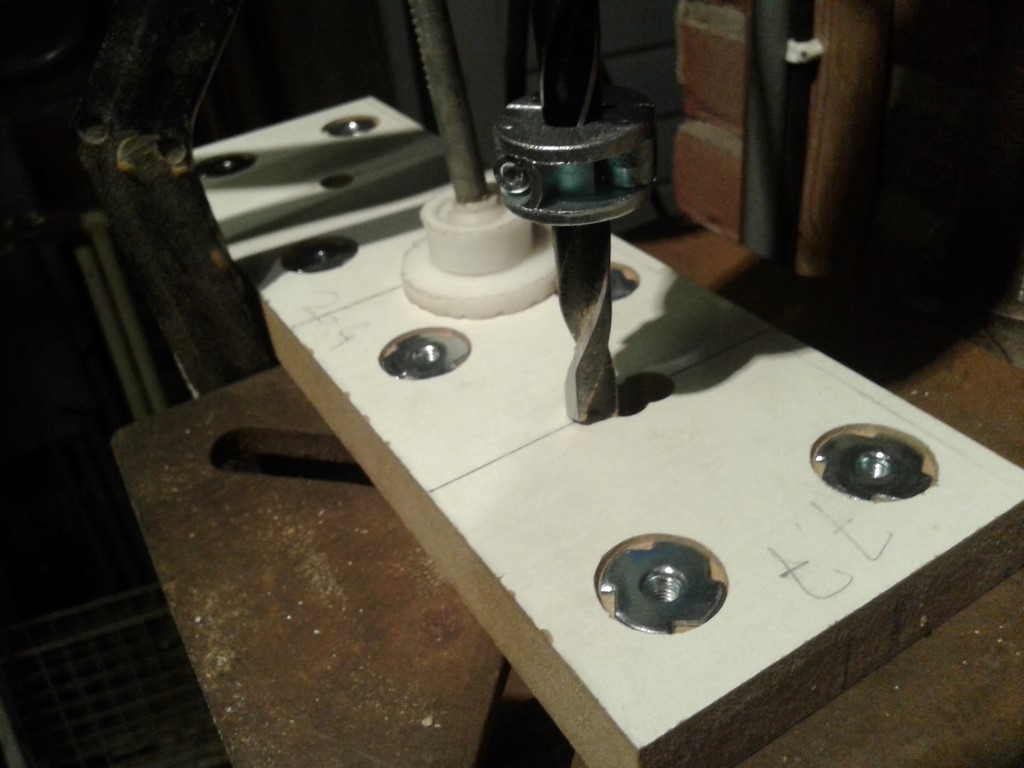 Joysticks in place. 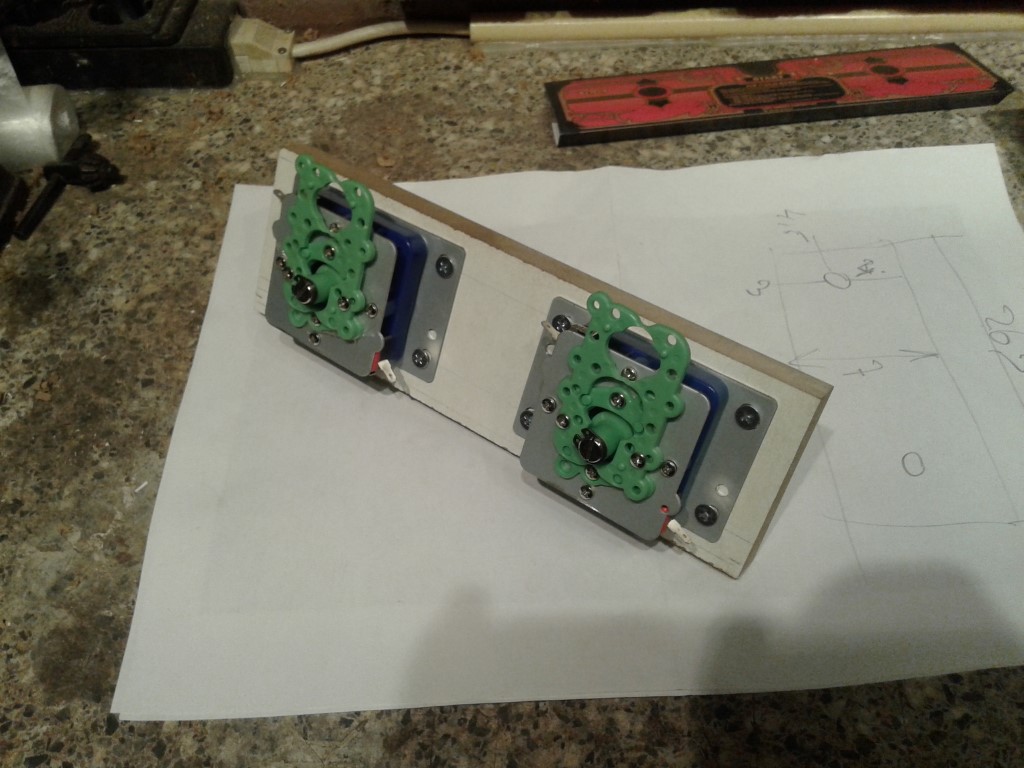 Balltops installed. 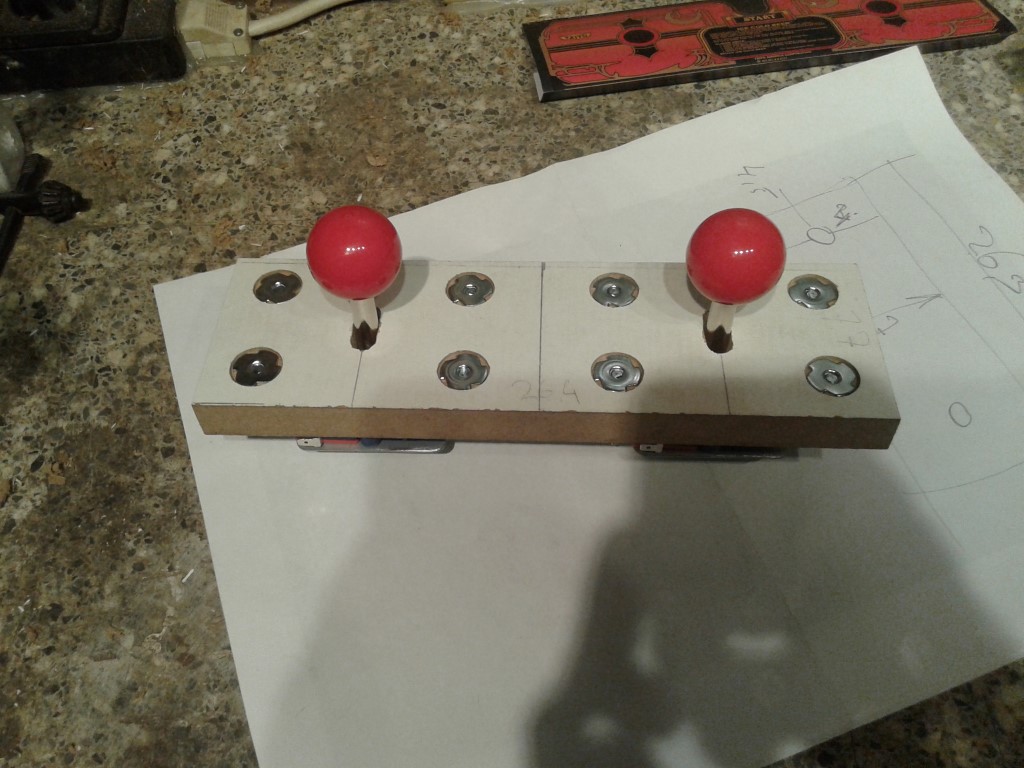 Just to see how it looks i took the paper printout of the CPO and put it in place. I like what i see ! 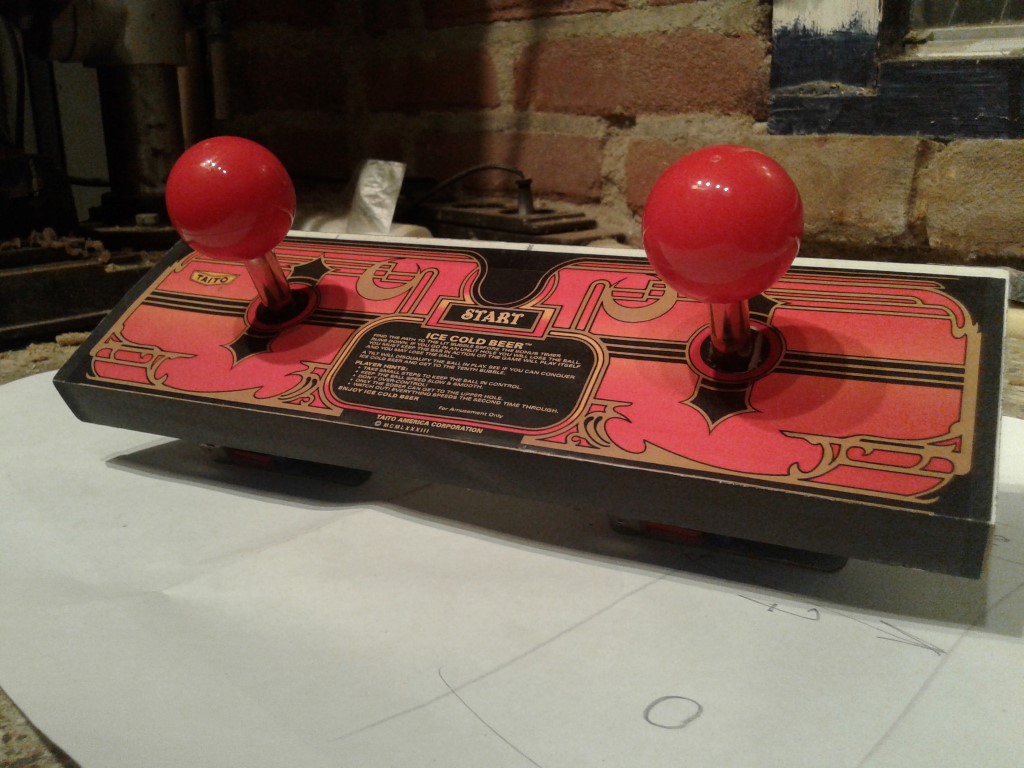 Test fit in the cabinet. 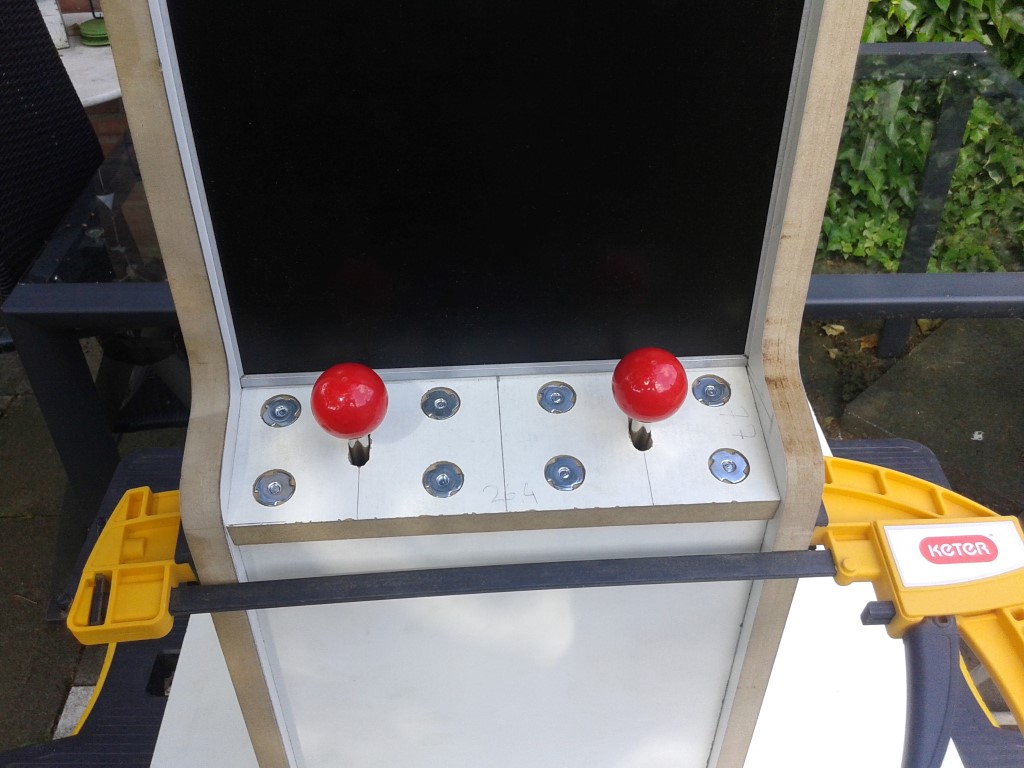 Time to bondo the holes. 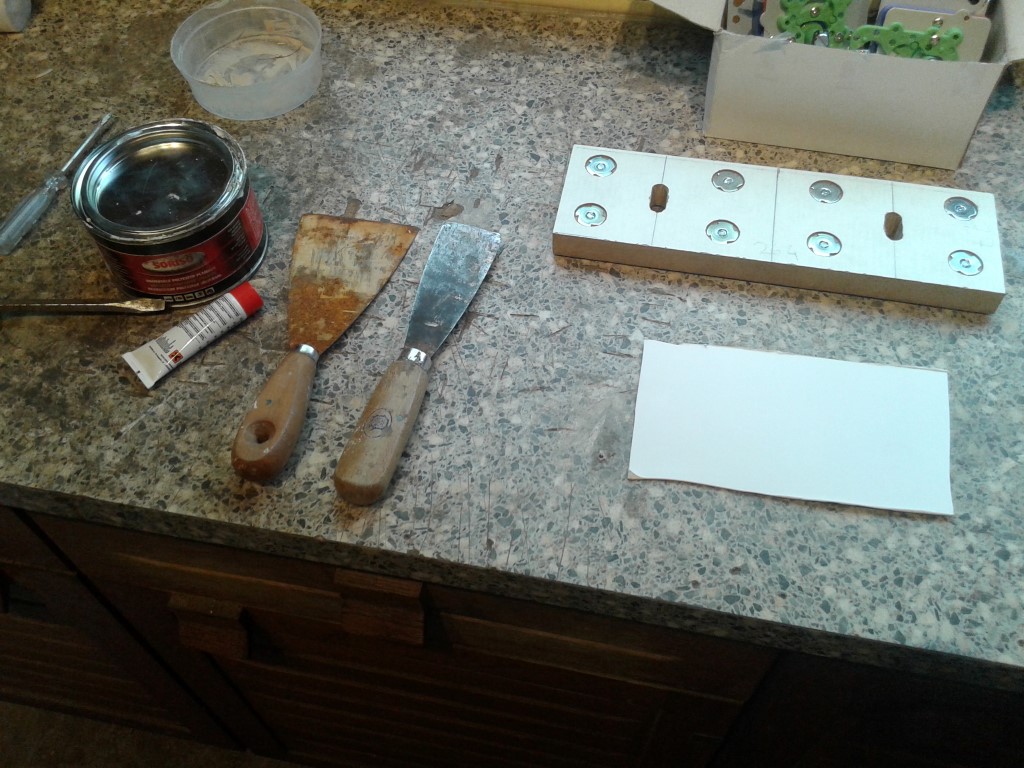 It amazes me everytime how fast that stuff hardens 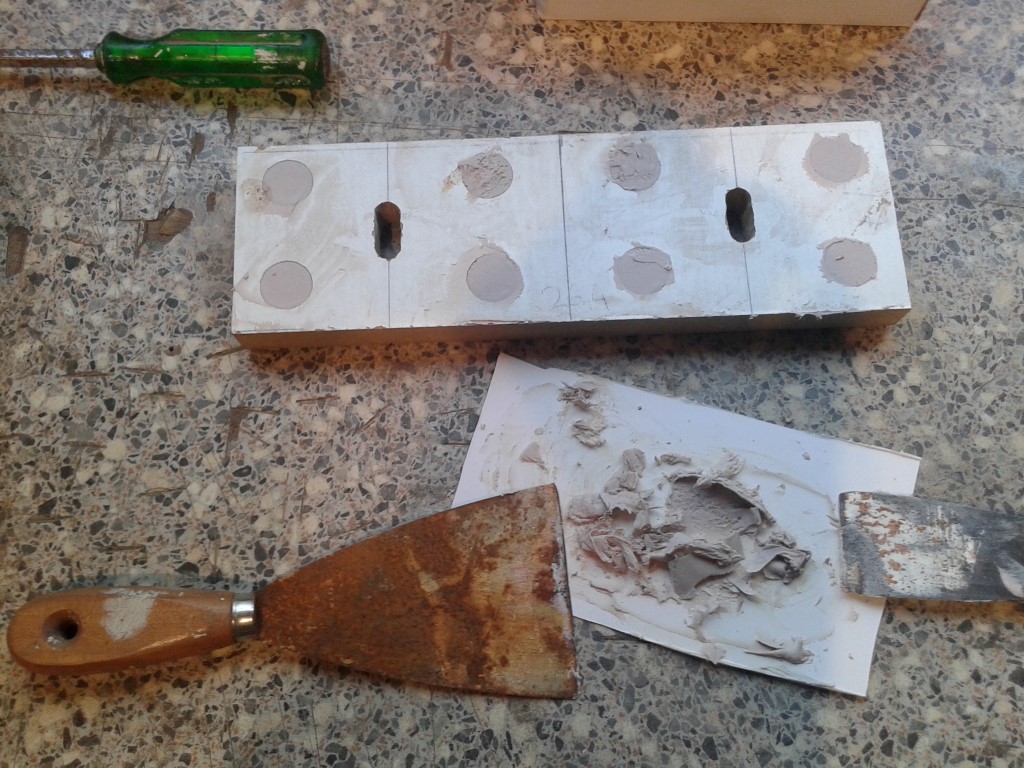 After the first sanding. I see i need to do another application. 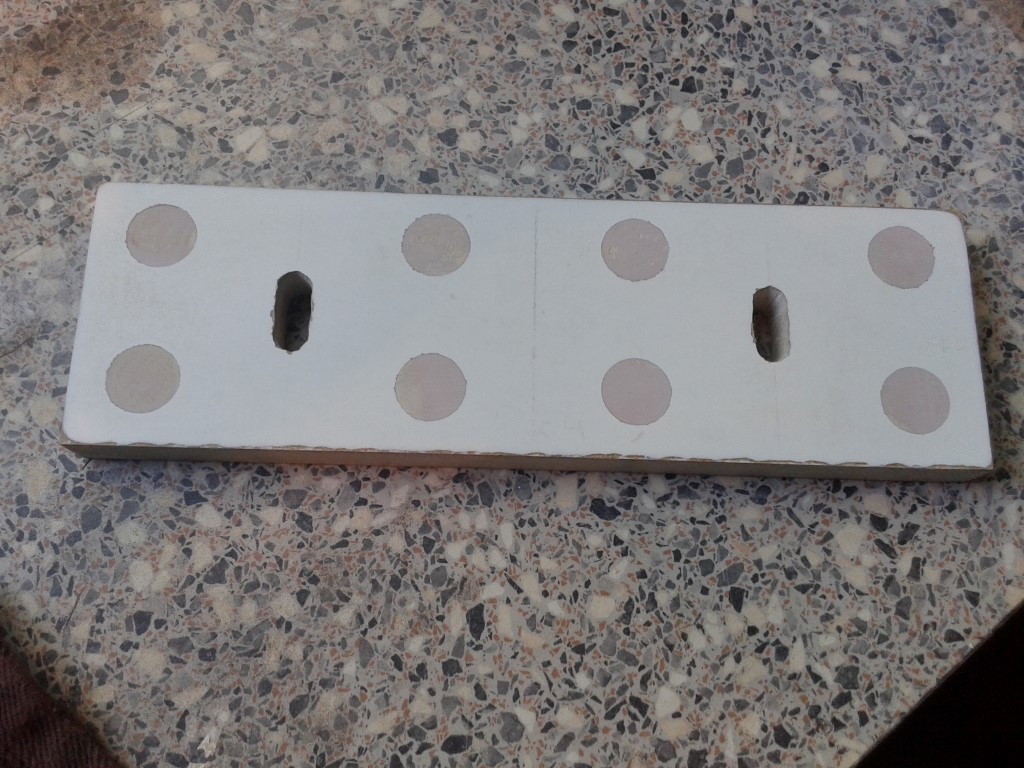 |
|
|
|
|
12
|
Arcade and Pinball Discussions / General Arcade and Video Game Discussions / Re: Ice Cold Beer 1/2 Scale Repro Scratch build
|
on: November 15, 2015, 02:39:18 am
|
The main structure is put together by dowels and woodglue. I bought this Dowel Jig from Wolfcraft, which made the job very easy. 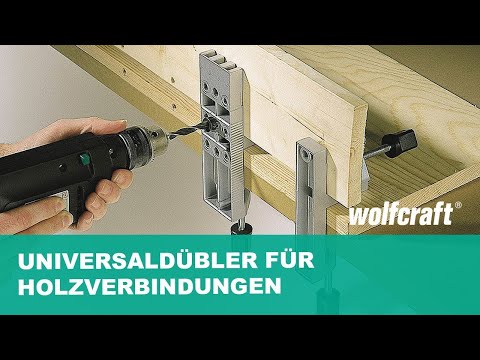 I love this tool ! 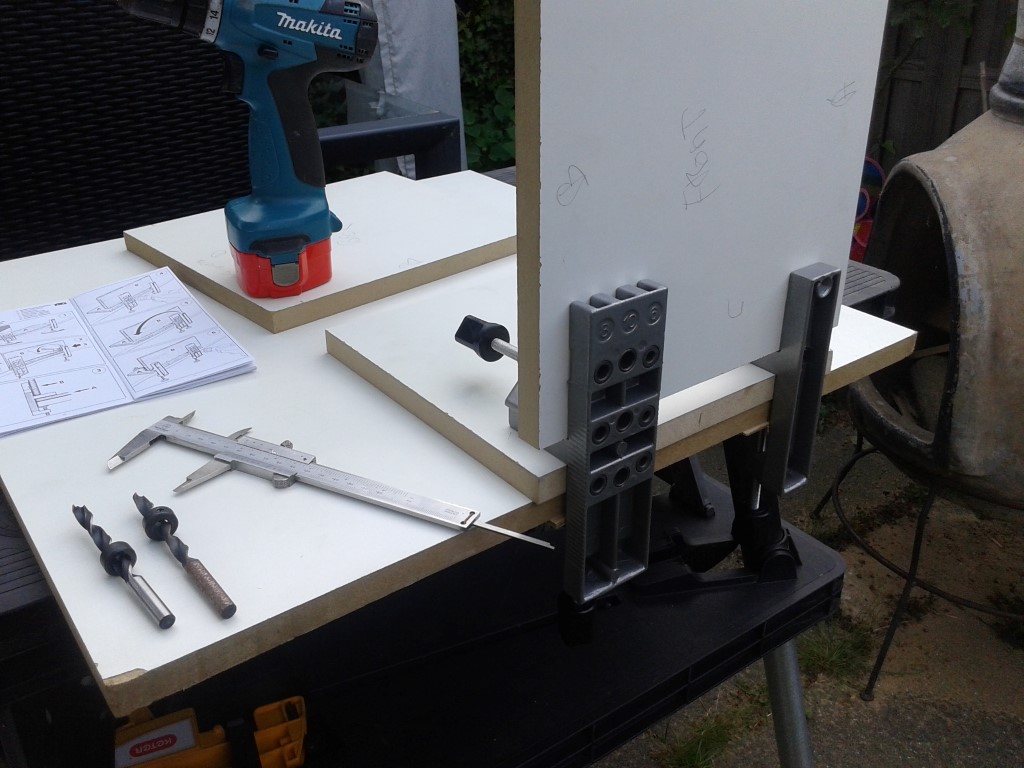 dowels in place and i did a test fit without glue. 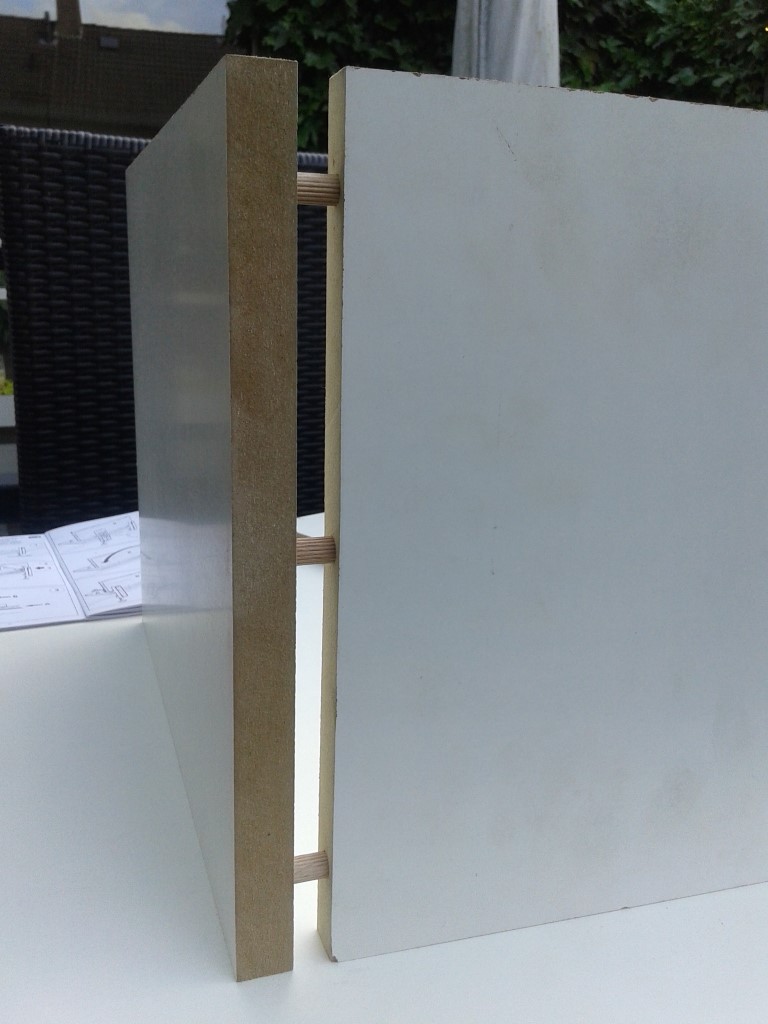 As there where two holes, i ofcourse used the wrong hole the first time.. :oops: Thats a easy fix, just glue in a dowel, saw it off and sand it flush. Yes.. i also make mistakes :  : 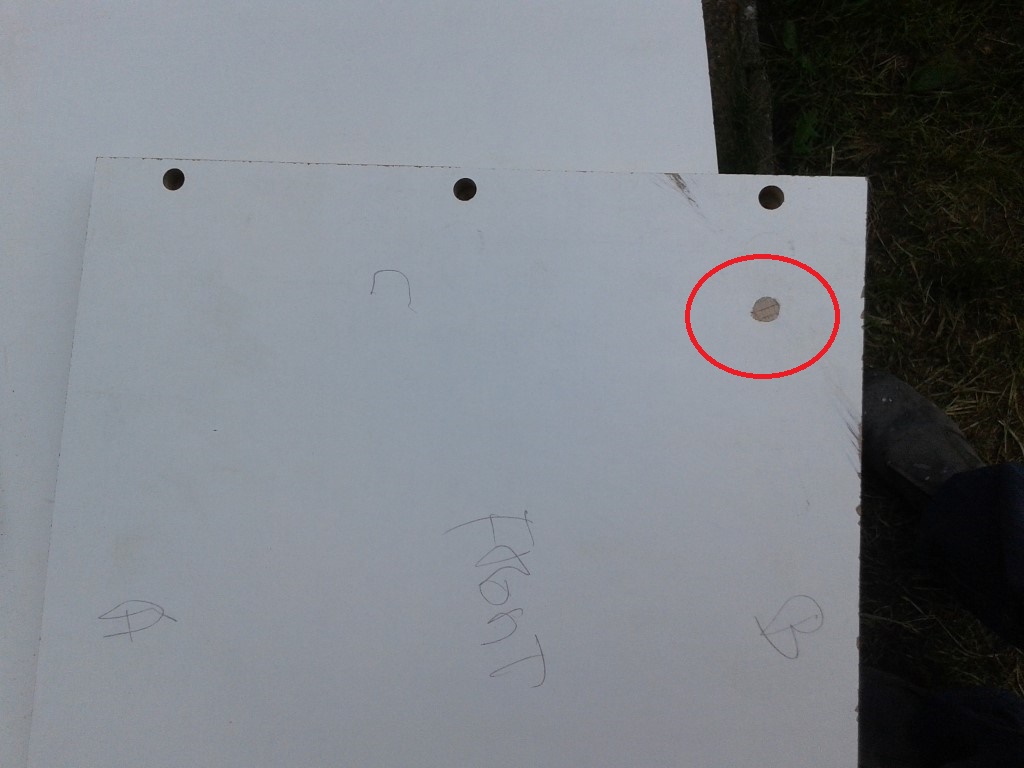 More holes drilled.. 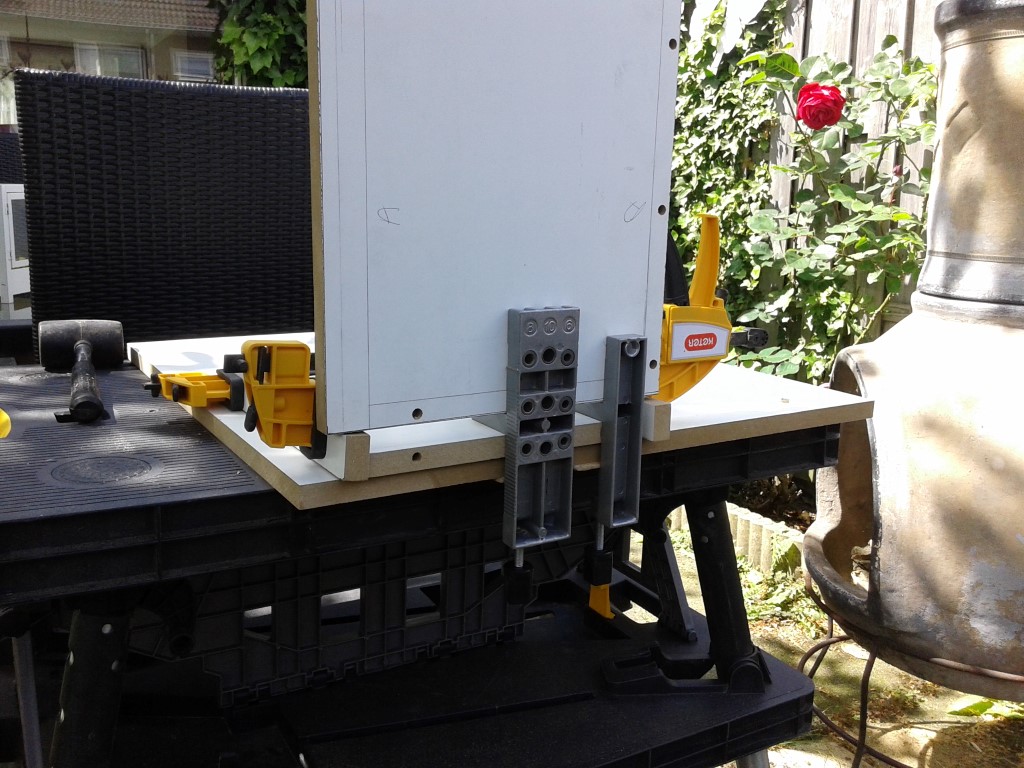 This is the front panel, i am shaving the top to an angle to make as much space as possible on the inside as the controlpanel and joysticks are very close to the front, and it would not fit otherwise. 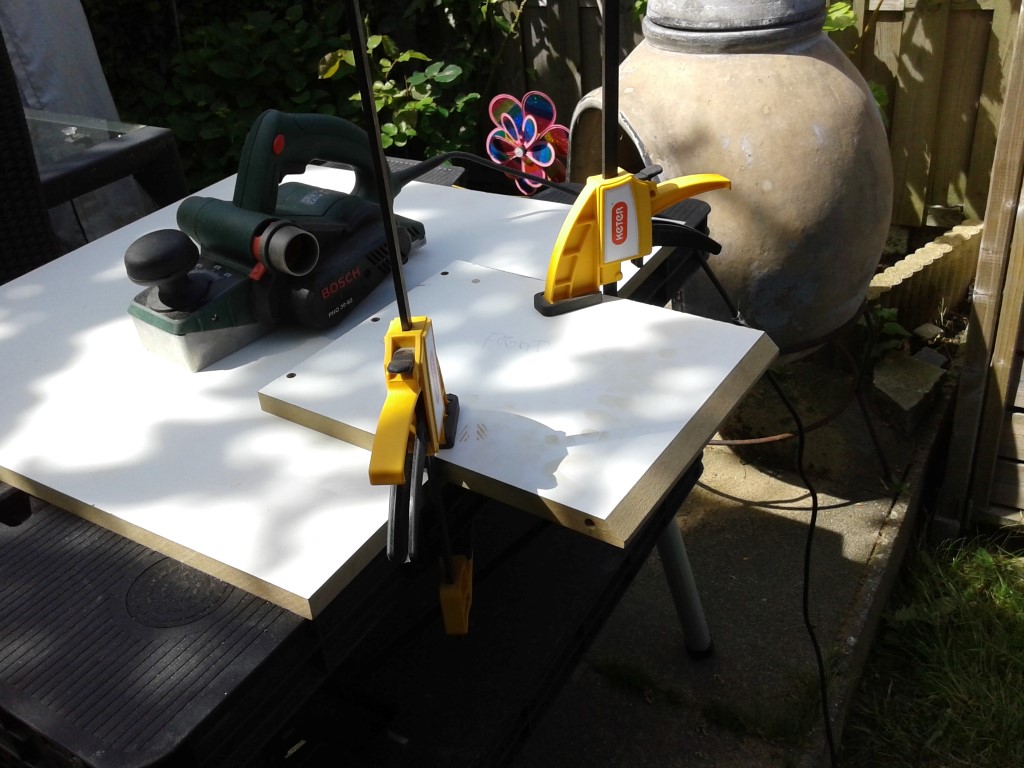 I made a test cut on a piece of leftover wood to see which routerbit would be good to use to make a nice fit of the monitor to the roof. 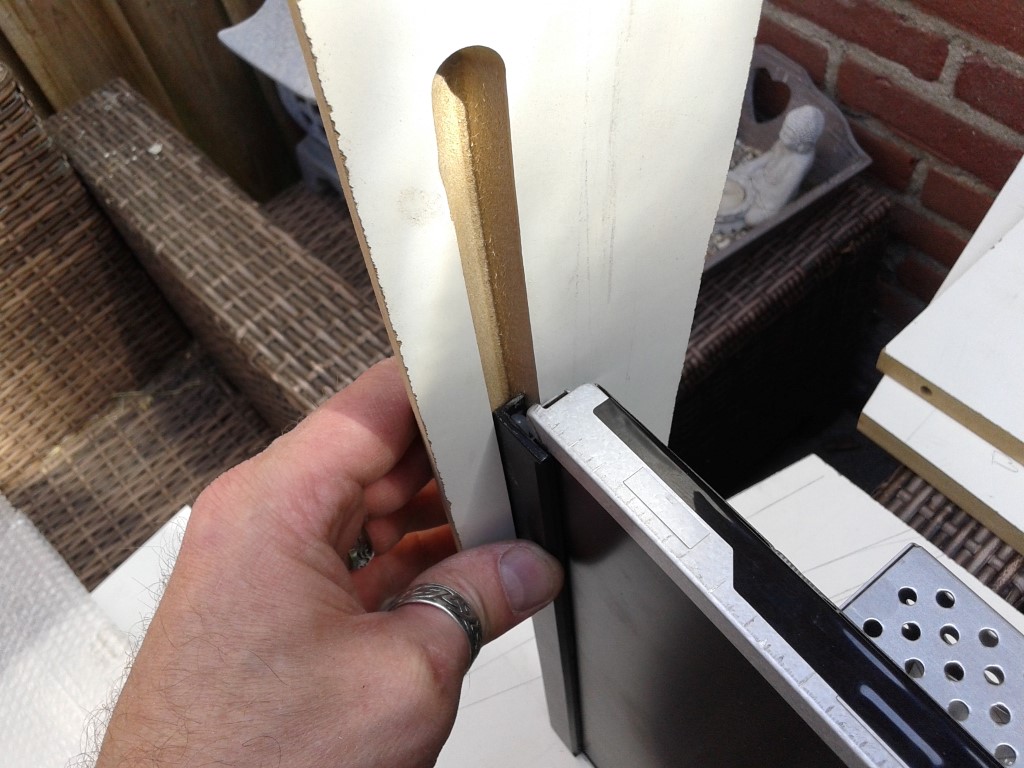 After measuring i made the cut to the real roof panel, using the guide to make a straight cut..  Test fit and determining the angle and position of the roofpanel. 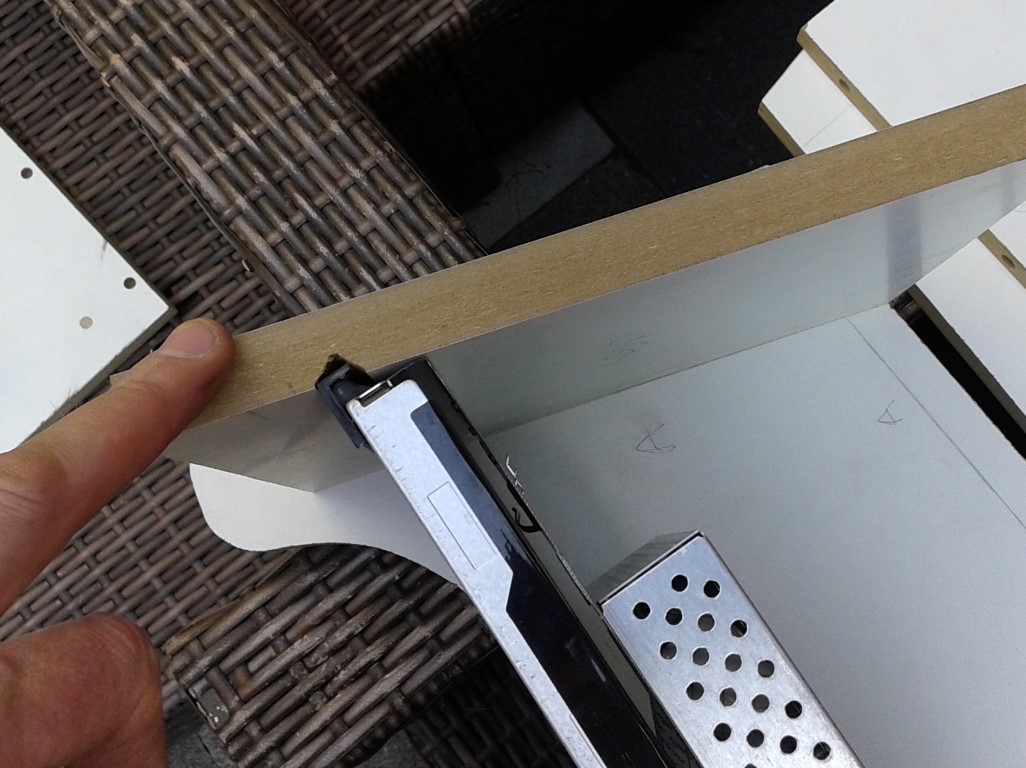 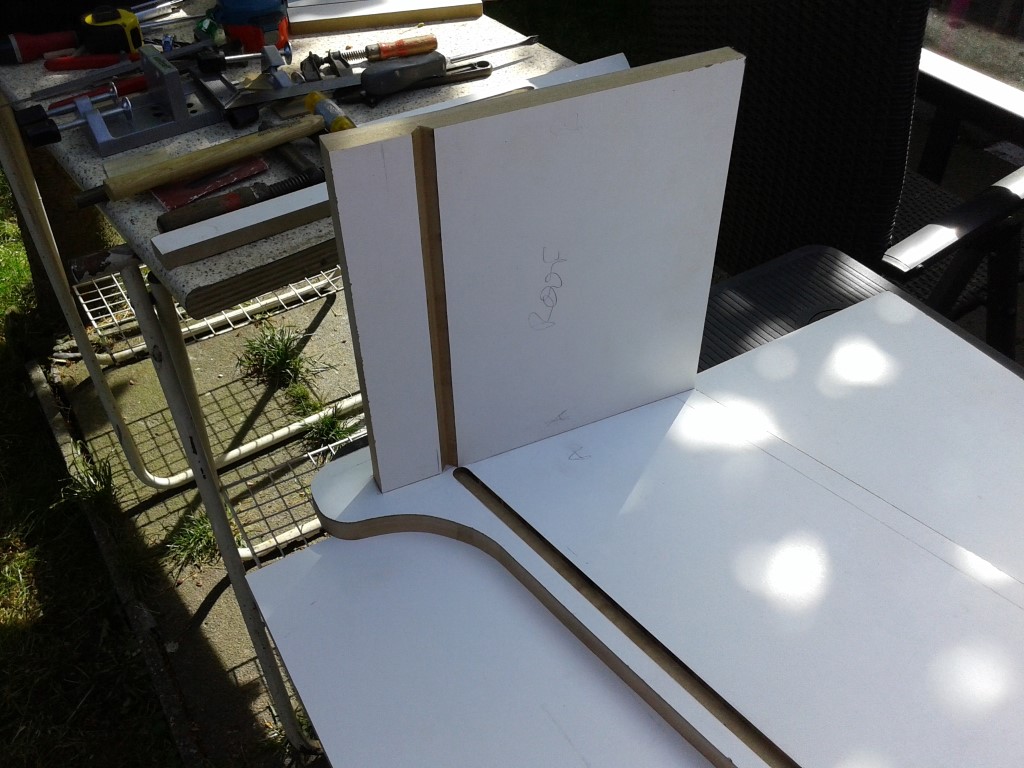 in my dowel kit, there where also these little guys, they are needed when the connection you are making is not straight, in other words;the doweljig is not usable. 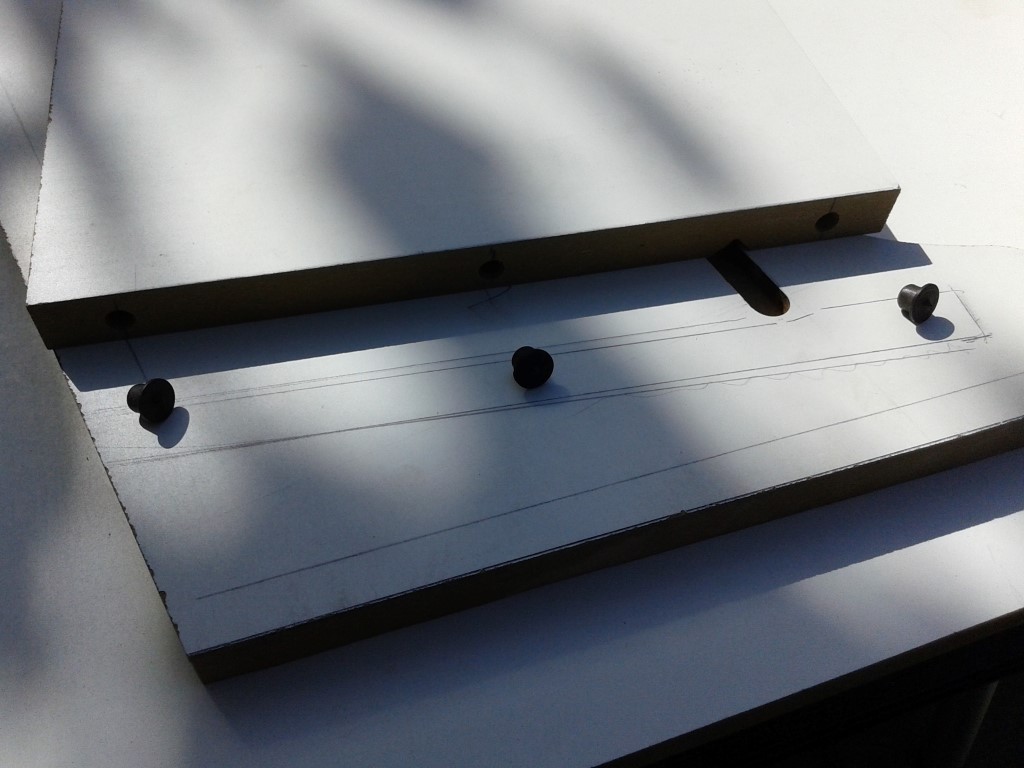 The way this works is; you drill holes in the side of a panel with the jig, then instert these centerpoints and position your panel where you want it to be. Then put some pressure on it which will make the centerpoints go into the other panel and leaving some nice drill marks. 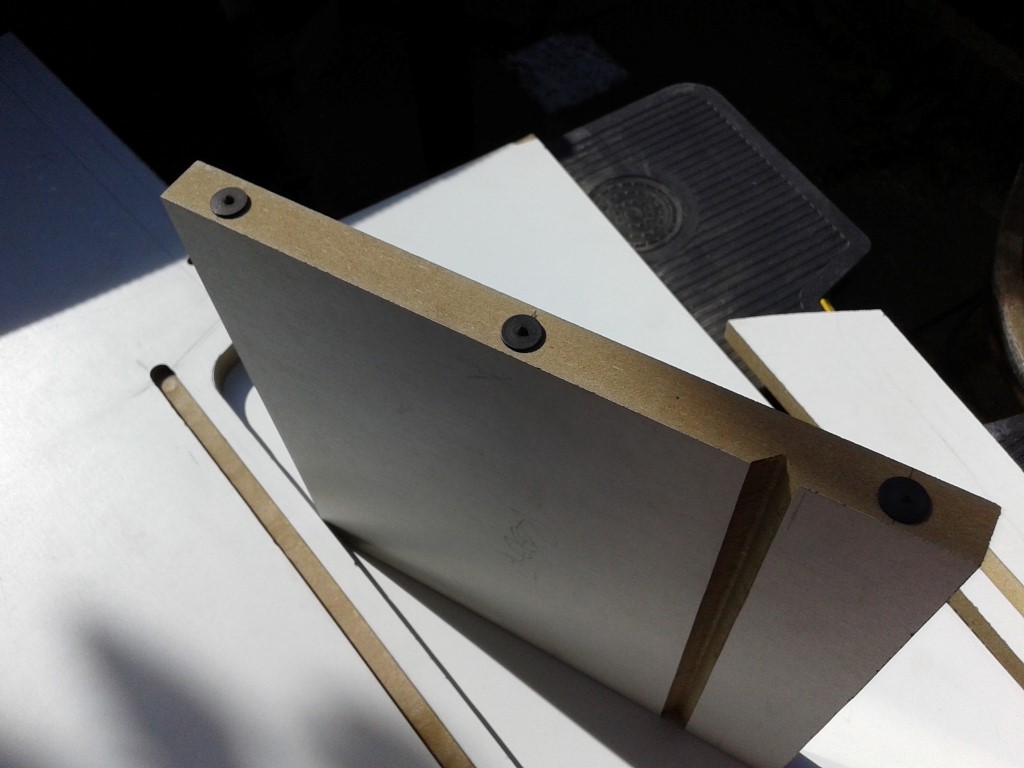 drillmarks are made.. 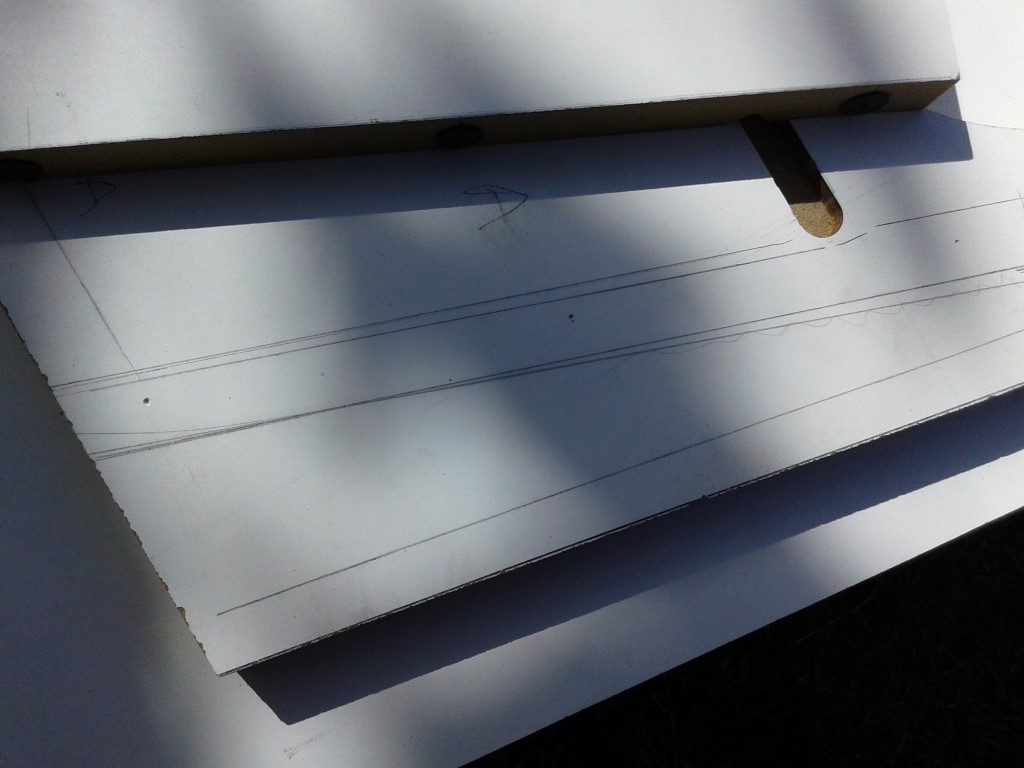 then using the jig again to make the holes nice and straight. 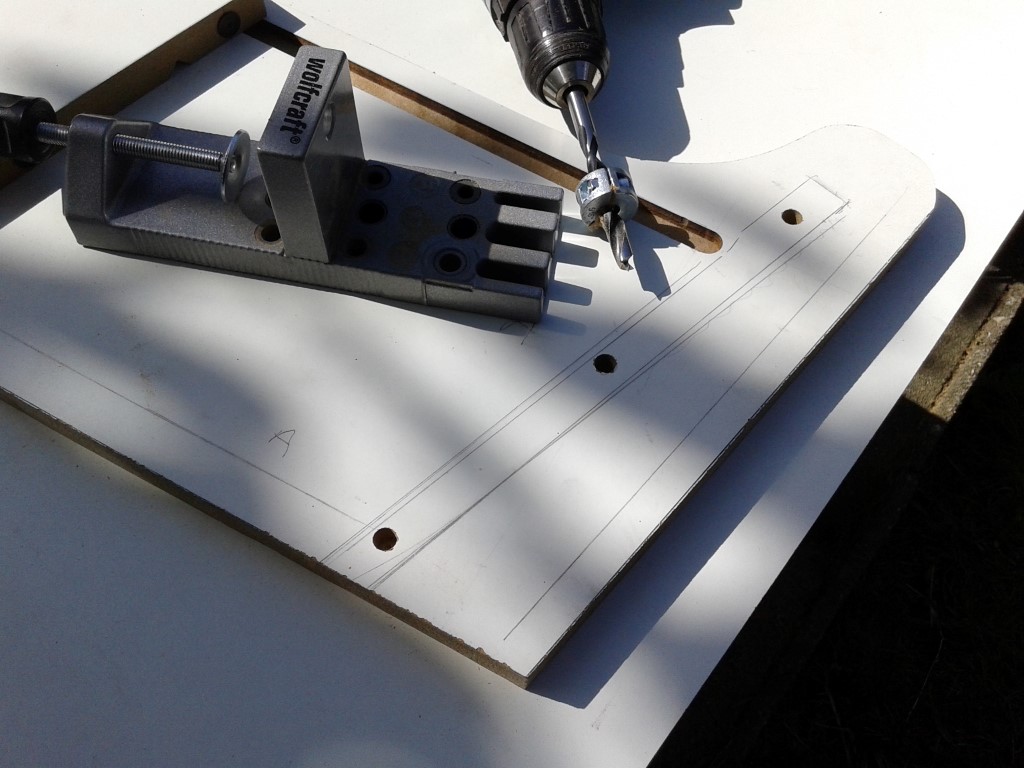 Insterted some dowels, and tried to see if all fits well. 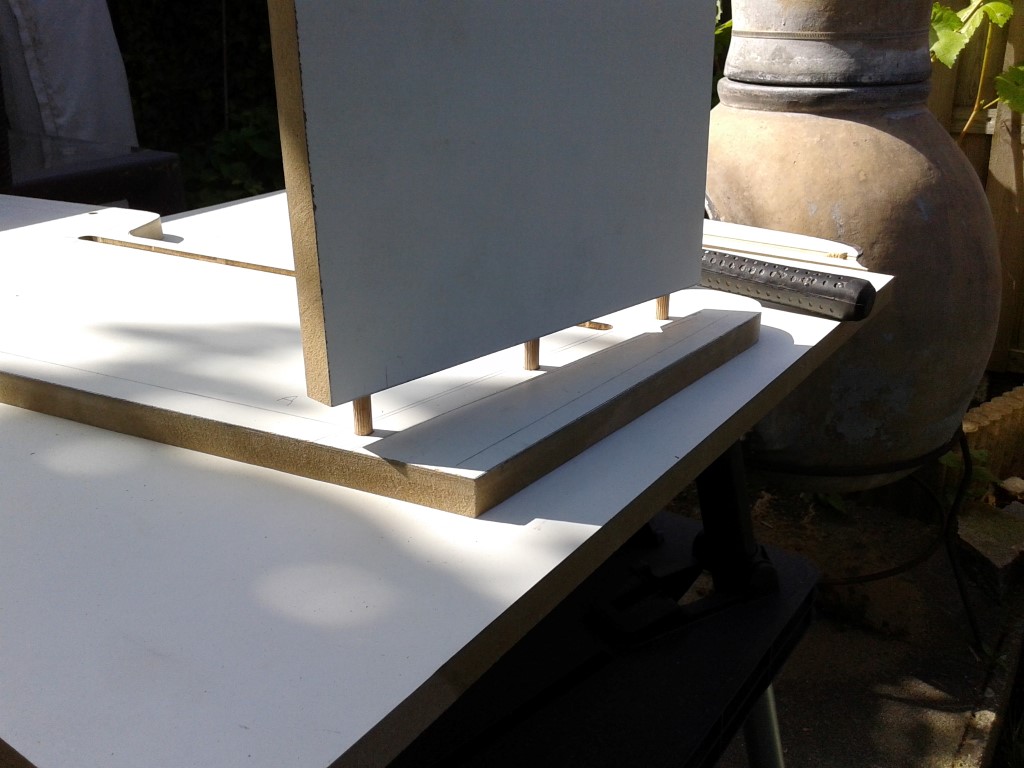 Looks nice and flush to me. 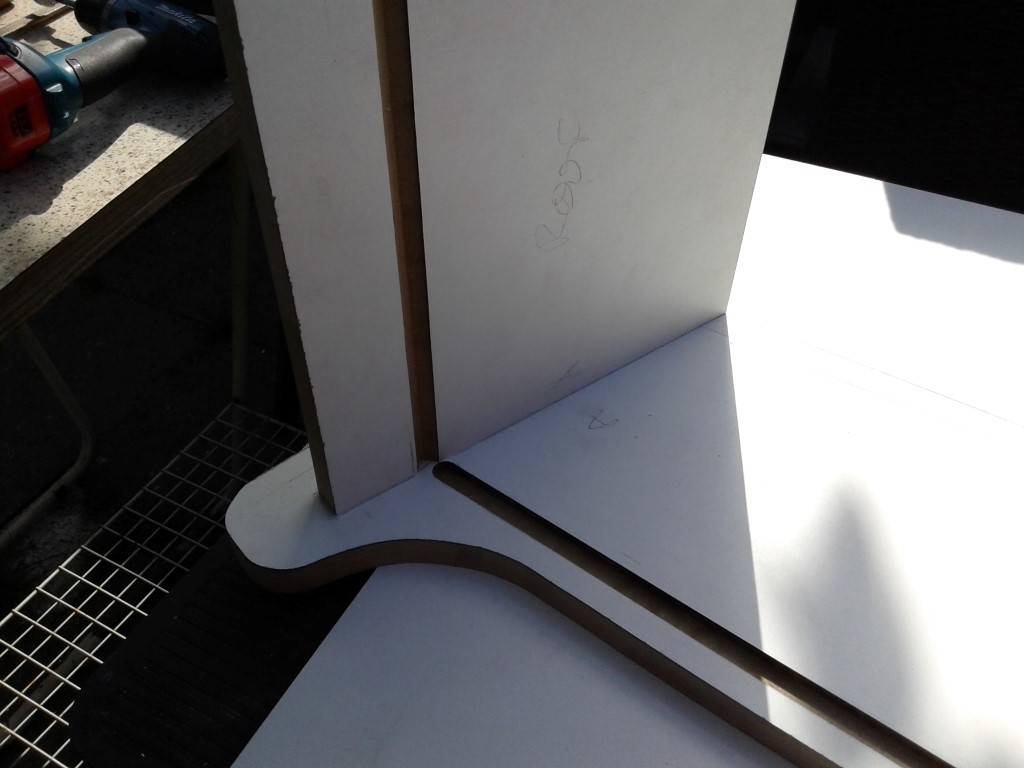 Test fit with the monitor in there.. Perfect ! 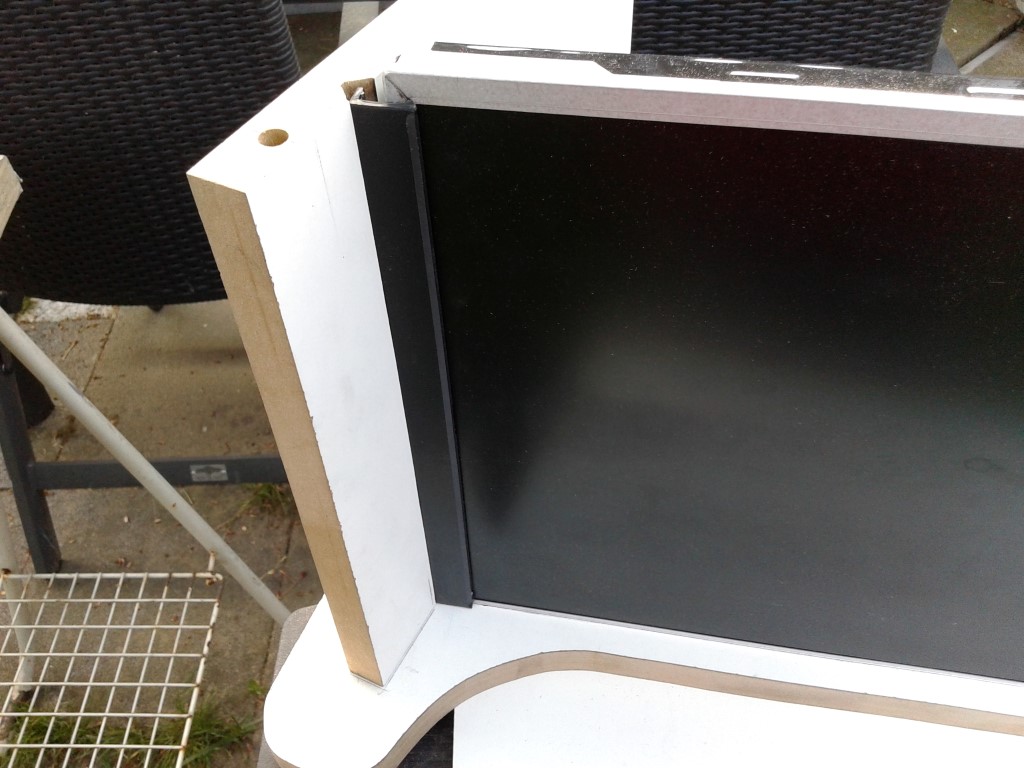 All put together without glue minus the other sidepanel.. 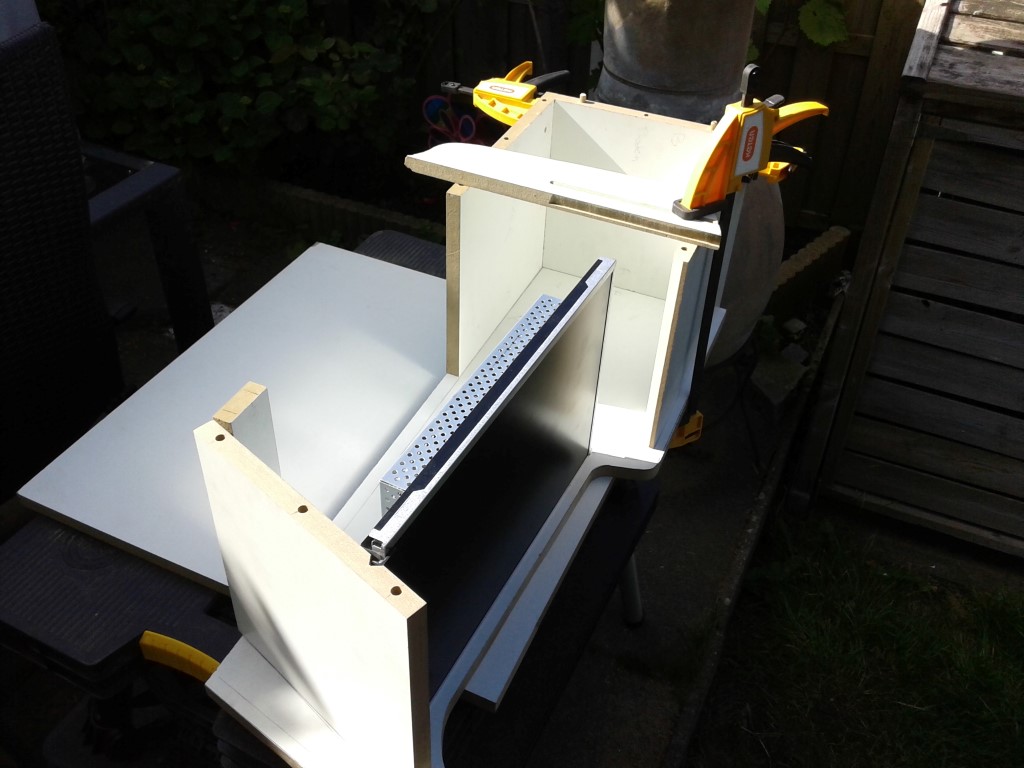 and all together and standing upright to see if all is good.. 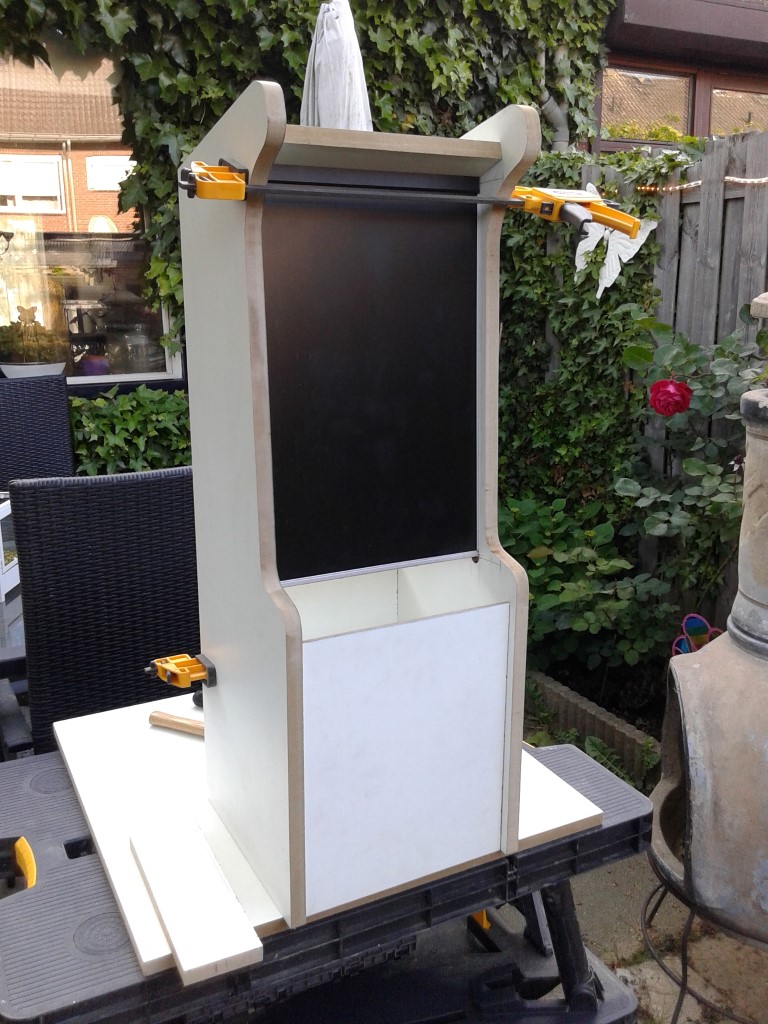 Next up, Control panel |
|
|
|
|
13
|
Arcade and Pinball Discussions / General Arcade and Video Game Discussions / Re: Ice Cold Beer 1/2 Scale Repro Scratch build
|
on: November 15, 2015, 02:35:08 am
|
The other panels has a thicker slot cutted as explaned earlier, so i need to find a way to match them up perfectly. I took a "U" profiled strip of aluminium that fitted exactely in the narrow slot. 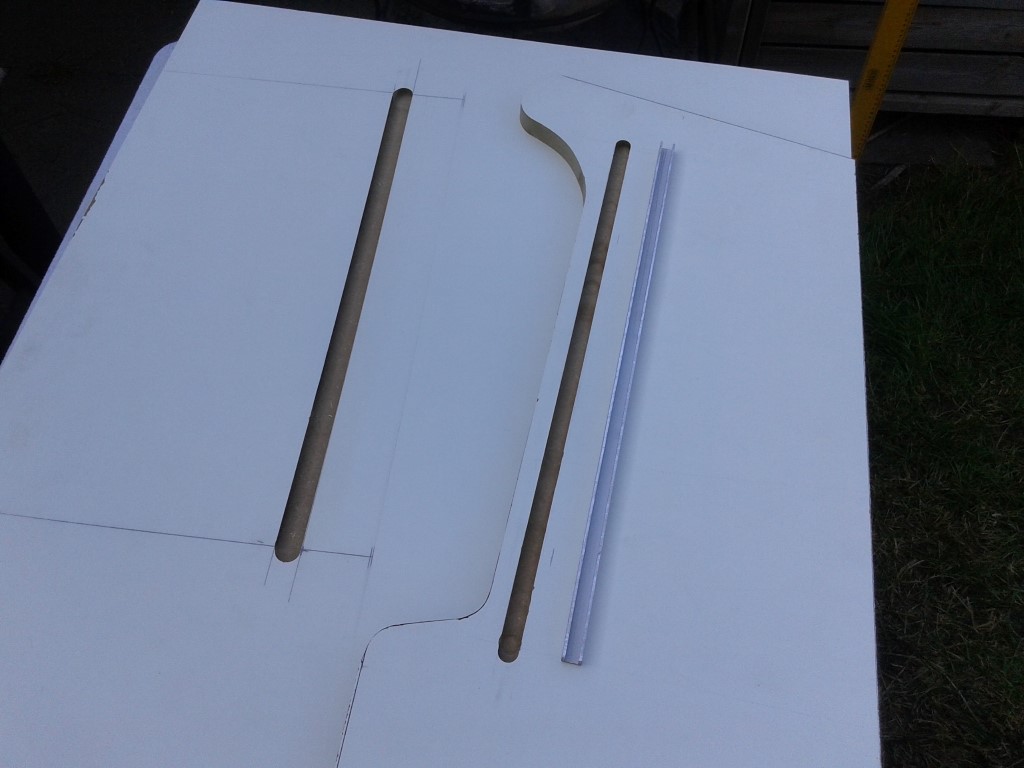 Cutted the length exactely so it fits inside where the routed slot tunred round. That way it will be easy to "feel" when they are lined up correctely. 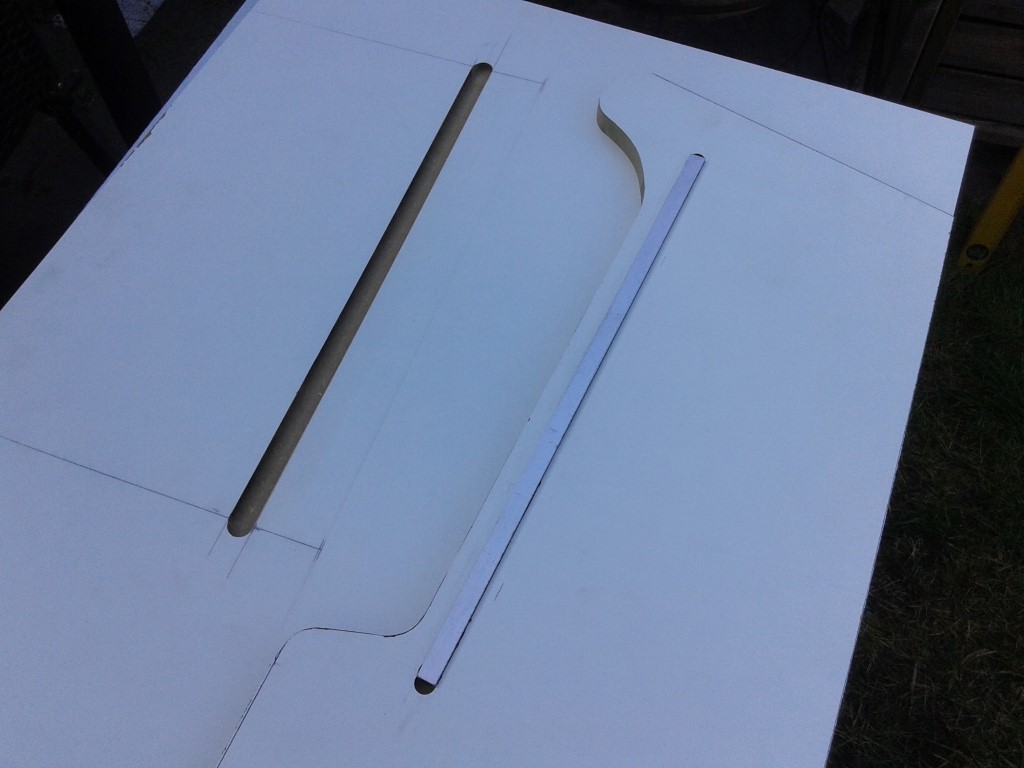 The part that is sticking out from the first panel needs to be lined up with the other slot so that the front of the two slots have the same distance from the edge after cutting that part. 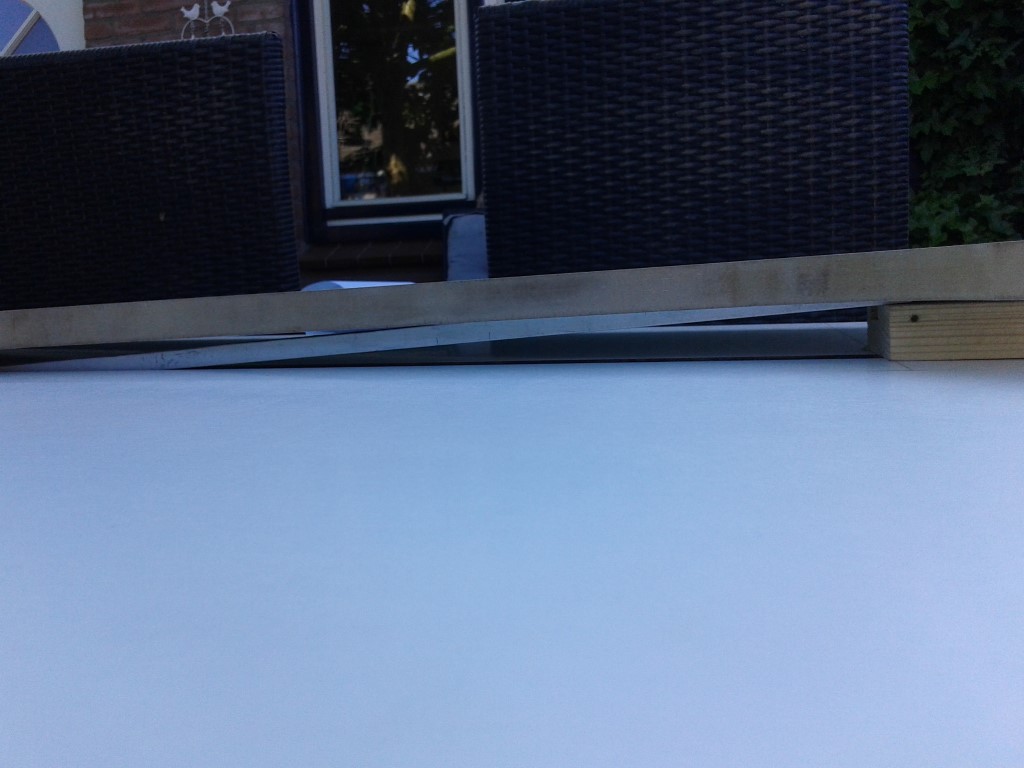 After tracing the outline on the other panel, i verified it by measuring everything in comparation to the monitor slots 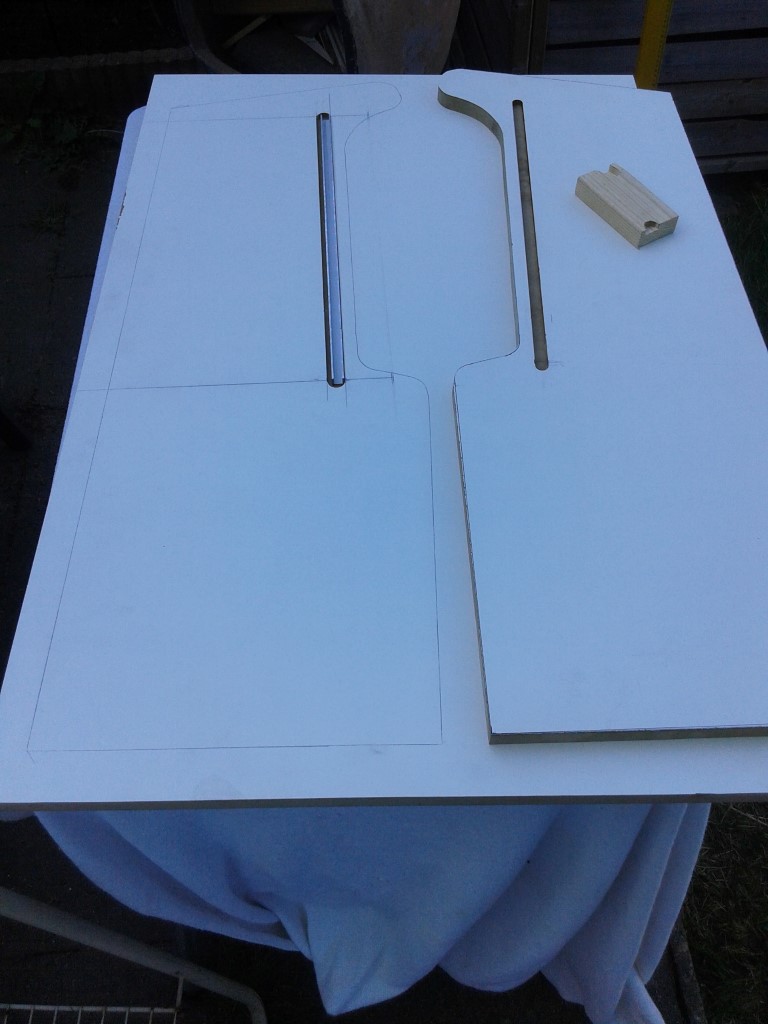 I cutted everything out with a little margin, and after that i lined the two up again with the aluminium strip and trimmed the margin off with the flushcut routerbit. 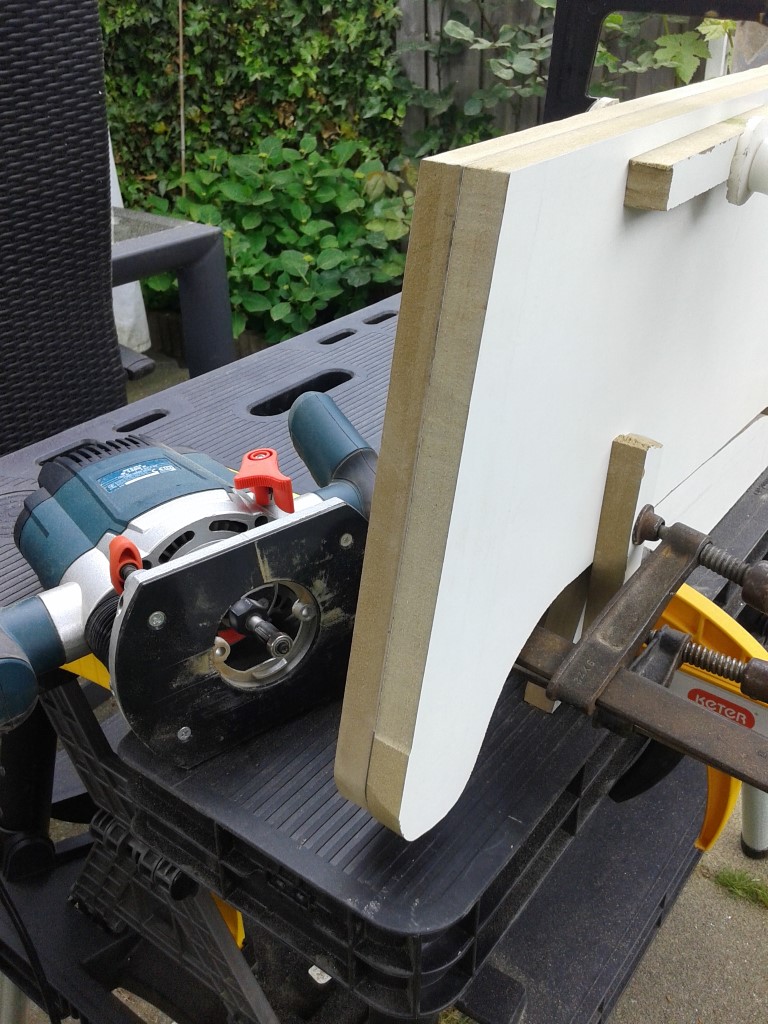 This process was done in two steps as the bit was not long enough to do it in one go. 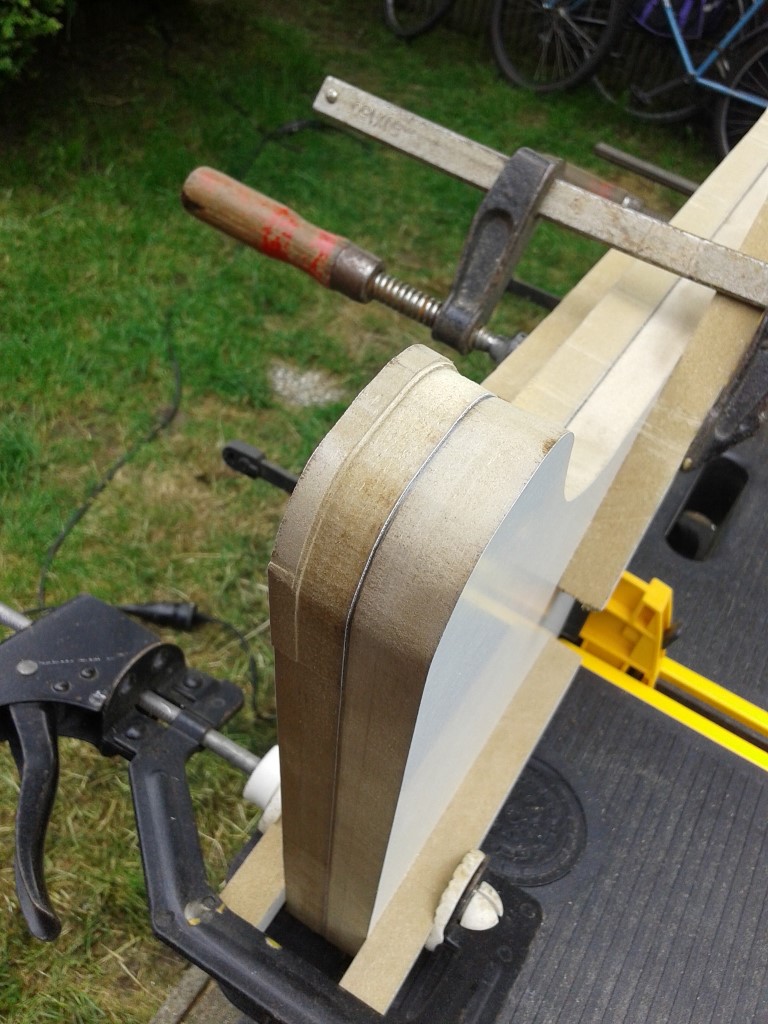 Two panels exactely the same after routing.. :pac: 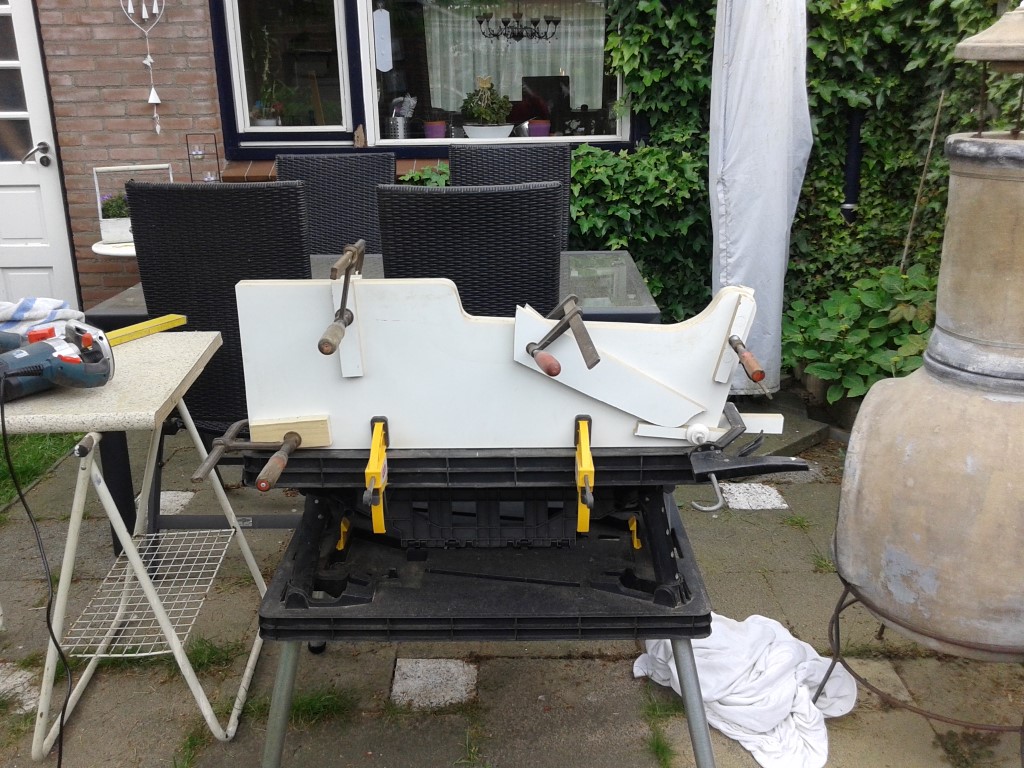 Again a test fit to see if all is ok and to measure the width of the panels that need to go in between. 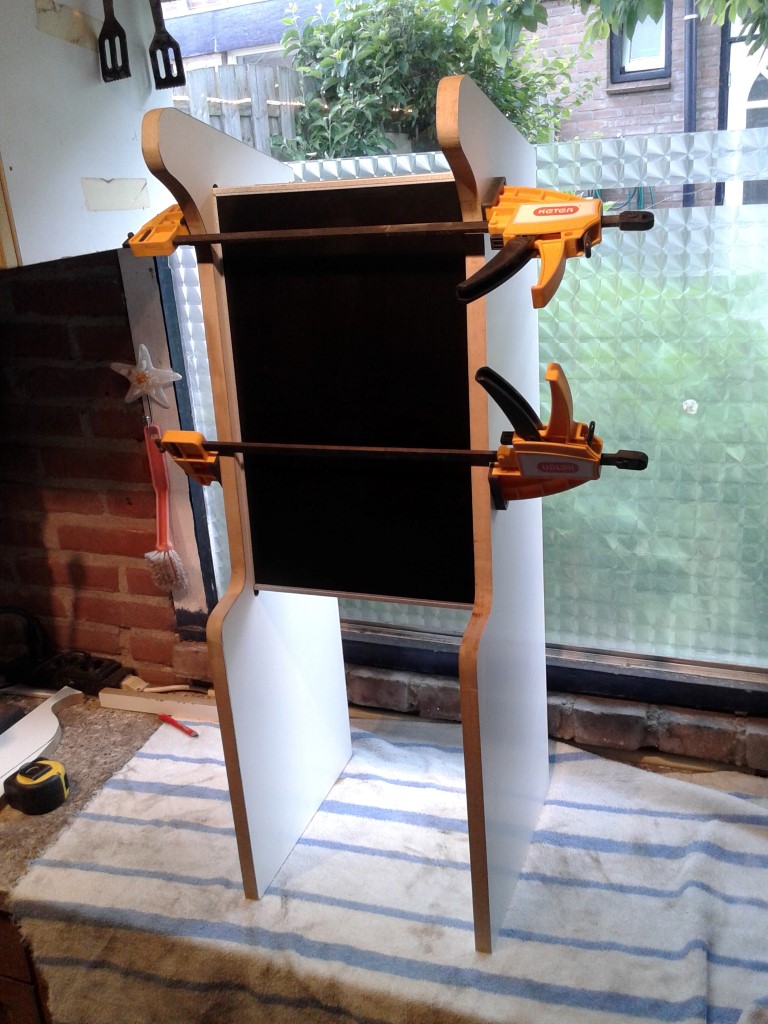 next up, the panels that will be in between the two sides. 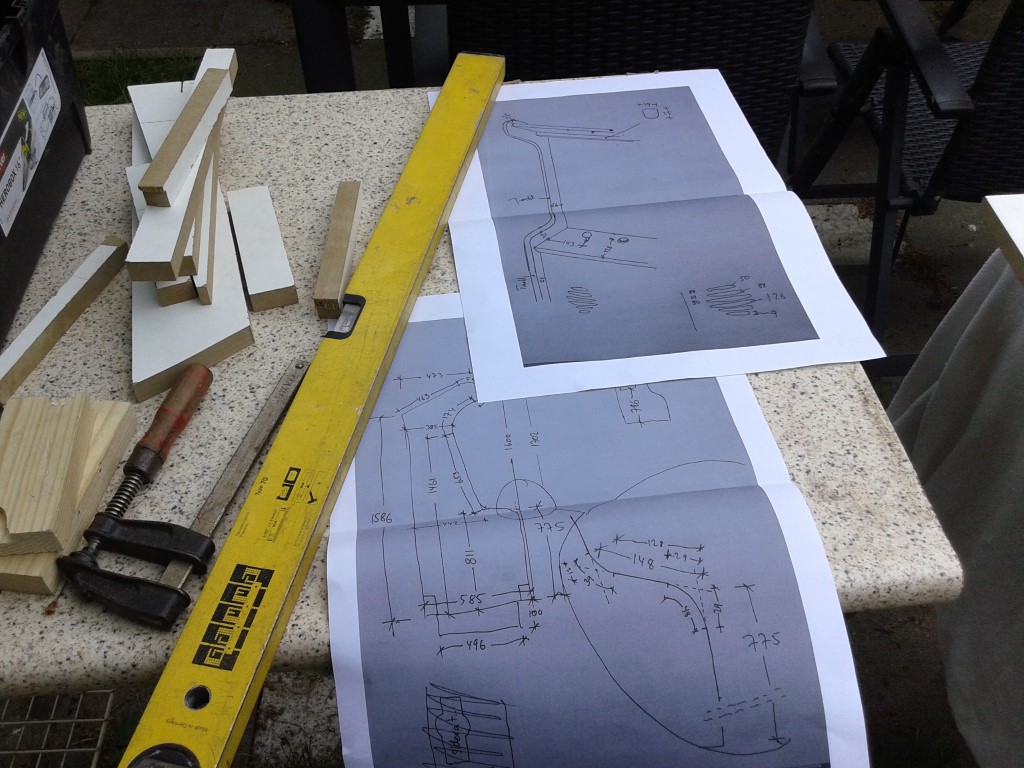 All based on the width of the monitor after installing it.. 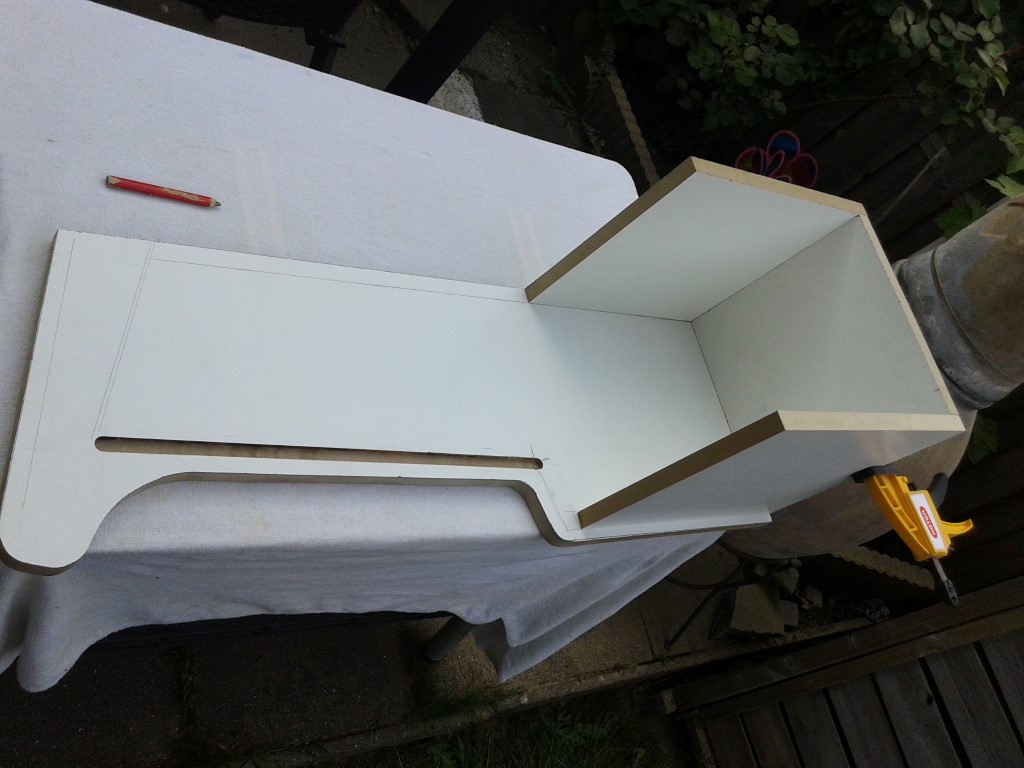 view from the other side.. 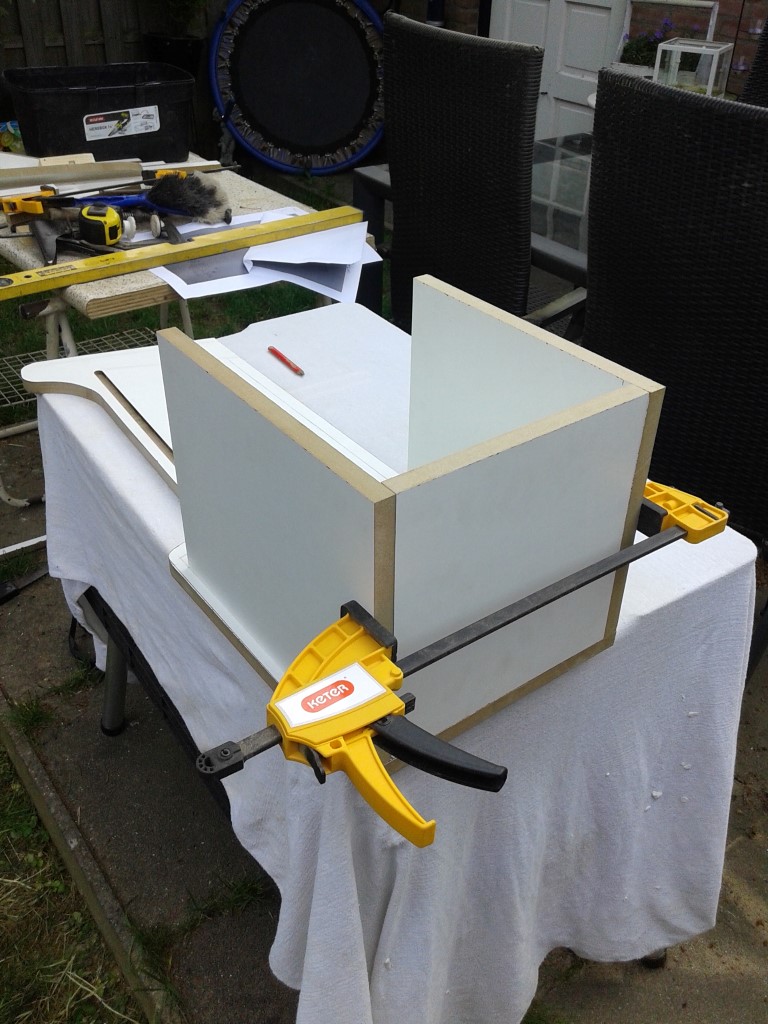 Both panels in place, time to see if every part is fitting nicely. 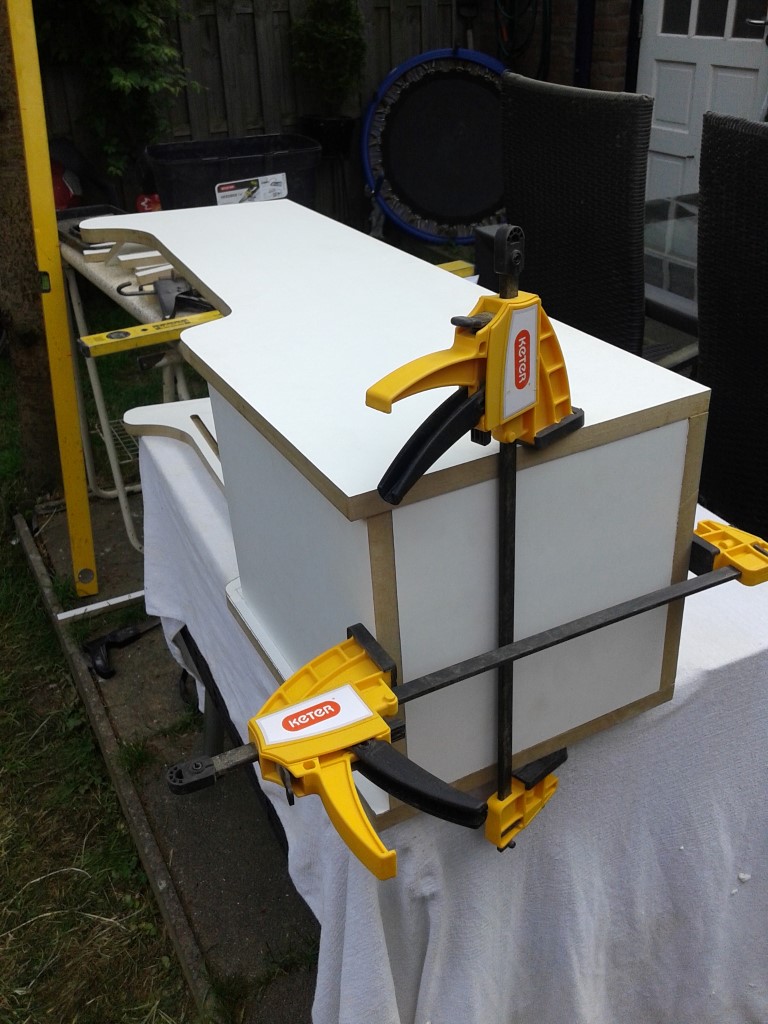 Roof panel also in place.. 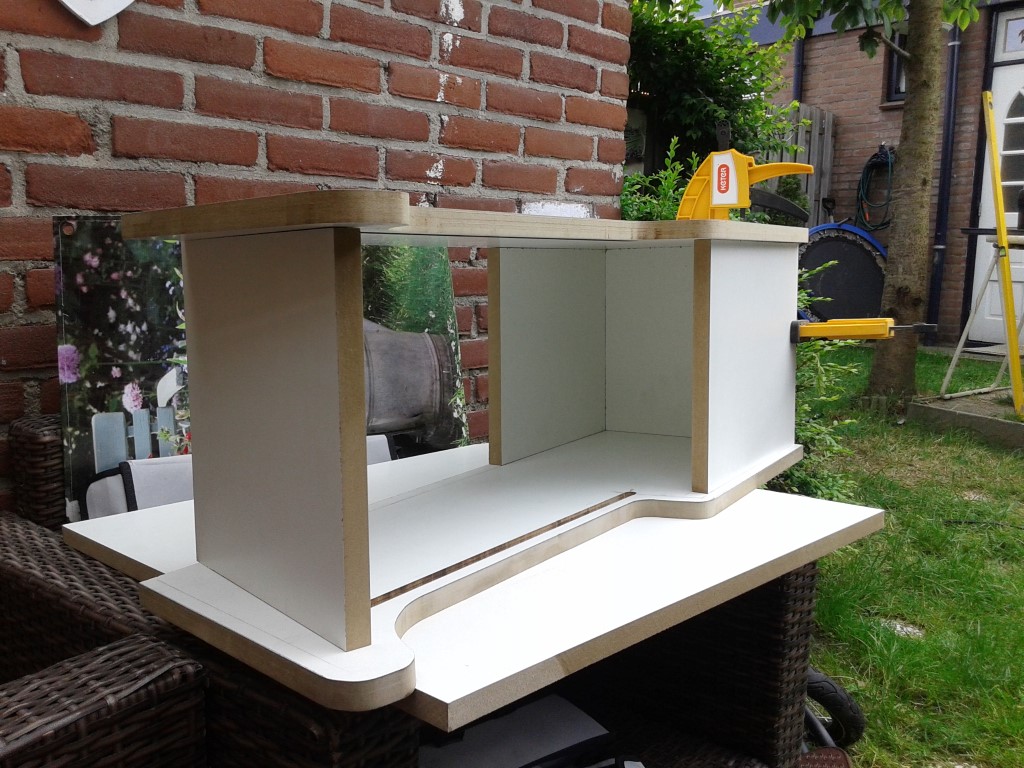 and the last part for now, the top back panel. I need to shave off the excess from the roof panel, but will do that after assembly. 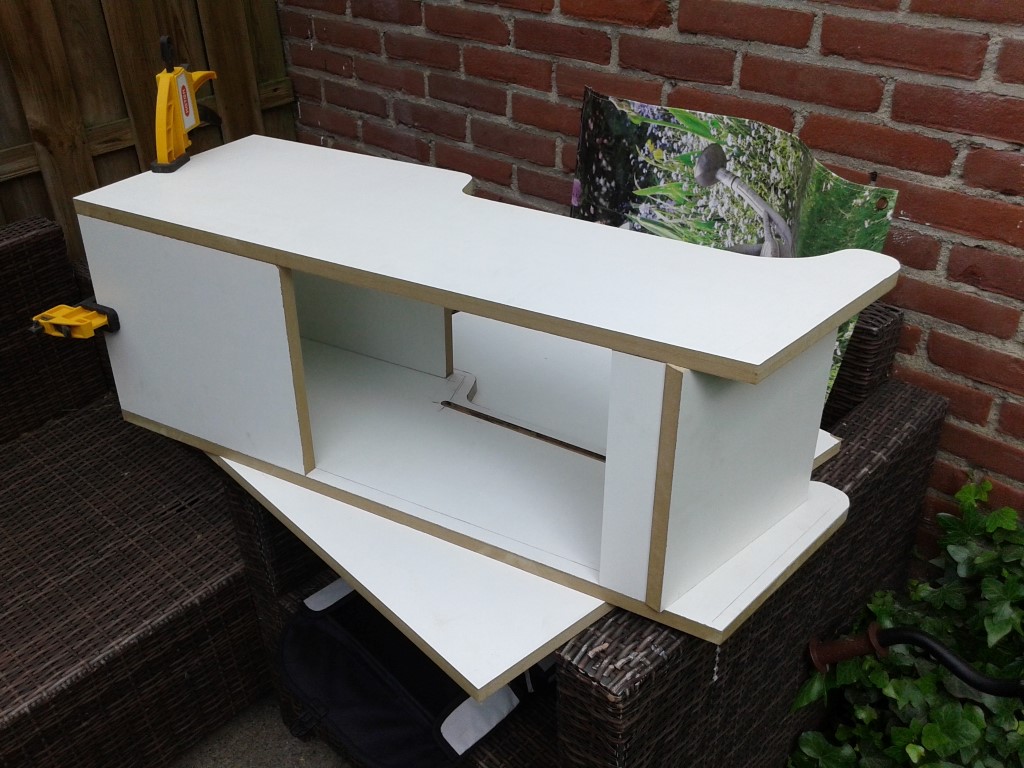 Next up, put it together. |
|
|
|
|
14
|
Arcade and Pinball Discussions / General Arcade and Video Game Discussions / Re: Ice Cold Beer 1/2 Scale Repro Scratch build
|
on: November 15, 2015, 02:32:08 am
|
Lets first get some measurements, so we can calculate the 1/2 sized measurements needed. Muerto did an awesome job with the measurements as you can see, so again, Thanks Michael ! :spaceace: 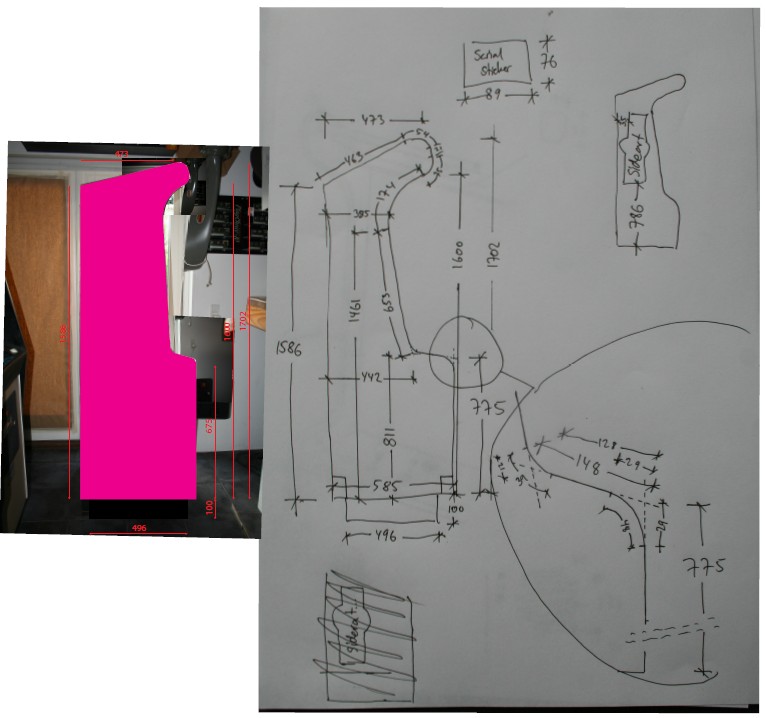 more details.. 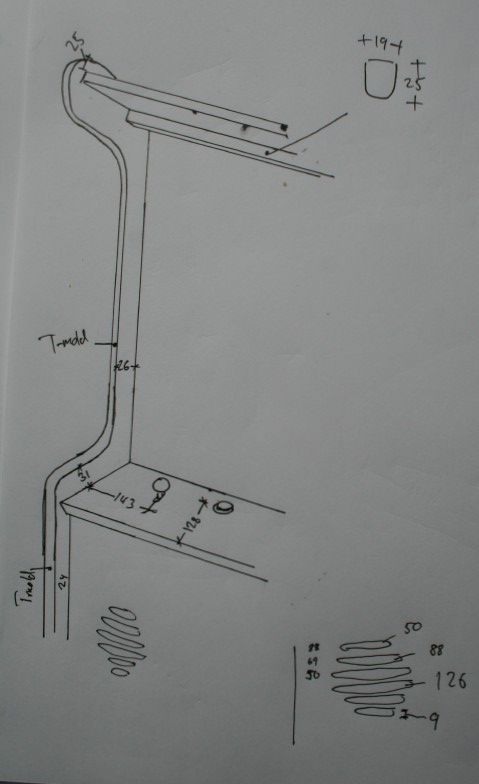 and even some photographs with a ruler on the real thing, super ! 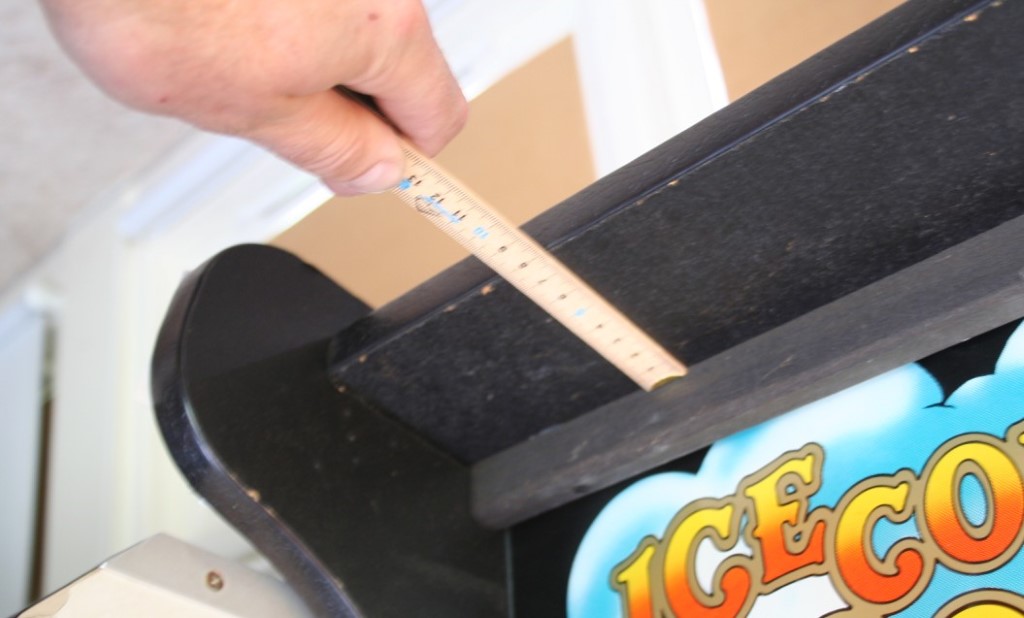 transfered everything i needed for the shape in illustrator and scaled it down to 1/2 size.. Time to puzzle ! 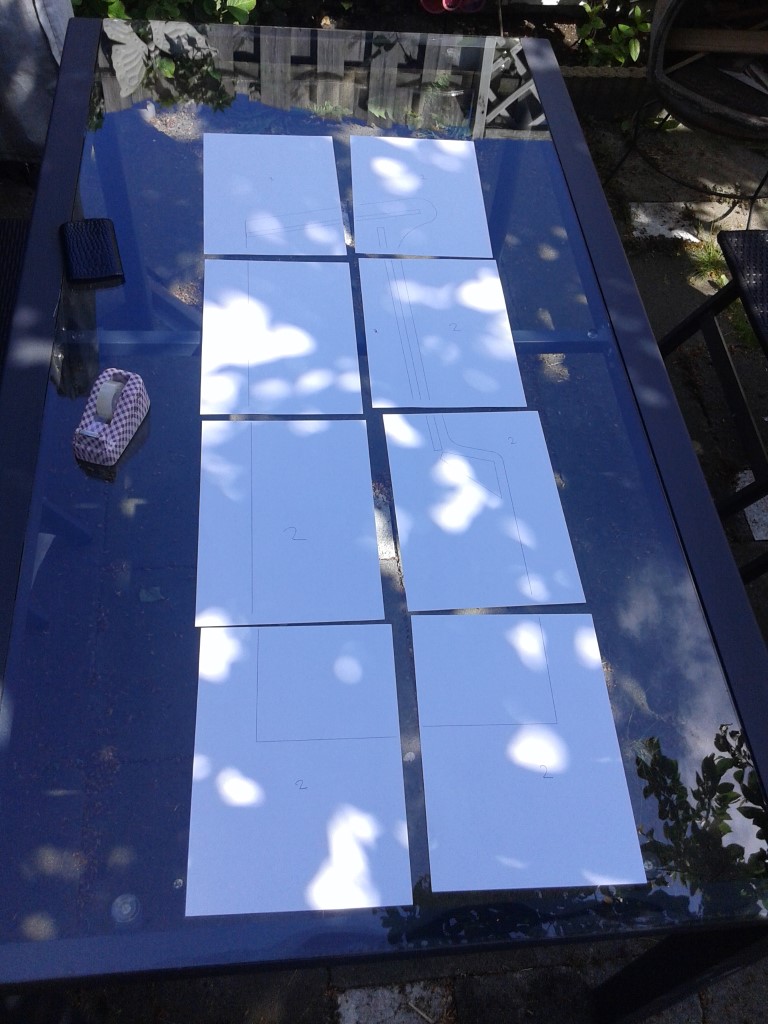 Puzzle put together with maskingtape.. 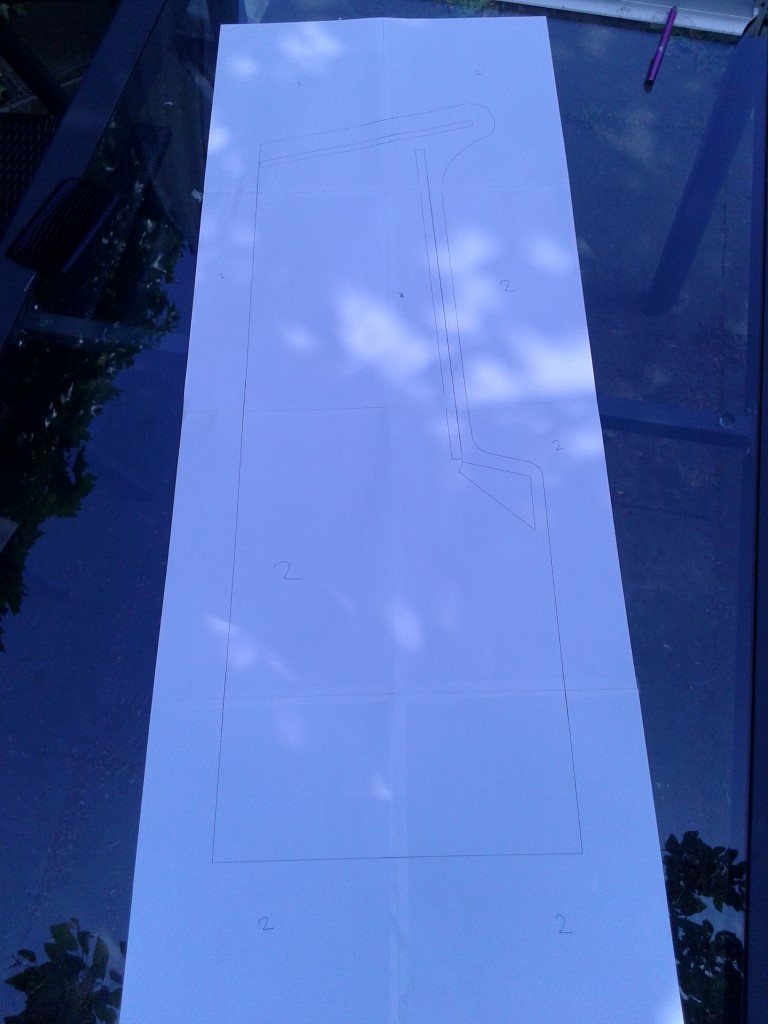 Let's see how some components come out on the paper befor i cut the wood. All looks in pretty good shape 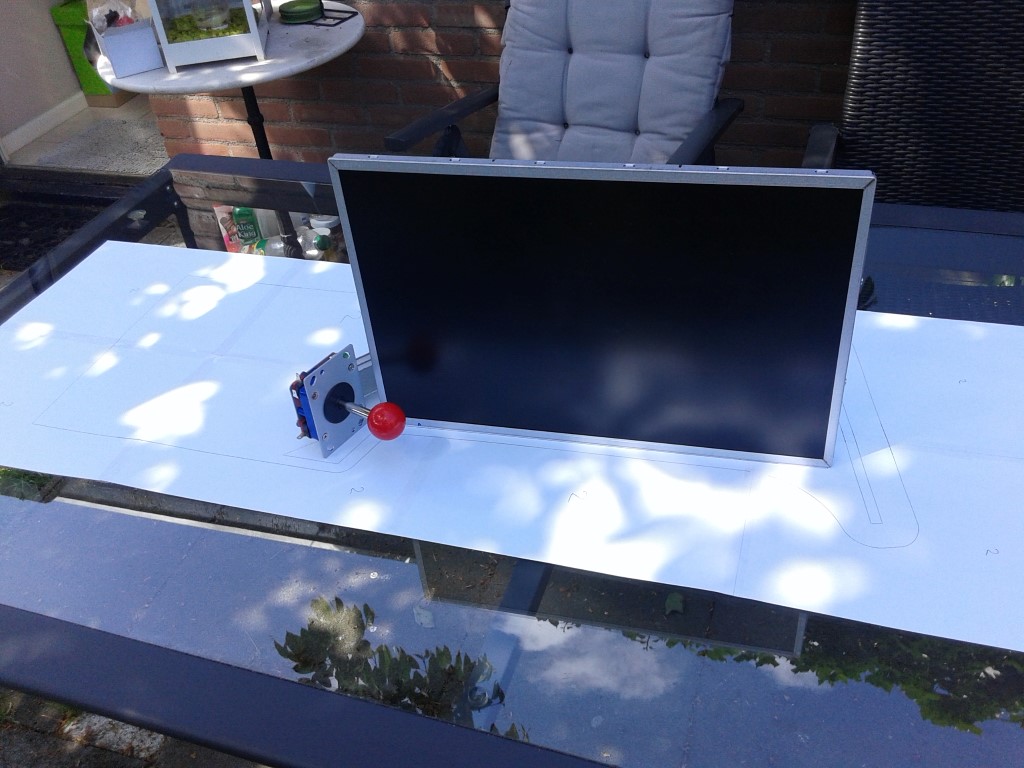 The connectors on the monitor are too much to the bottom of the monitor, and this will interfere with the wooden side panels. remember, its a vertical setup we are creating, so the connectors will be on the right side instead of the bottom of the screen when mounted.. Thankfully, all the electronics are in a metal case which can be moved up with some modification. Let's make that modification, Little helper, Are you ready ?? 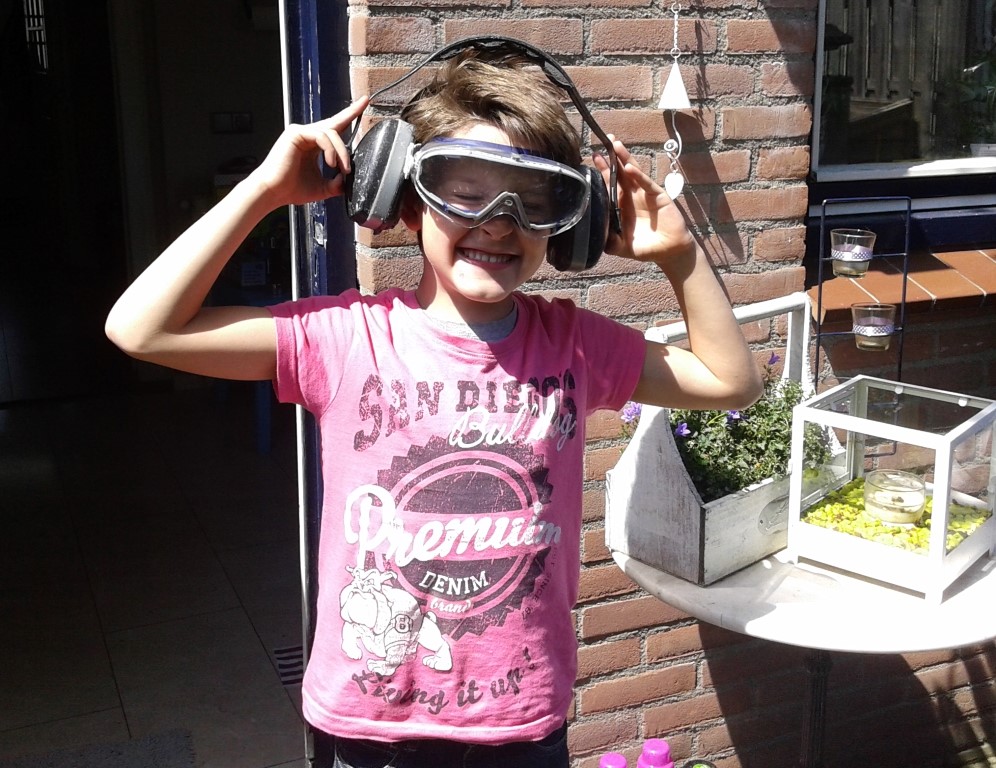 Grinded off two pieces from the metal bracket containing the electronics, drilled some new mounting holes, and the edges are now clear from the wood, and there is enough space to connect the power and signal plugs. 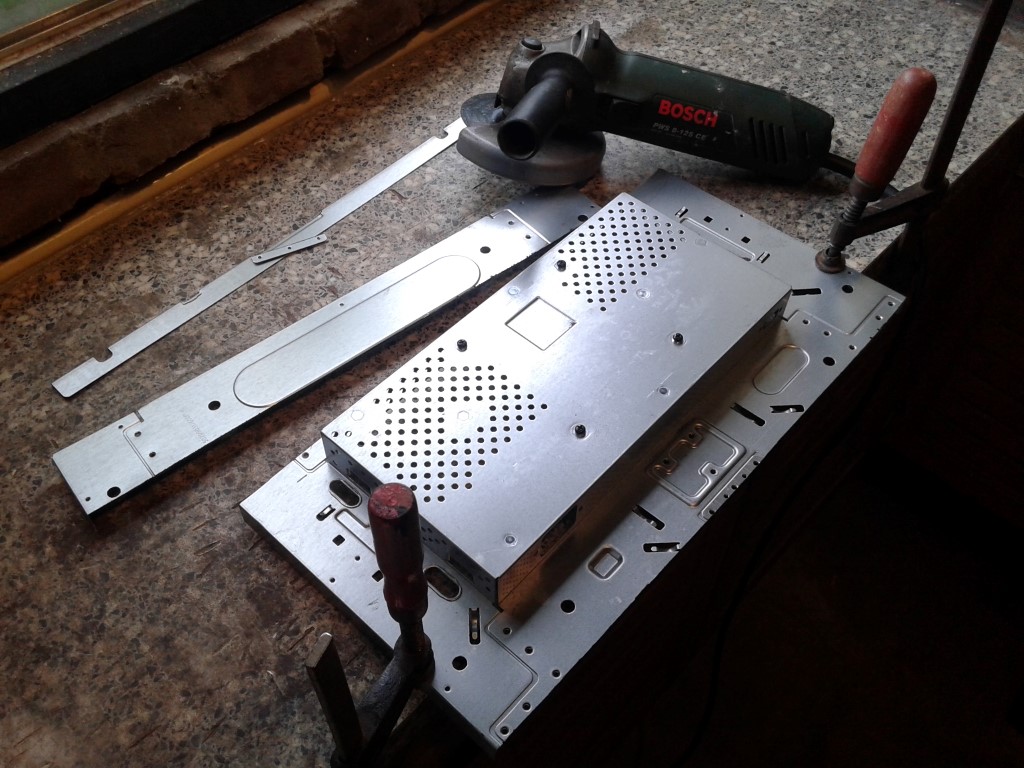 Next up; cutting the wood in half so i have two panels big enough for the sides. 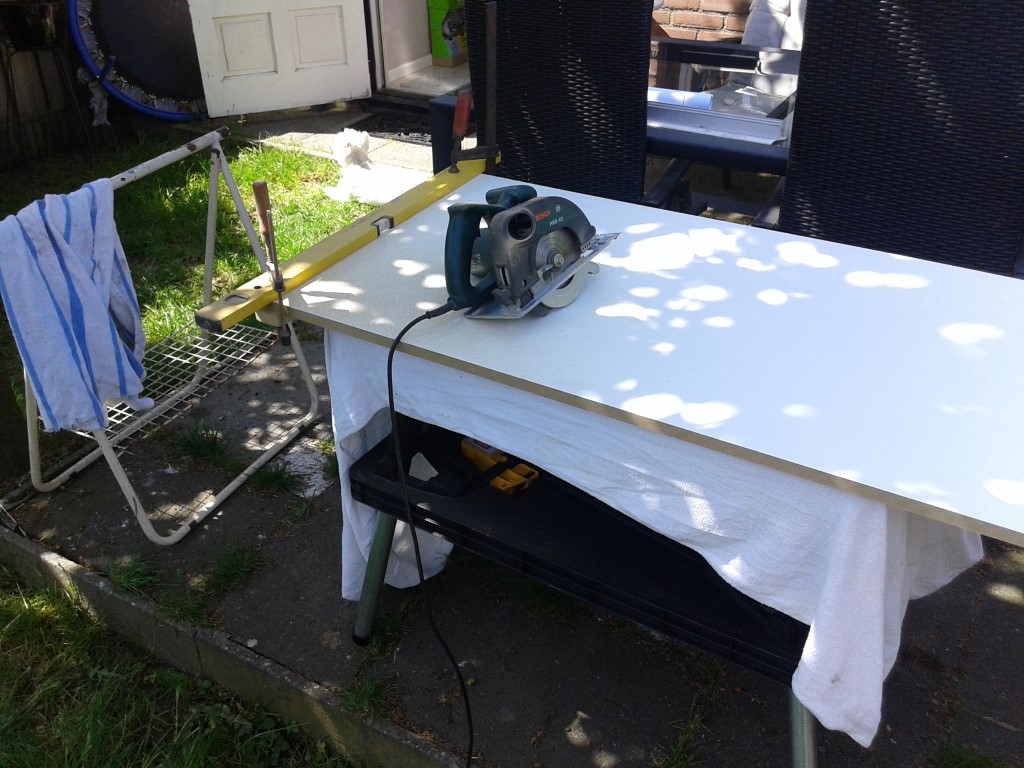 Created a guide and routed out a slot to fit the monitor in. This way the most part of the monitor frame ends up inside the sidepanel, and the screen edge is very close to the sidepanel when mounted. Remember that the bezel is displayed by the screen, so i don't want to have thick borders..  Test fit the monitor.. 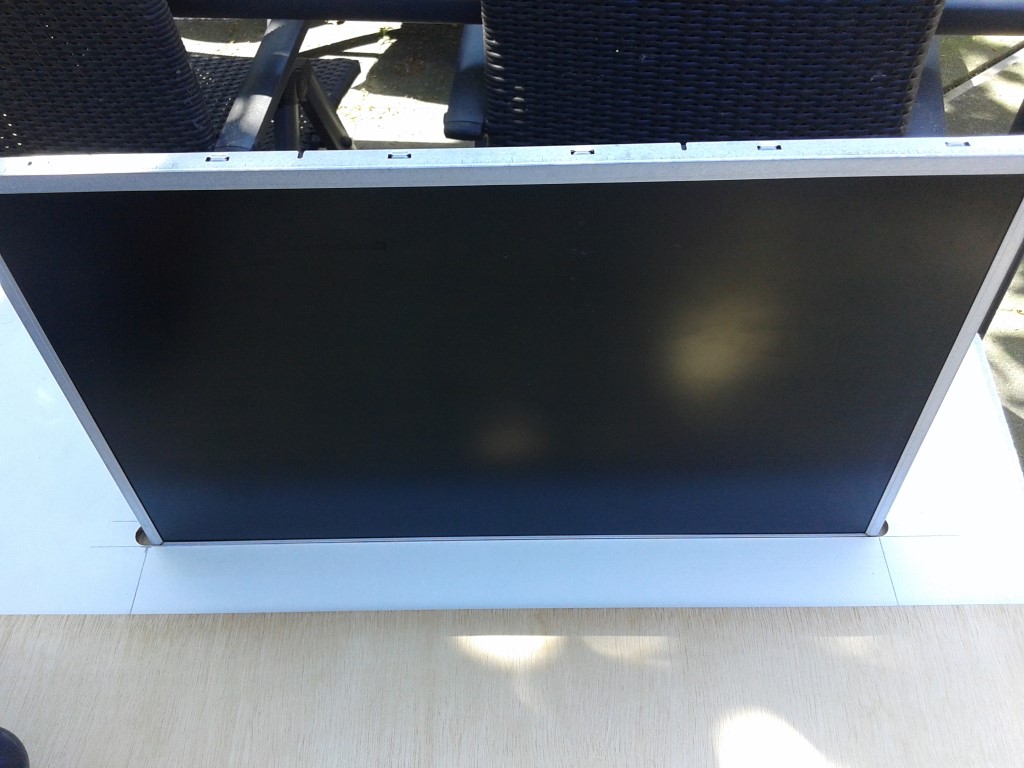 Fits perfectly in the slot, 1. no gaps, 2. very sturdy  .  Detail on how much is dissapearing into the panel. I cannot go deeper as there will not be enough wood anymore then. 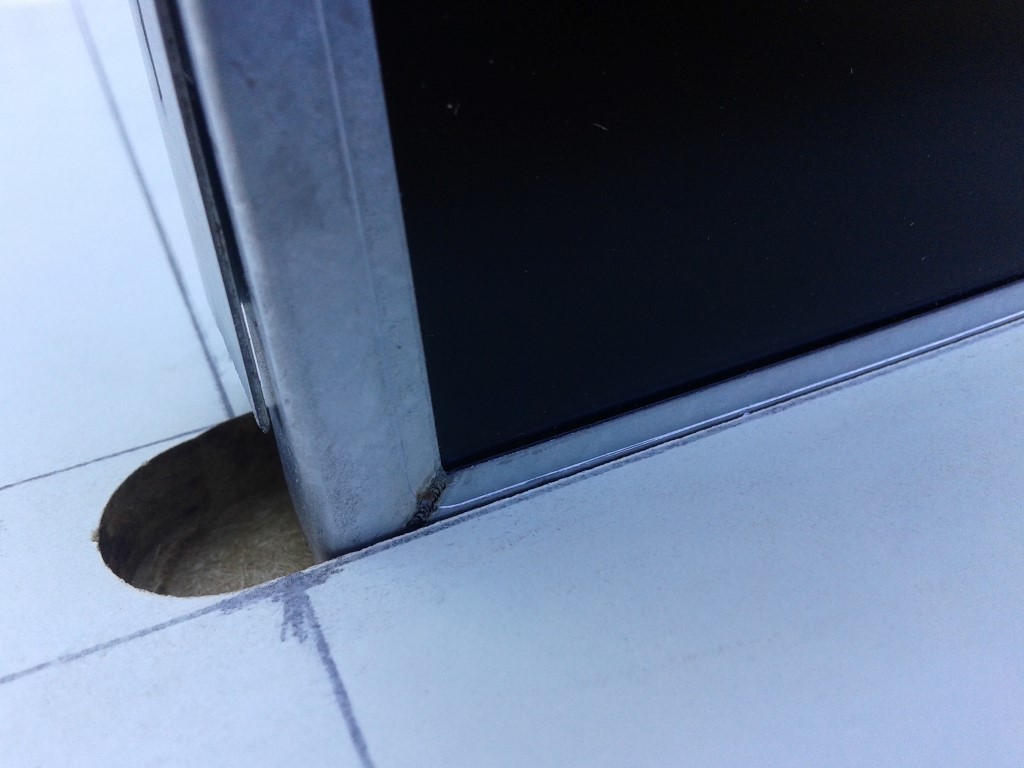 Second panel, exactely the same procedure, only the slot is a bit wider because that side of the monitor holds the backlight and is therefor also thicker as the other side.. 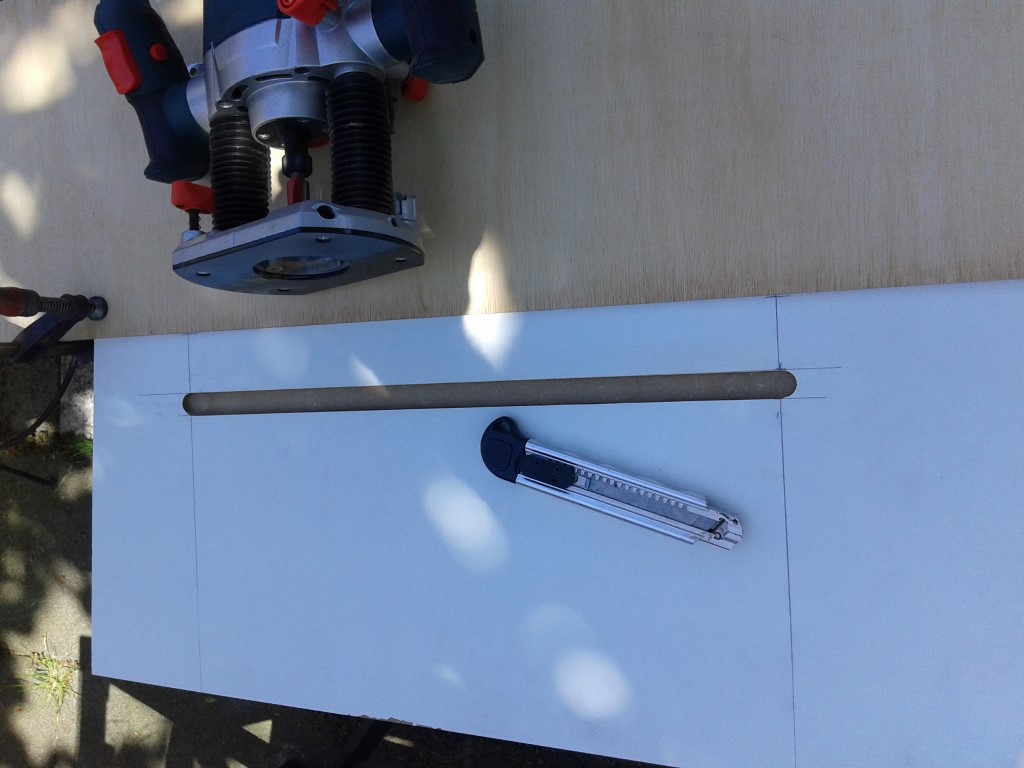 Test fit again.. 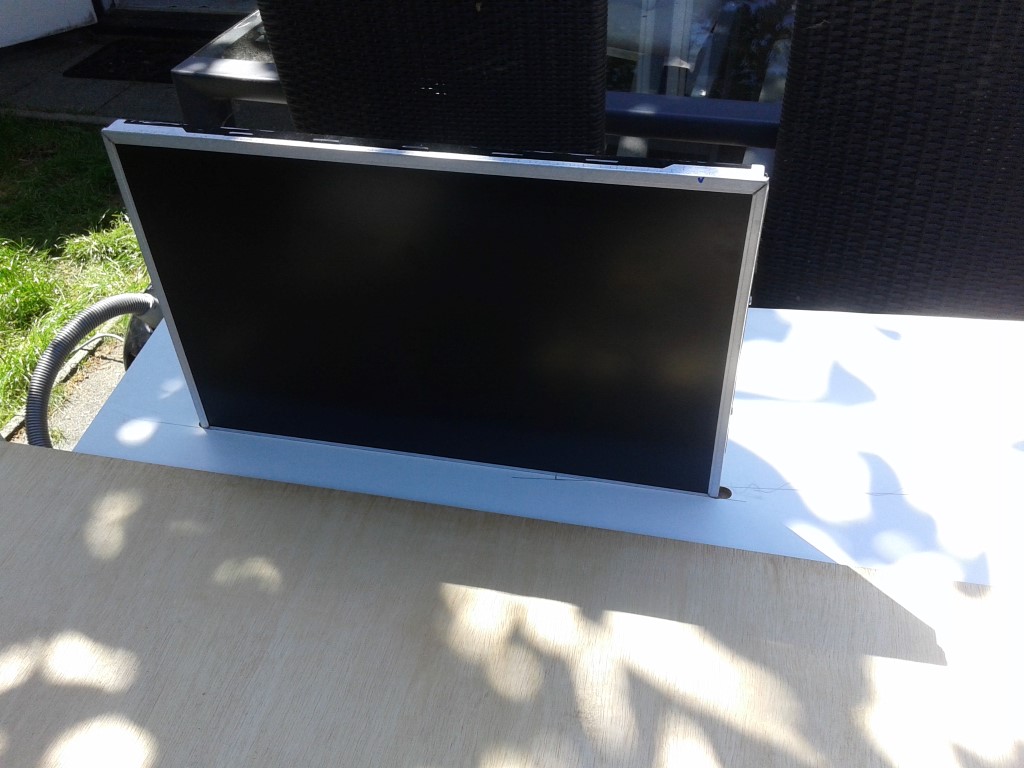 This side also fits perfectly. 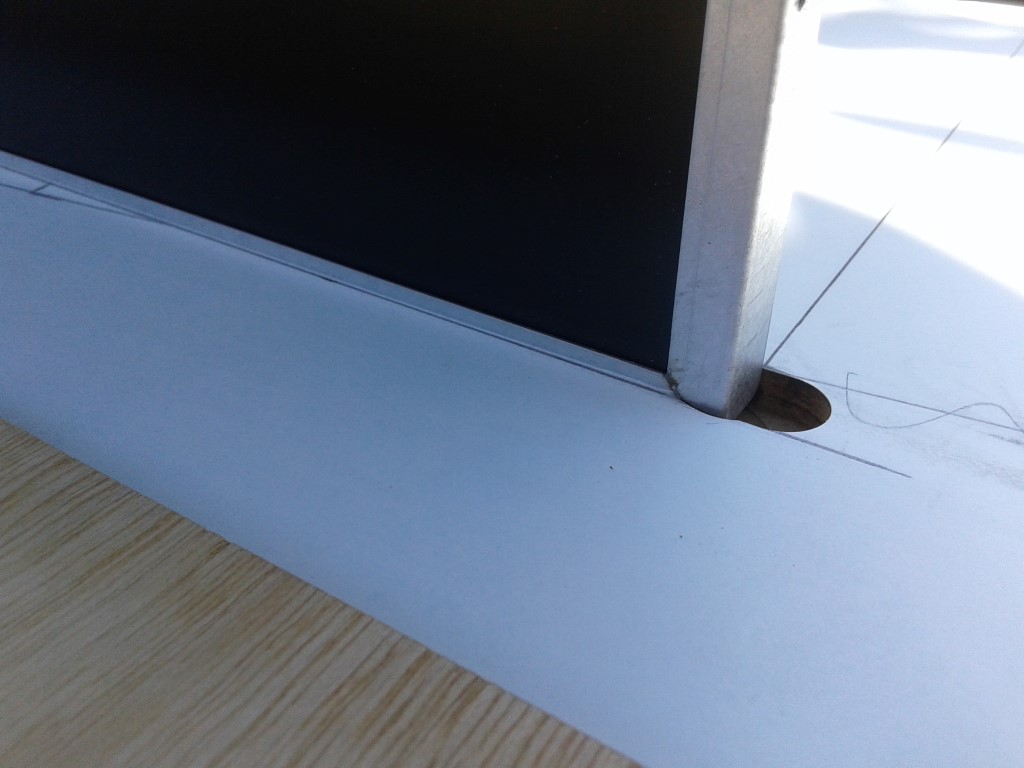 Test fit with both panels to get an idea on how it all comes together.. 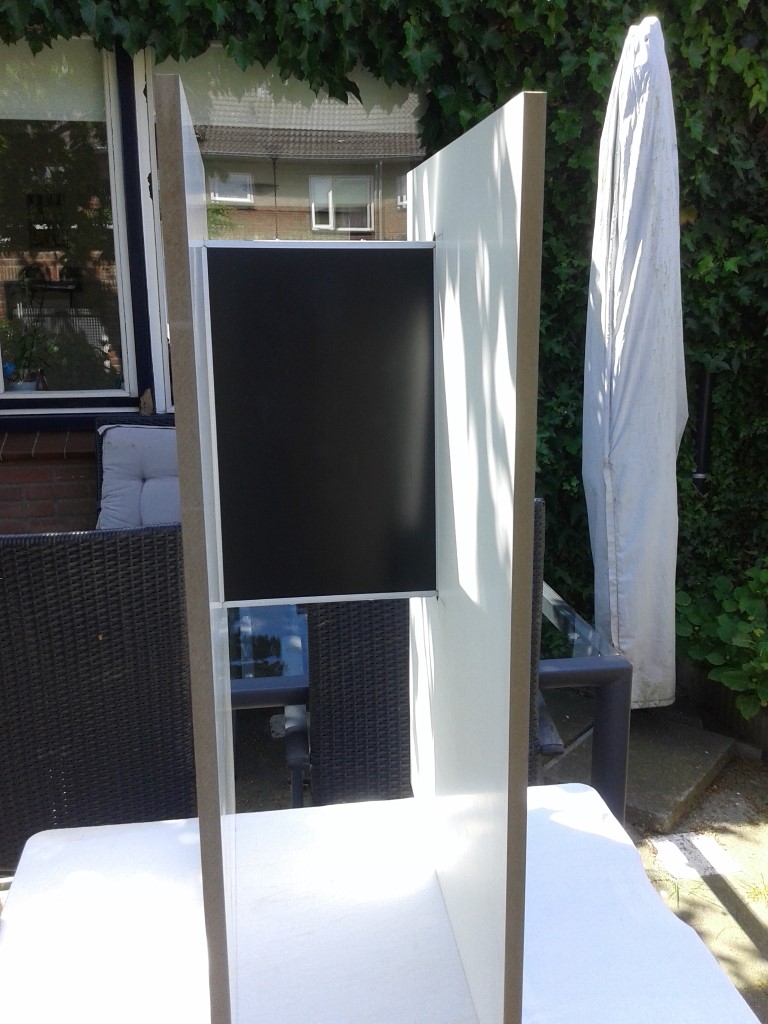 Looking good, enough space for the plugs.. 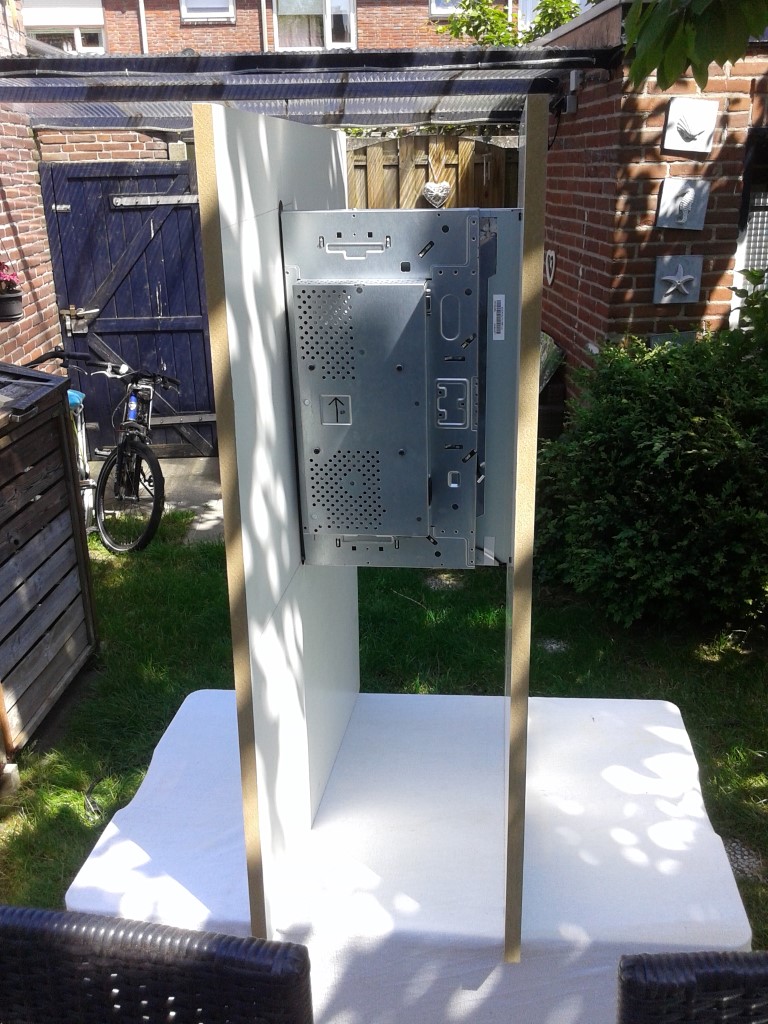 Now that we have that, lets transfer the shape of the cabinet over to the wood, based on the placement of the monitor.. 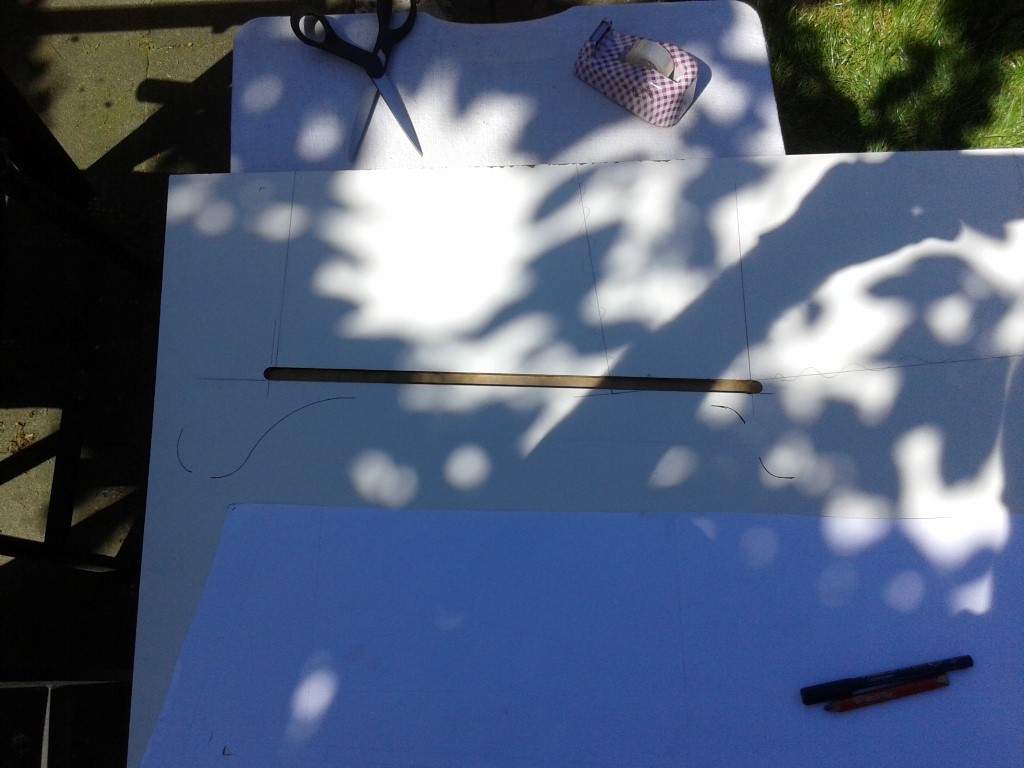 Calculate and checking if there is enough room for the joysticks. these are standard size joysticks, so they take up alot of space, and not half size as the cabinet. 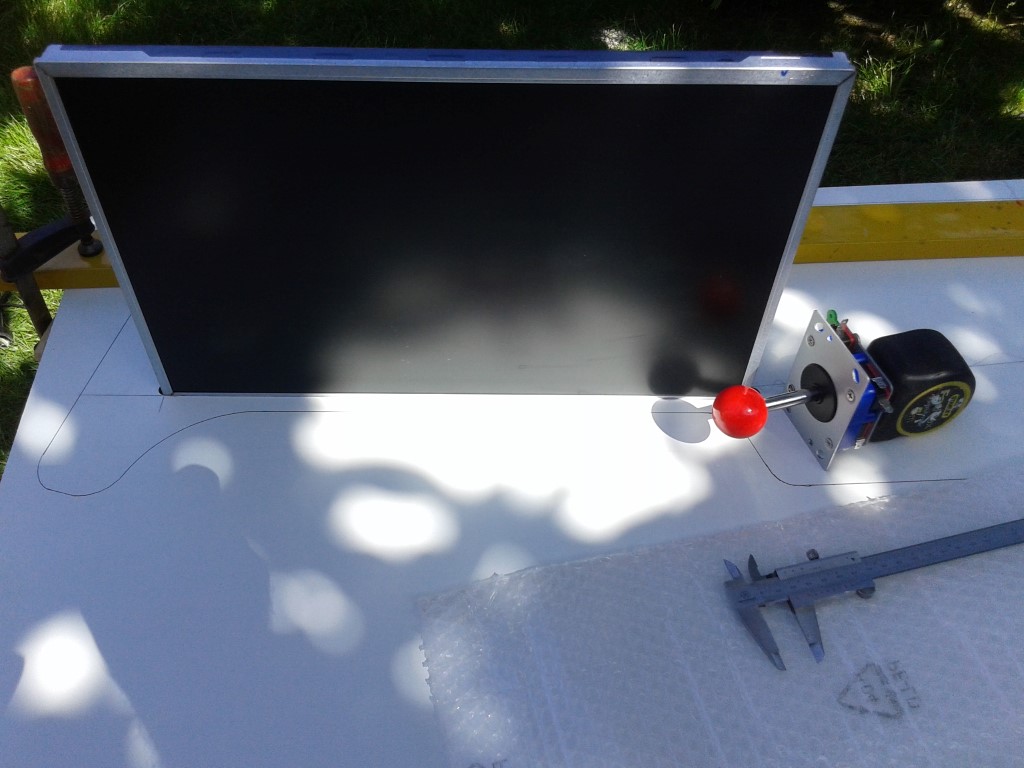 Guide in place, time to make the first straight cut with the circle saw.. 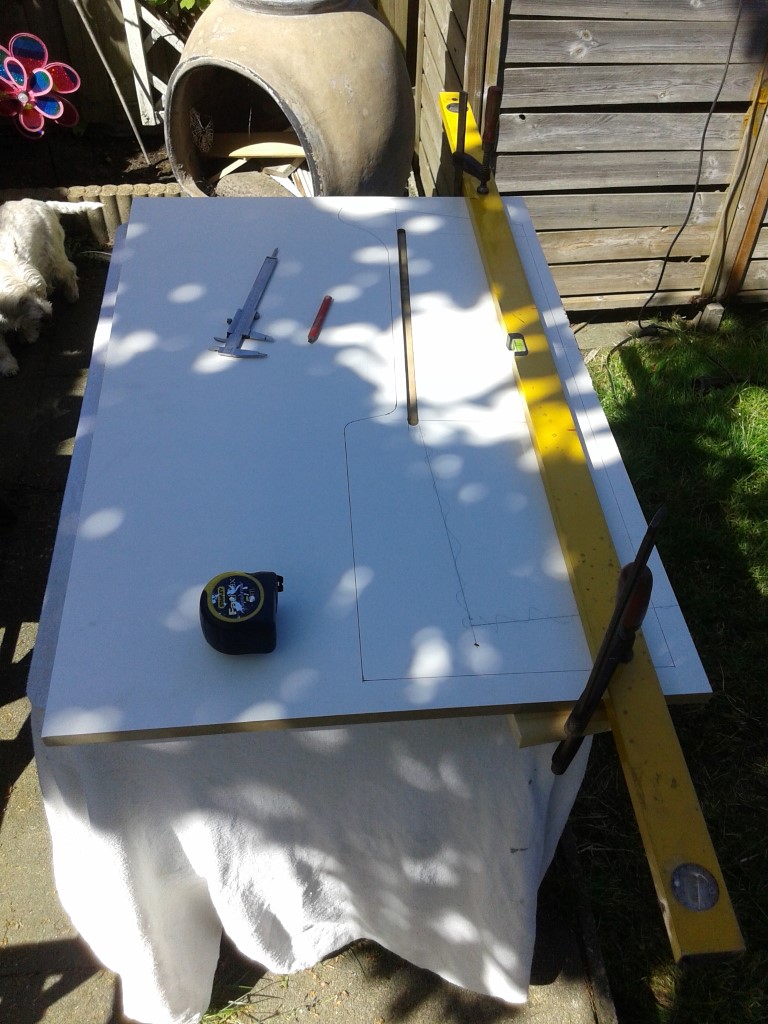 The panel after cutting it out completely.. 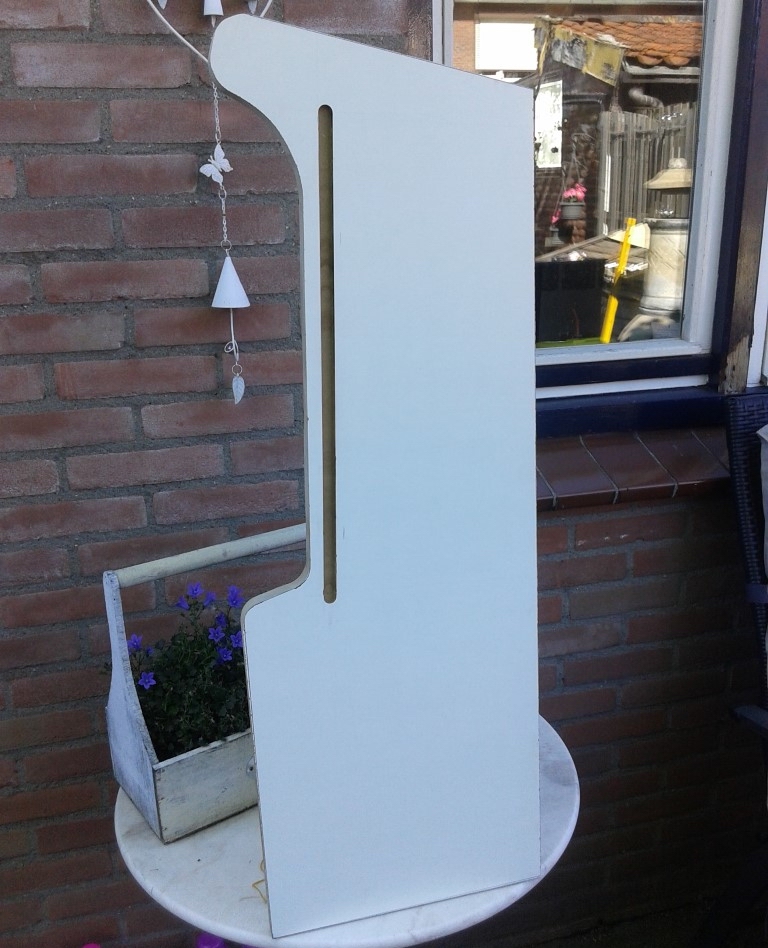 Next up, creating the other side.. |
|
|
|
|
15
|
Arcade and Pinball Discussions / General Arcade and Video Game Discussions / Re: Ice Cold Beer 1/2 Scale Repro Scratch build
|
on: November 15, 2015, 02:29:25 am
|
First step in a project is proof of concept IYAM. Let's take a pc and a 19" widescreen LCD and take that out of its case. By the way, this is the only arcade game where a LCD is allowed ;) ;) Downloaded the software, installed a tiny version of XP (to not slow down the booting) and rotated the screen with the Intel graphics drivers. 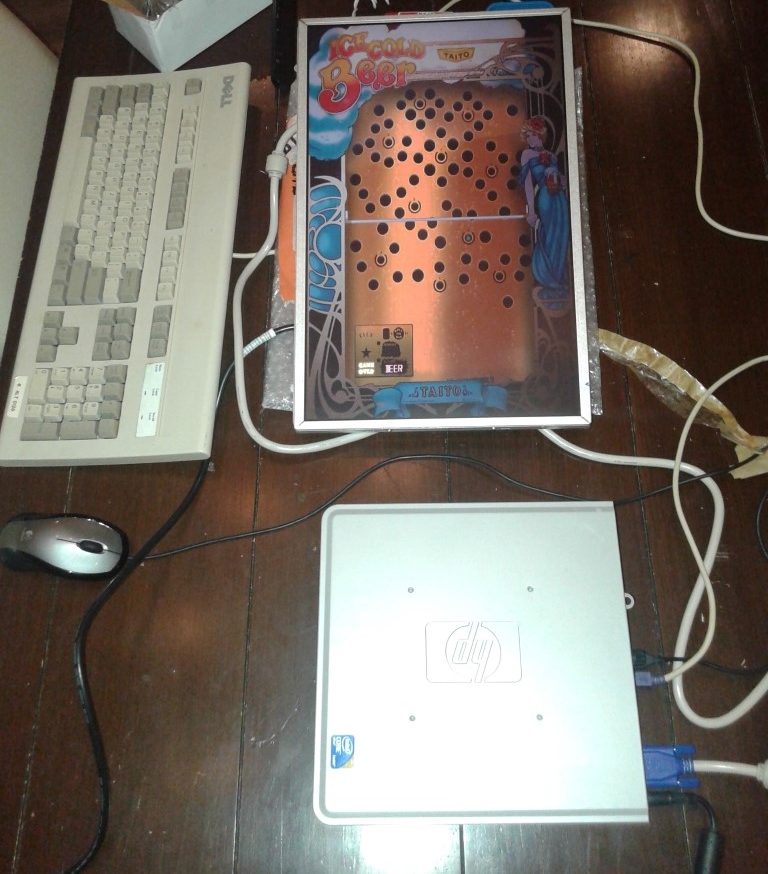 Next up, controls ! As some of you may remember, i salvaged a bunch of switches from an old Keyboard to help SuperUlly out when he was doing his Vindicators resto. I kept the pcb and that comes in very handy now 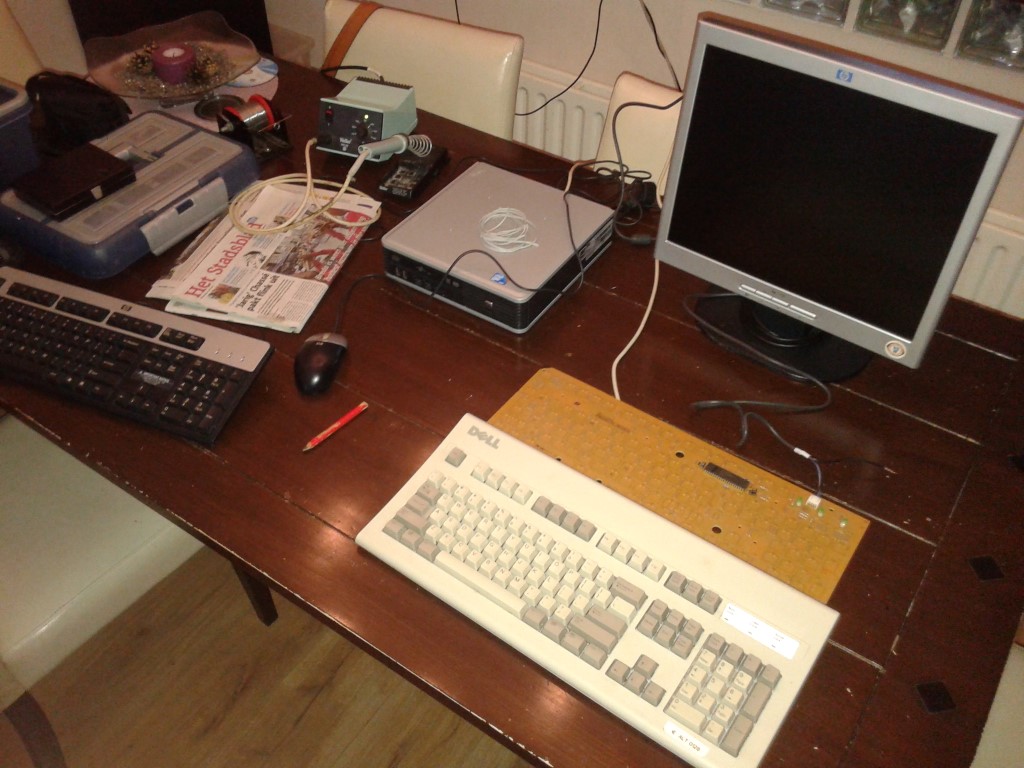 Marked the contacts matching the keys that the program uses to control the game.. 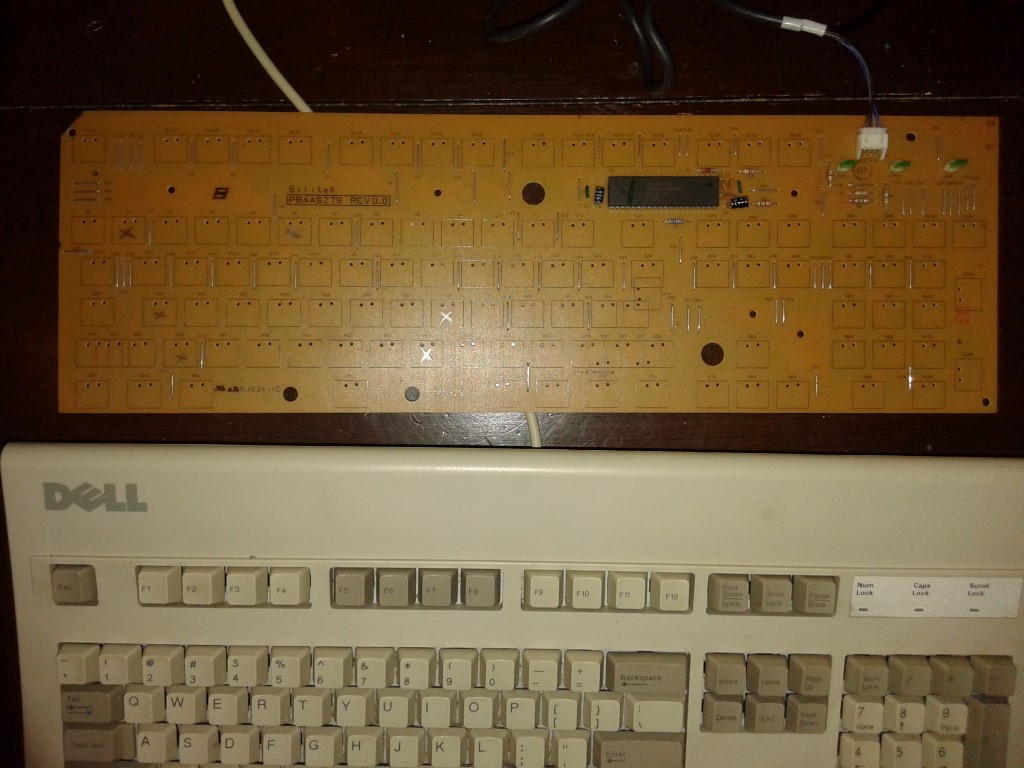 Solderd some wires in there... 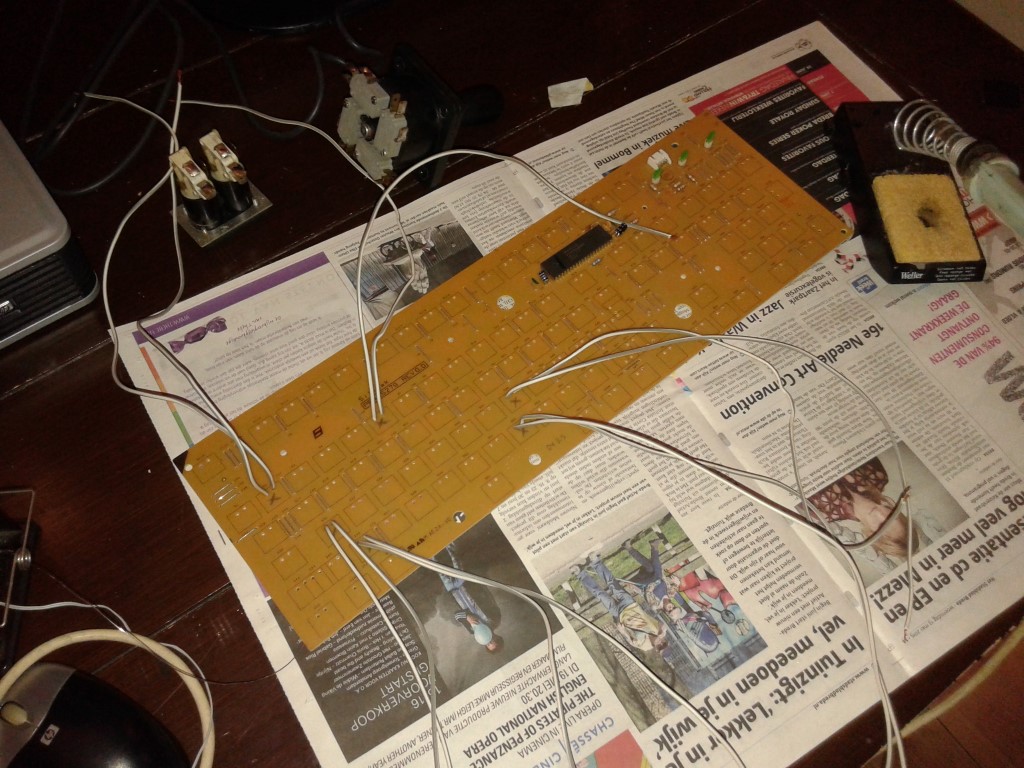 And attached some buttons and a joystick to "Proof the concept". It worked as expected 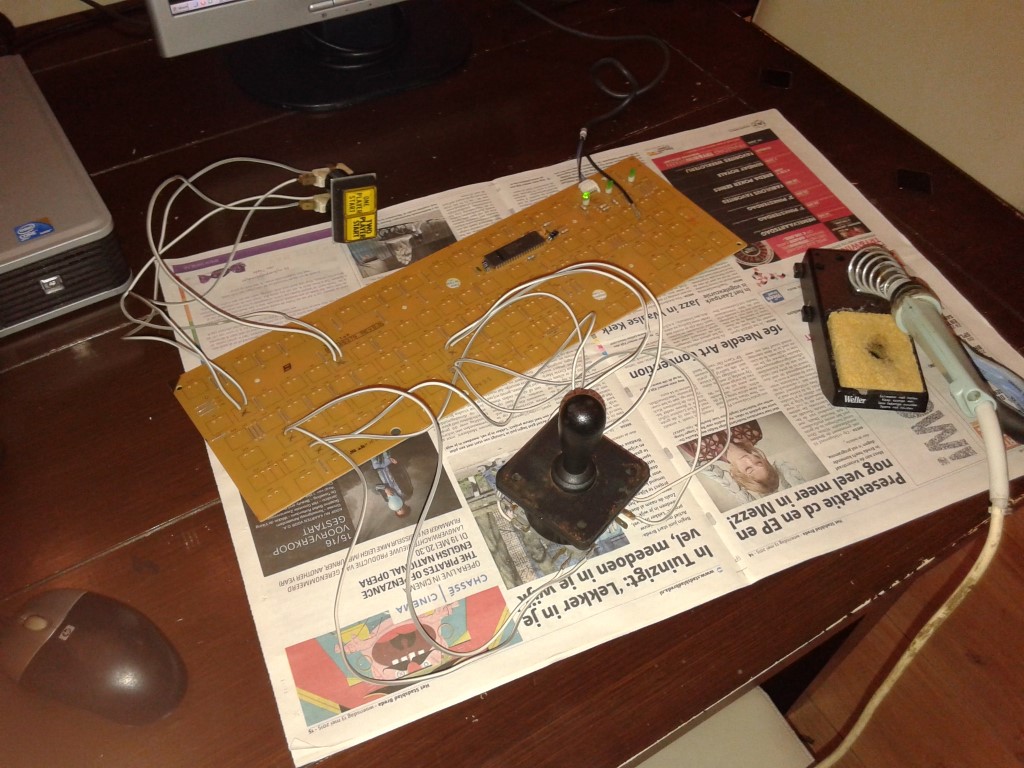 Now that i have a working setup, its time to build a cabinet around it. |
|
|
|
|

